DIY FLUTED COFFEE TABLE
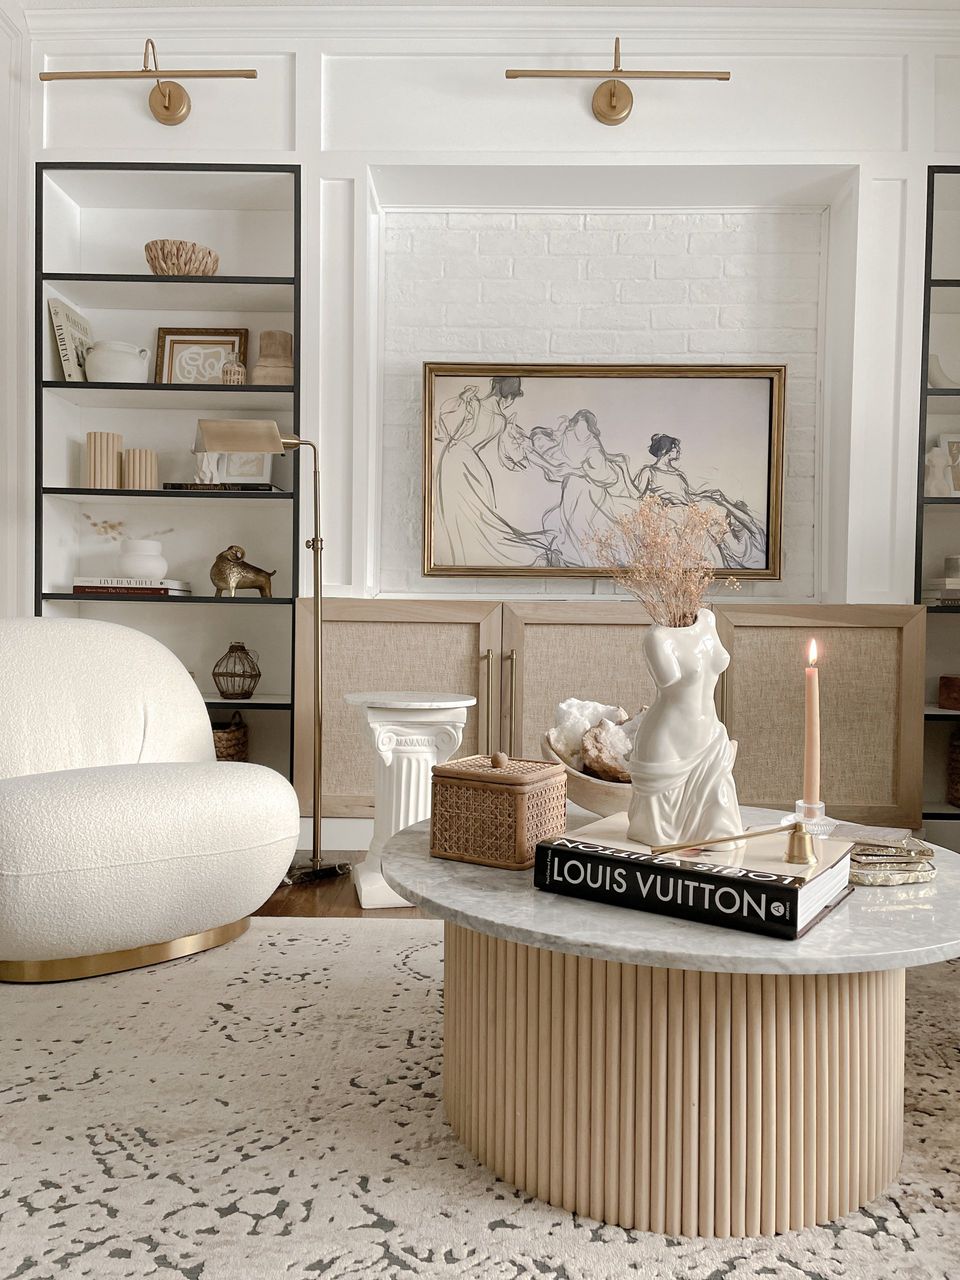
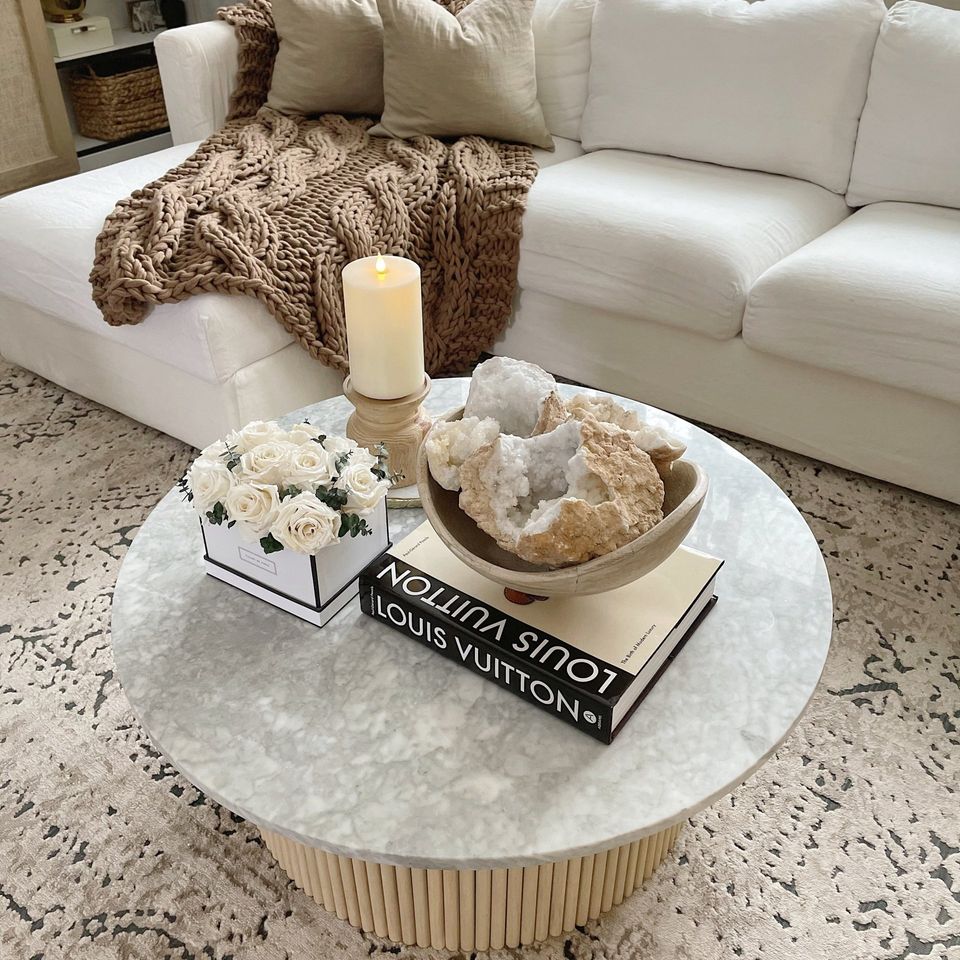
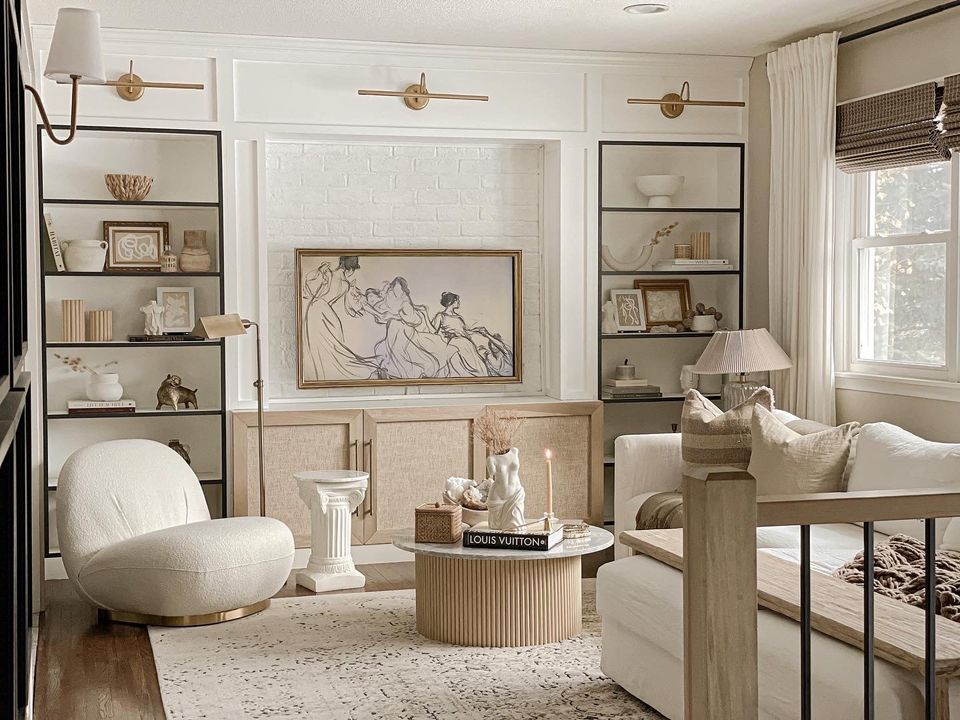
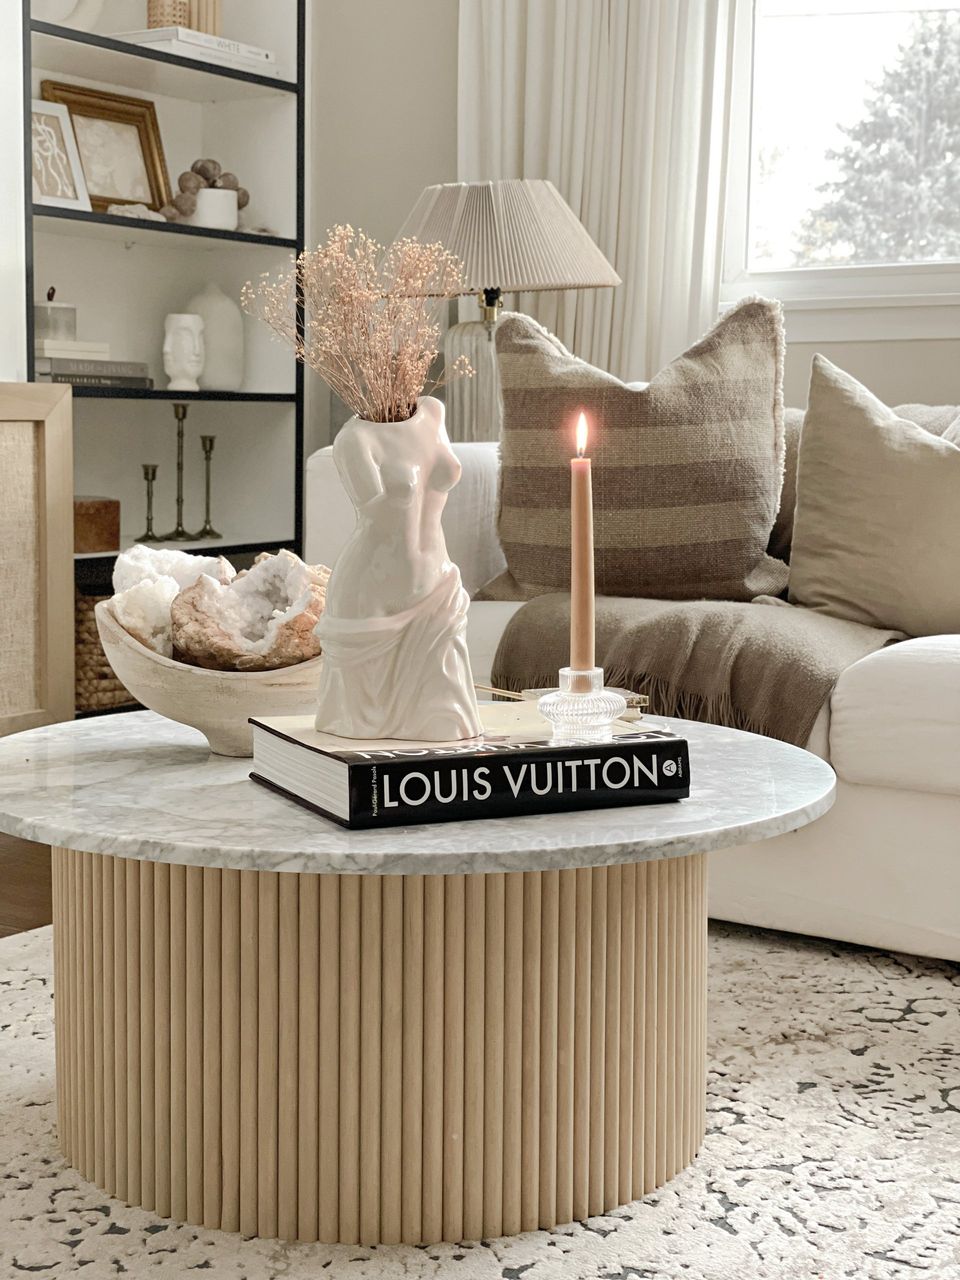
The fluted coffee table of my dreams - built in just one day! This project was probably one of the simplest and easiest that we've done! I was craving for a little change in my living room but I didn't want to let go of my round marble CB2 coffee table that I love so dearly. The marble top has gorgeous veining & brings so much sophistication to my space. The base of the table is interchangeable - I was using was the gold. CB2 sells a few different options (I own the black marble/black base combo as well) but I thought, why not make my own base? & there the idea sparked, a fluted table!
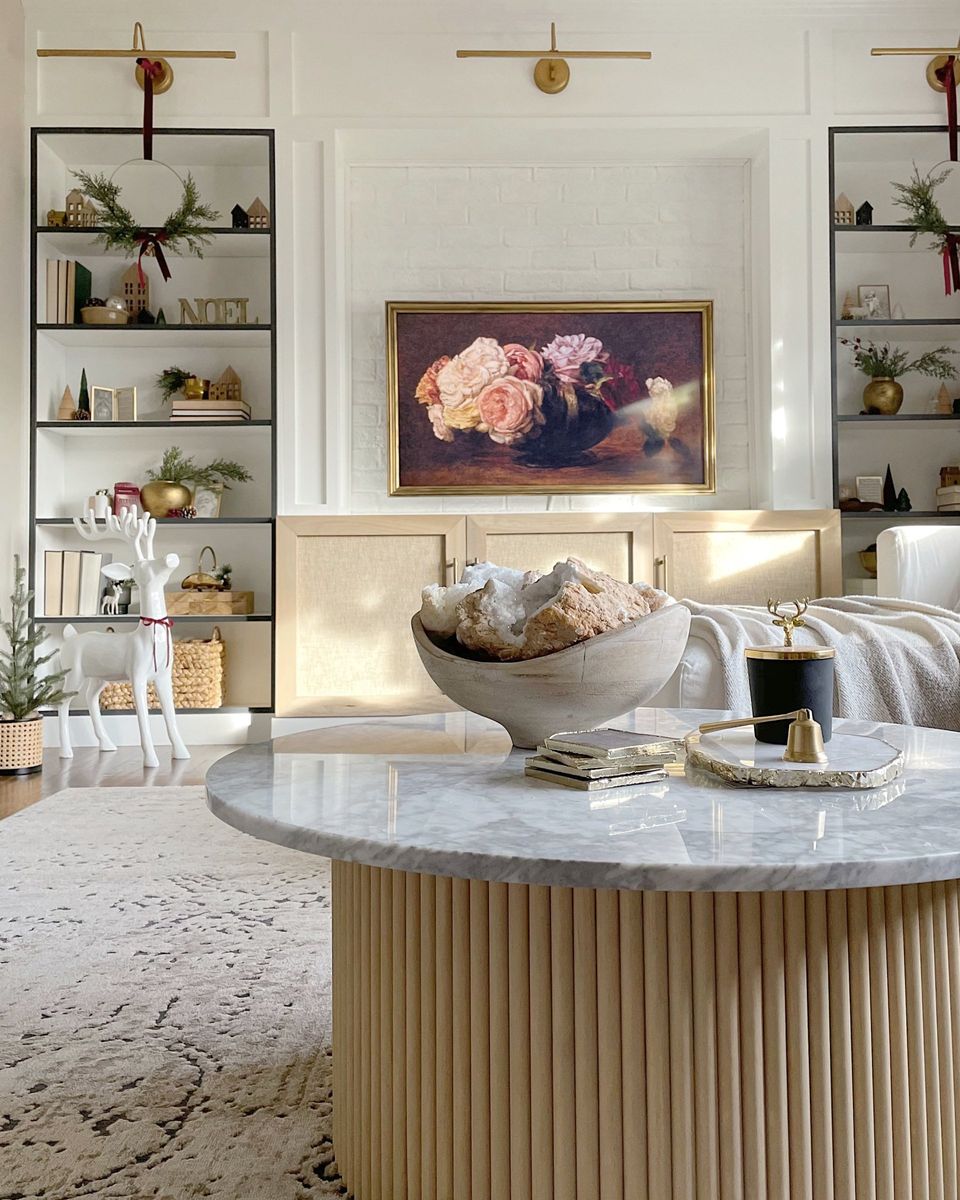
The light wood tones, the sculptural element with its curves and lines from the fluted detail brings this coffee table to a whole new level of beautiful. I knew it would help set the tone of the design aesthetic that I was transitioning to.
If you're wanting to recreate this table, I suggest looking for a marble top on Facebook marketplace to repurpose. Otherwise, you can build a top out of wood, concrete, or whatever your creative mind can come up with!
DIY FLUTED COFFEE TABLE
MATERIALS:
- ROUGHLY 20 PIECES OF 8' HALF-ROUND MOULDING
- 2X4
- WATERED DOWN NEUTRAL PAINTS FOR FLUTED DETAIL
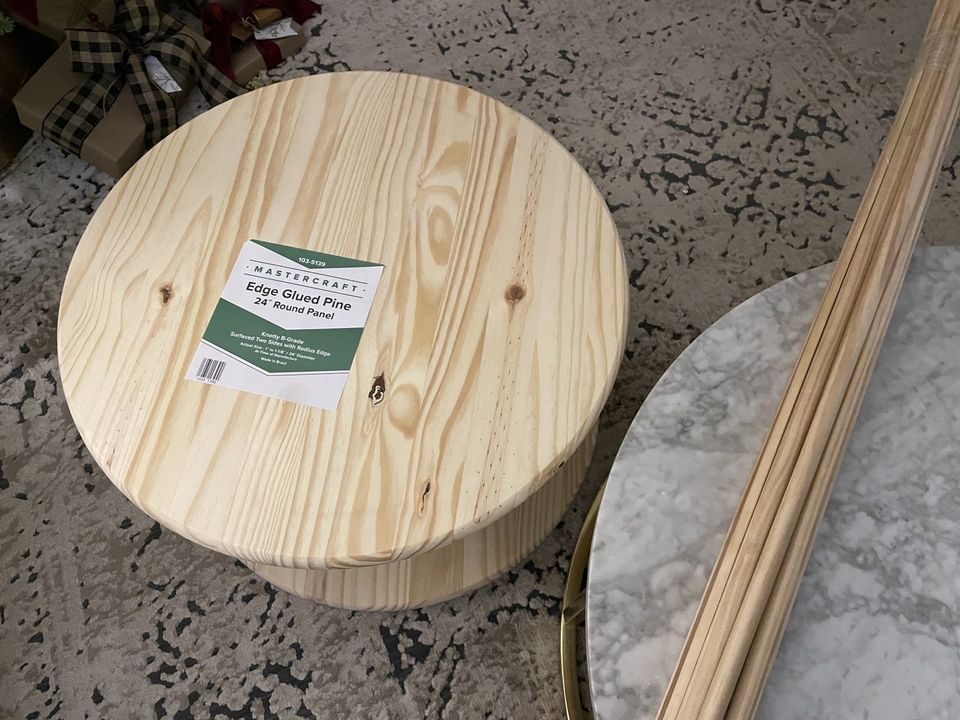
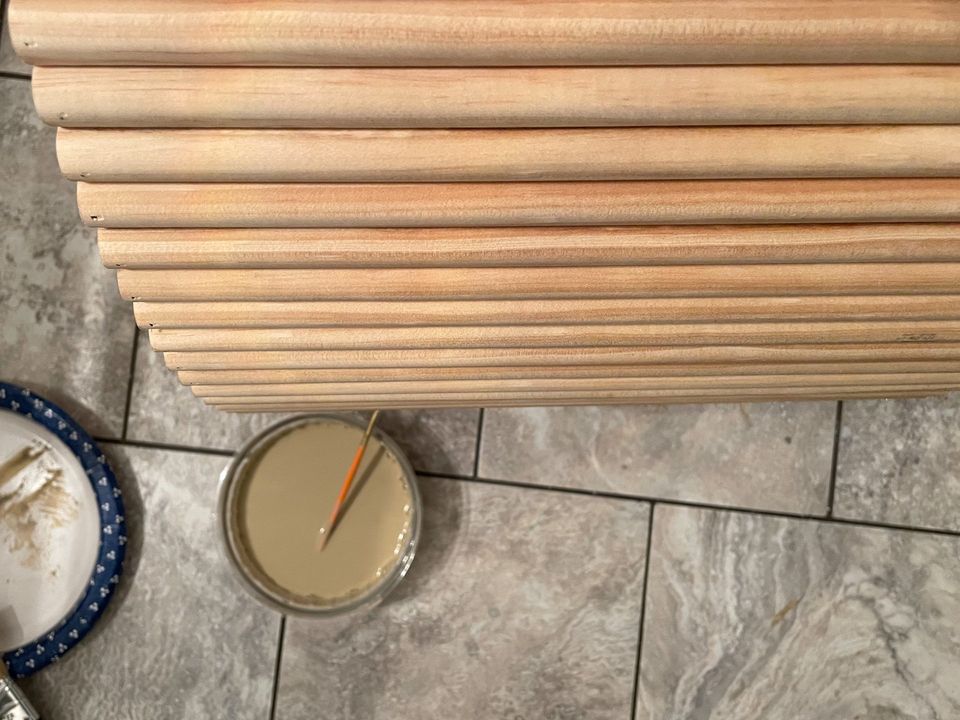
Starting off with our base materials- I purchased everything at Menards. You may find these at your local hardware stores (Home Depot, Lowes) depending on availability. The half-round trim pieces aren't as readily available at any other stores besides Menards (here in Minnesota at least). You can order them online, however, you risk being sent pieces that might not be straight or have too much grain. I carefully selected pieces that had subtle grain for an overall lighter wood tone look.
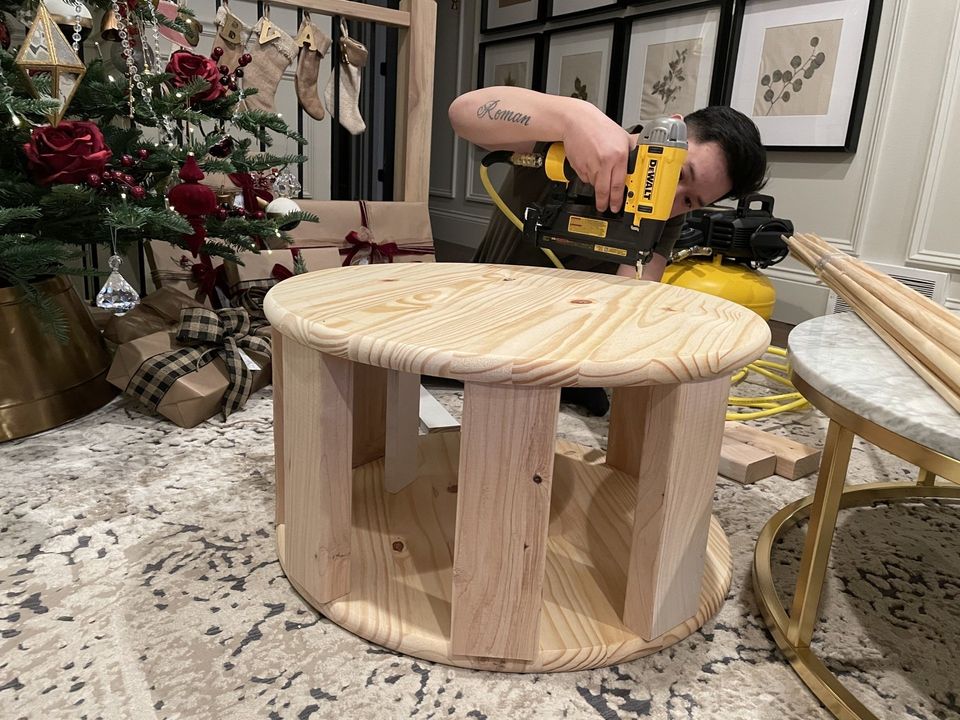
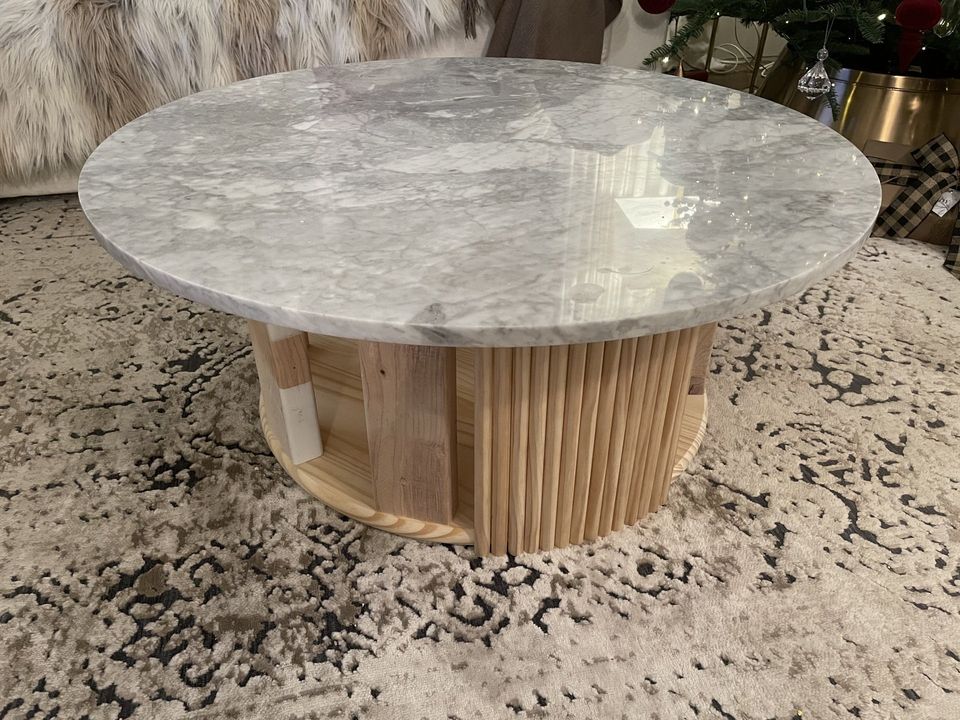
First, you'll want to make your base. After figuring out our desired height, we cut 2x4 pieces and attached them to the round panels (using brad nails first just to get the base, then screws for extra durability).
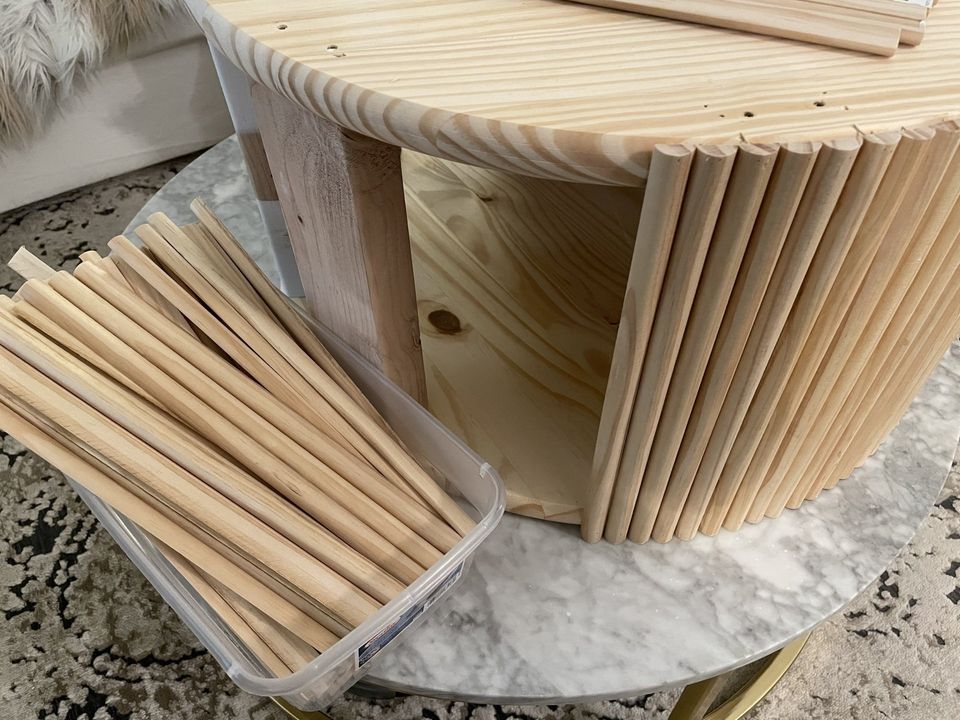
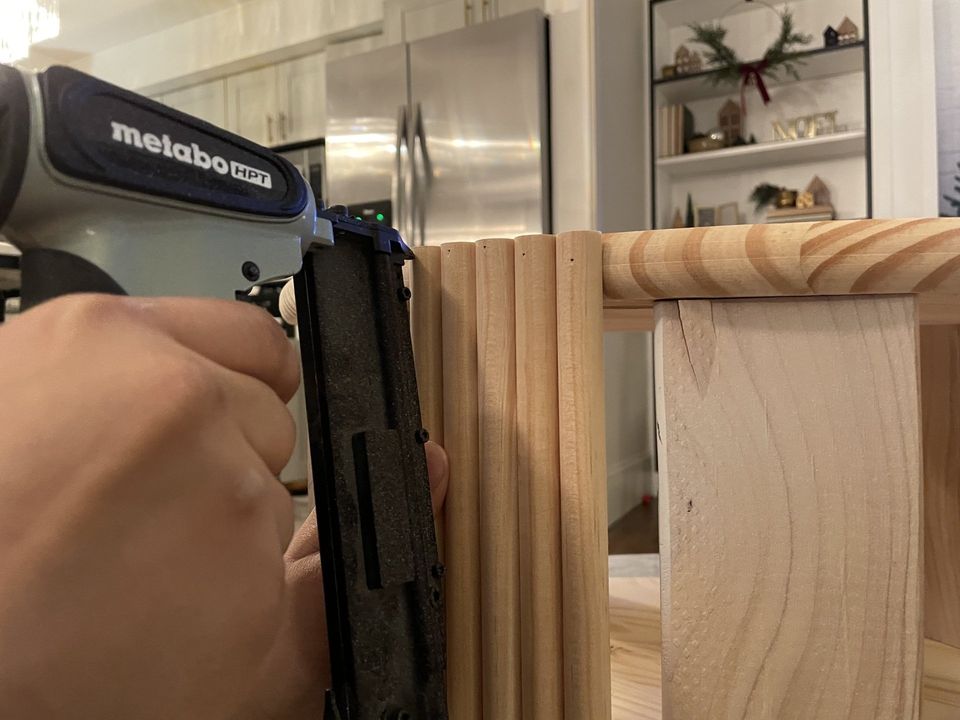
We cut the half-round trim and started to brad nail them into the top and bottom panels. You should probably use wood glue as well, but let's be real, I was a little lazy lol. This goes by pretty quickly.
I'm a visual person. I like to see my work to get reassurance that I've got a solid idea going! Seeing this little bit installed with the marble top made me feel like this was the right DIY design. So happy already!
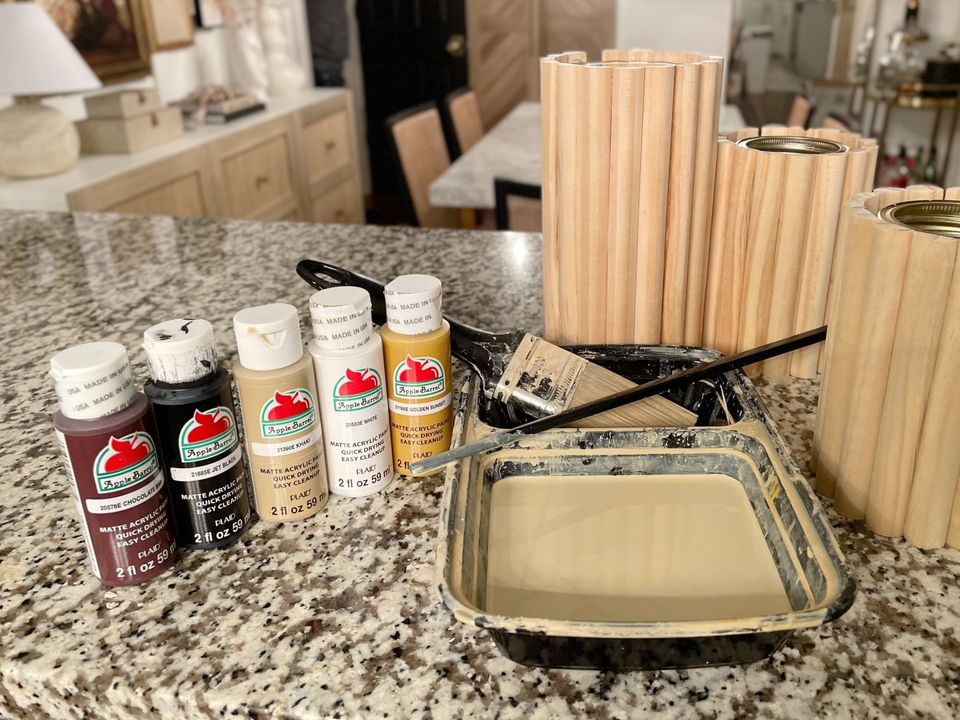
Time for paint!! The natural wood of these pine pieces are pretty, but just a little too yellow. I didn't want to go through the mess of staining them, so I decided a watered down paint would work well.
I created a watered down paint mix using the colors above. I played with the color/water ratio until it matched the wood stain that I have in the rest of my home. I used a "wipe on, wipe off" technique to be able to let the beautiful wood grain show through.
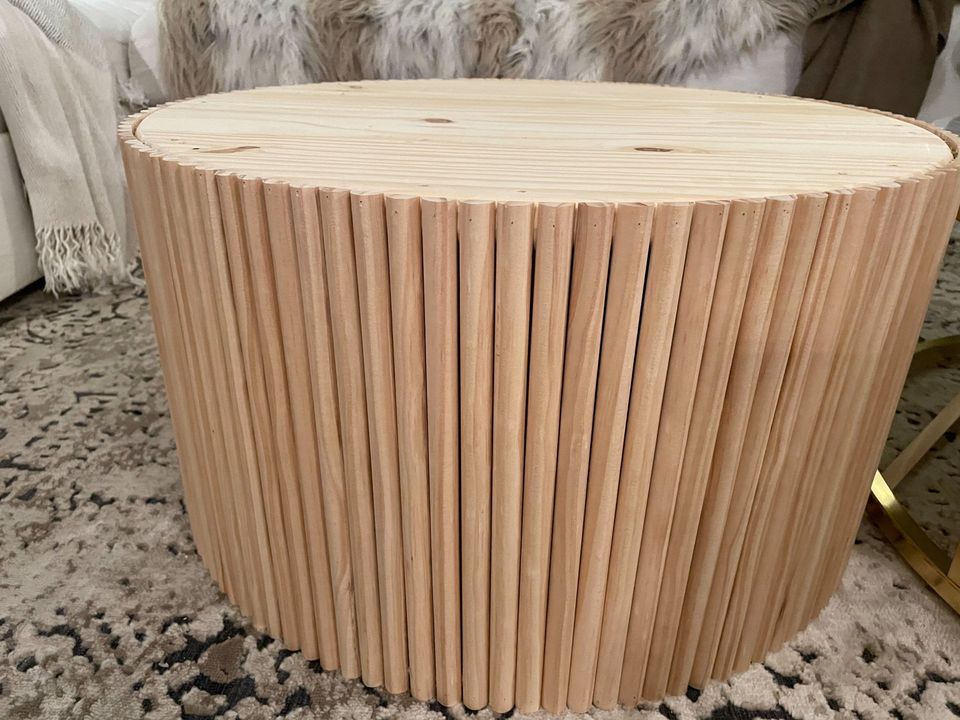
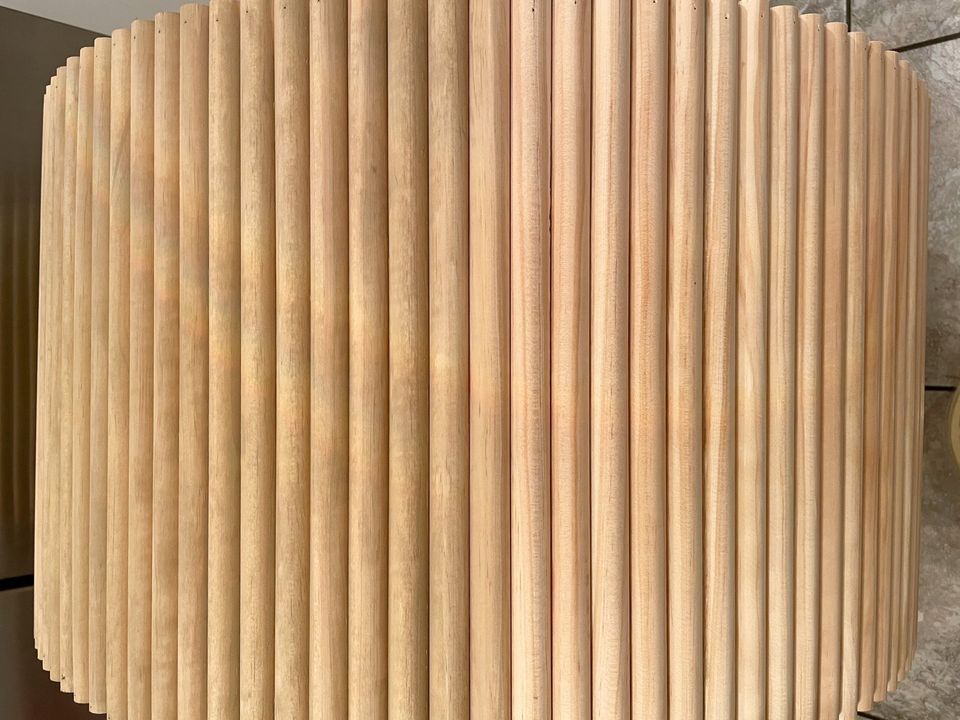
Do you see the different between the left and right side? The left side is where I applied the paint. It neutralizes the yellow tones. After this step, you can fill in the little holes from the nails with a wood putty in a similar shade. I admittedly have only done a few holes & decided to finish the rest whenever I have time (haha 95% club) & I'll seal it with polycrylic as well.
The finished project! I actually did this a few days before Christmas so this was my reveal photo on instagram (I know I'm extra late to this tutorial, I'm busy okay!!) If you decide to recreate this table- tag me, friends!


Follow Us
All Rights Reserved | WITH SARA LE | Design & Content by Sara Le
