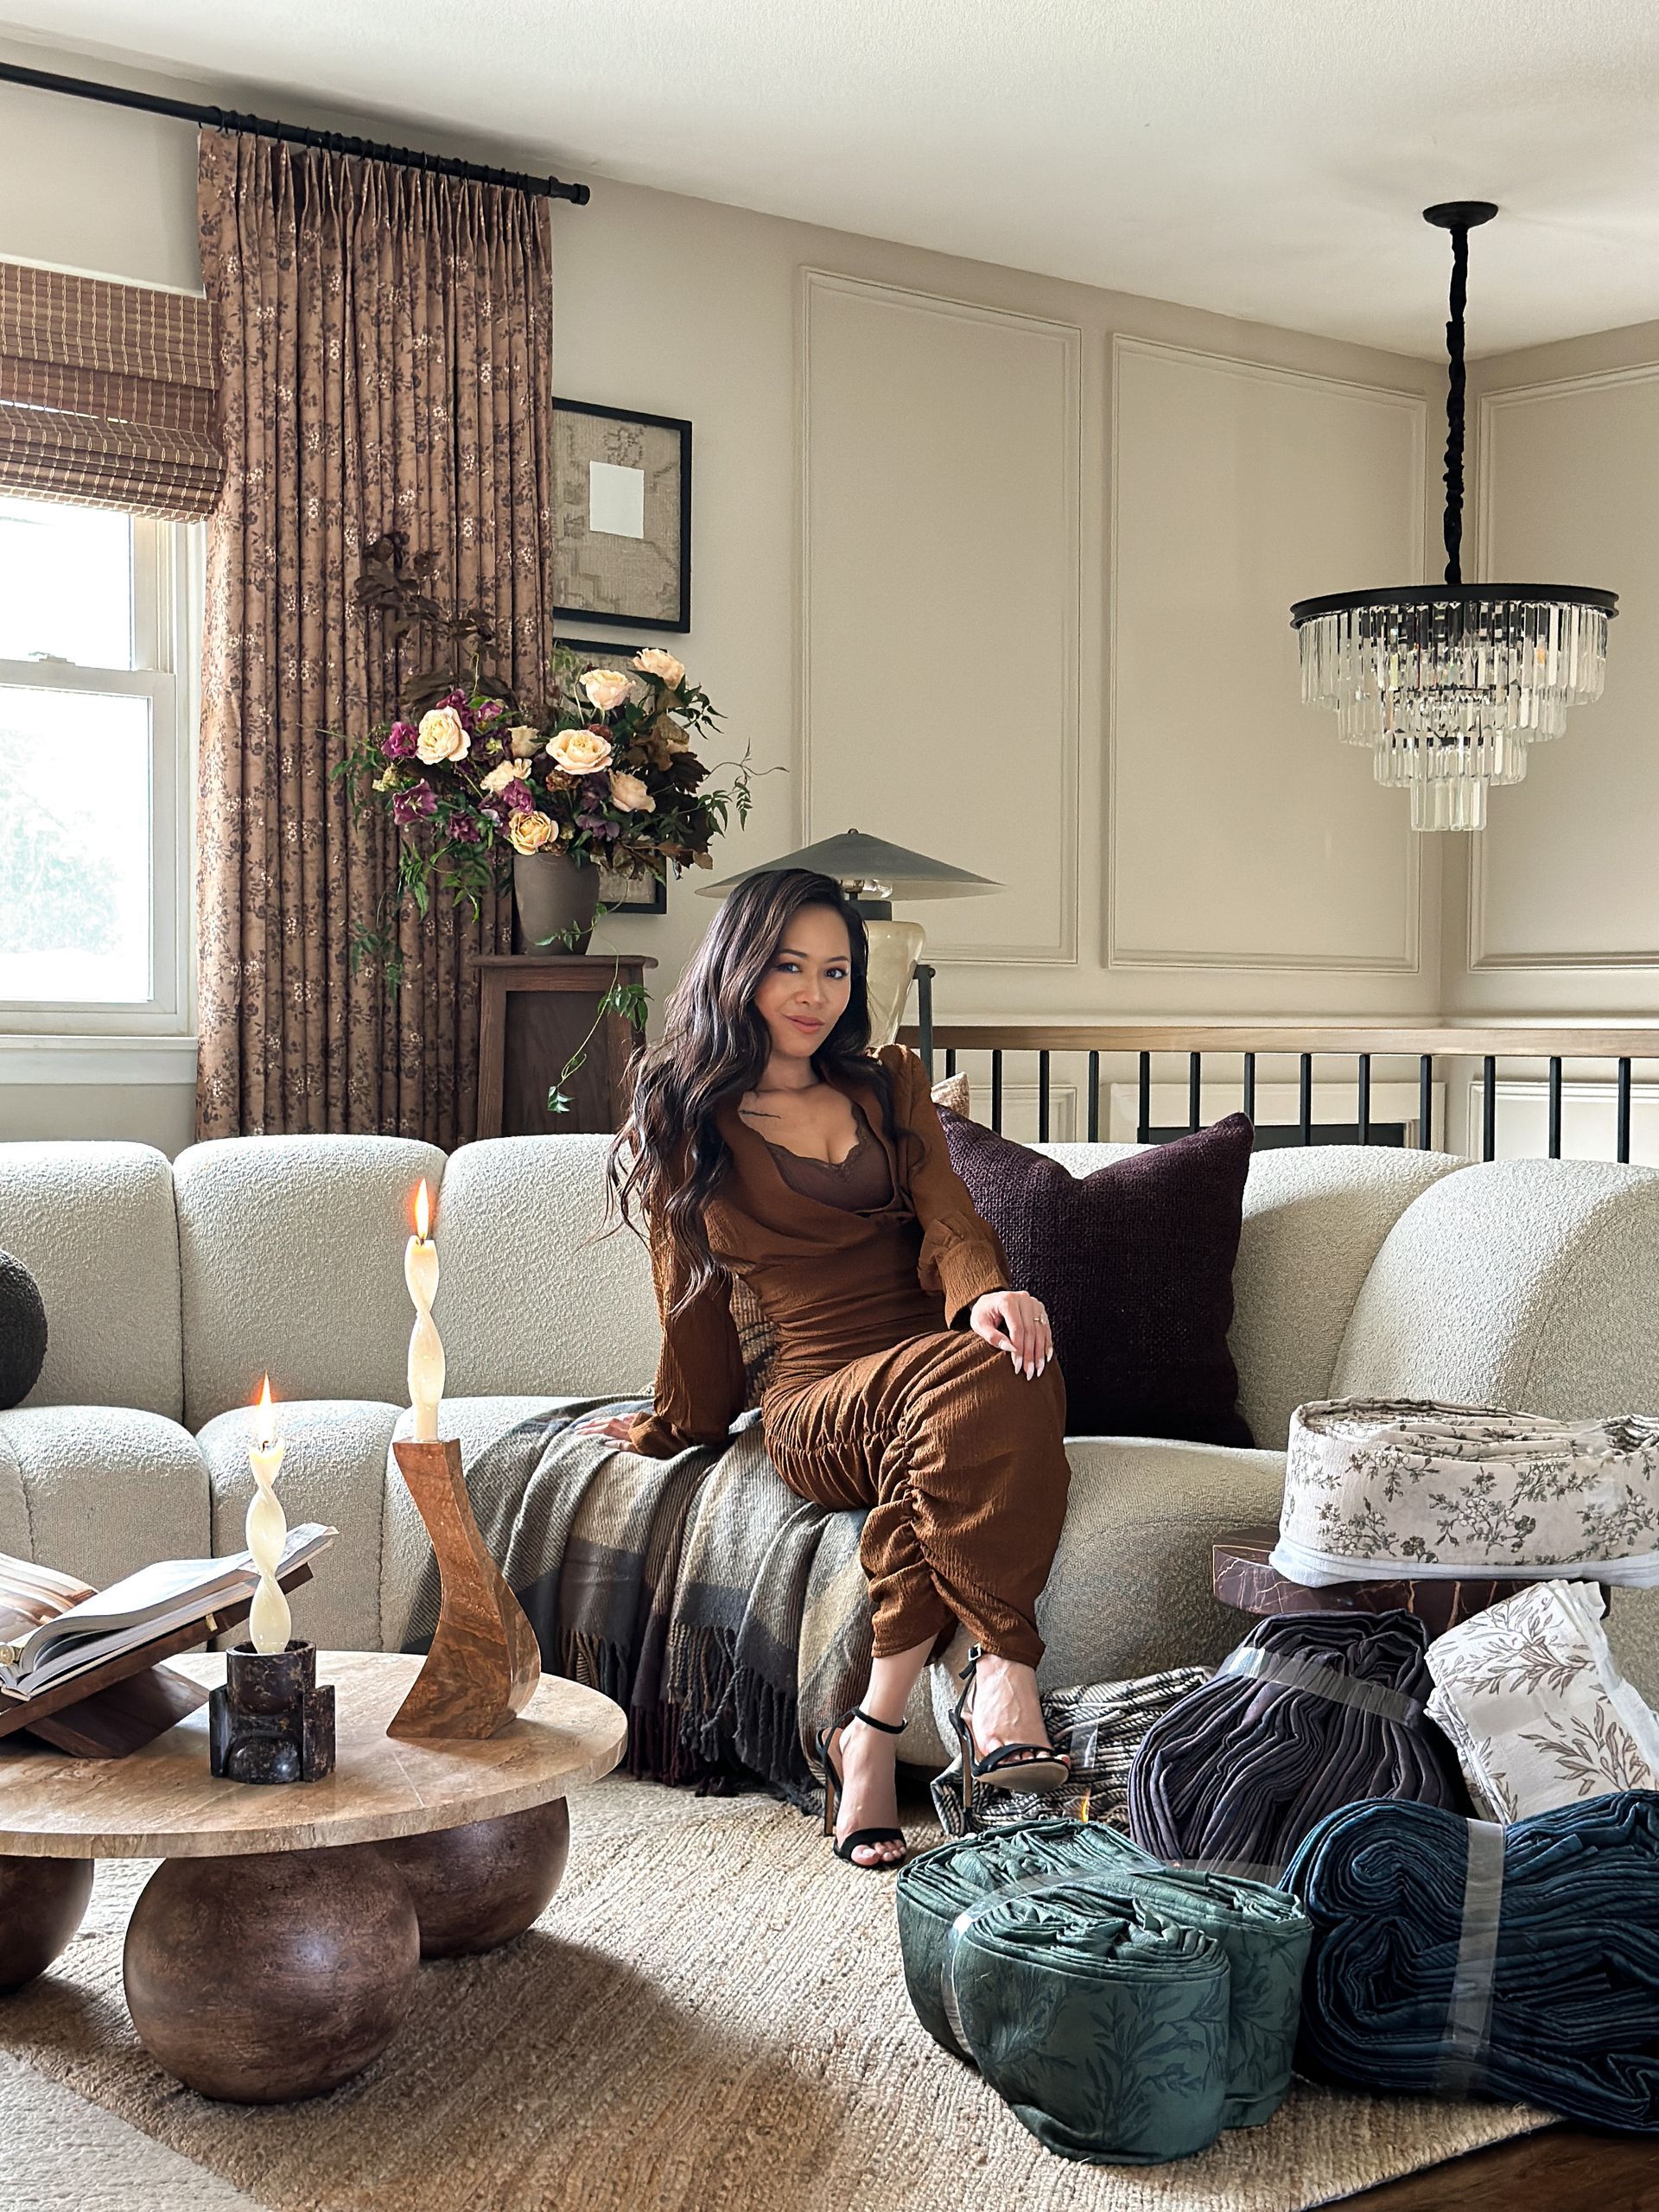
DIY COFFERED CEILINGS
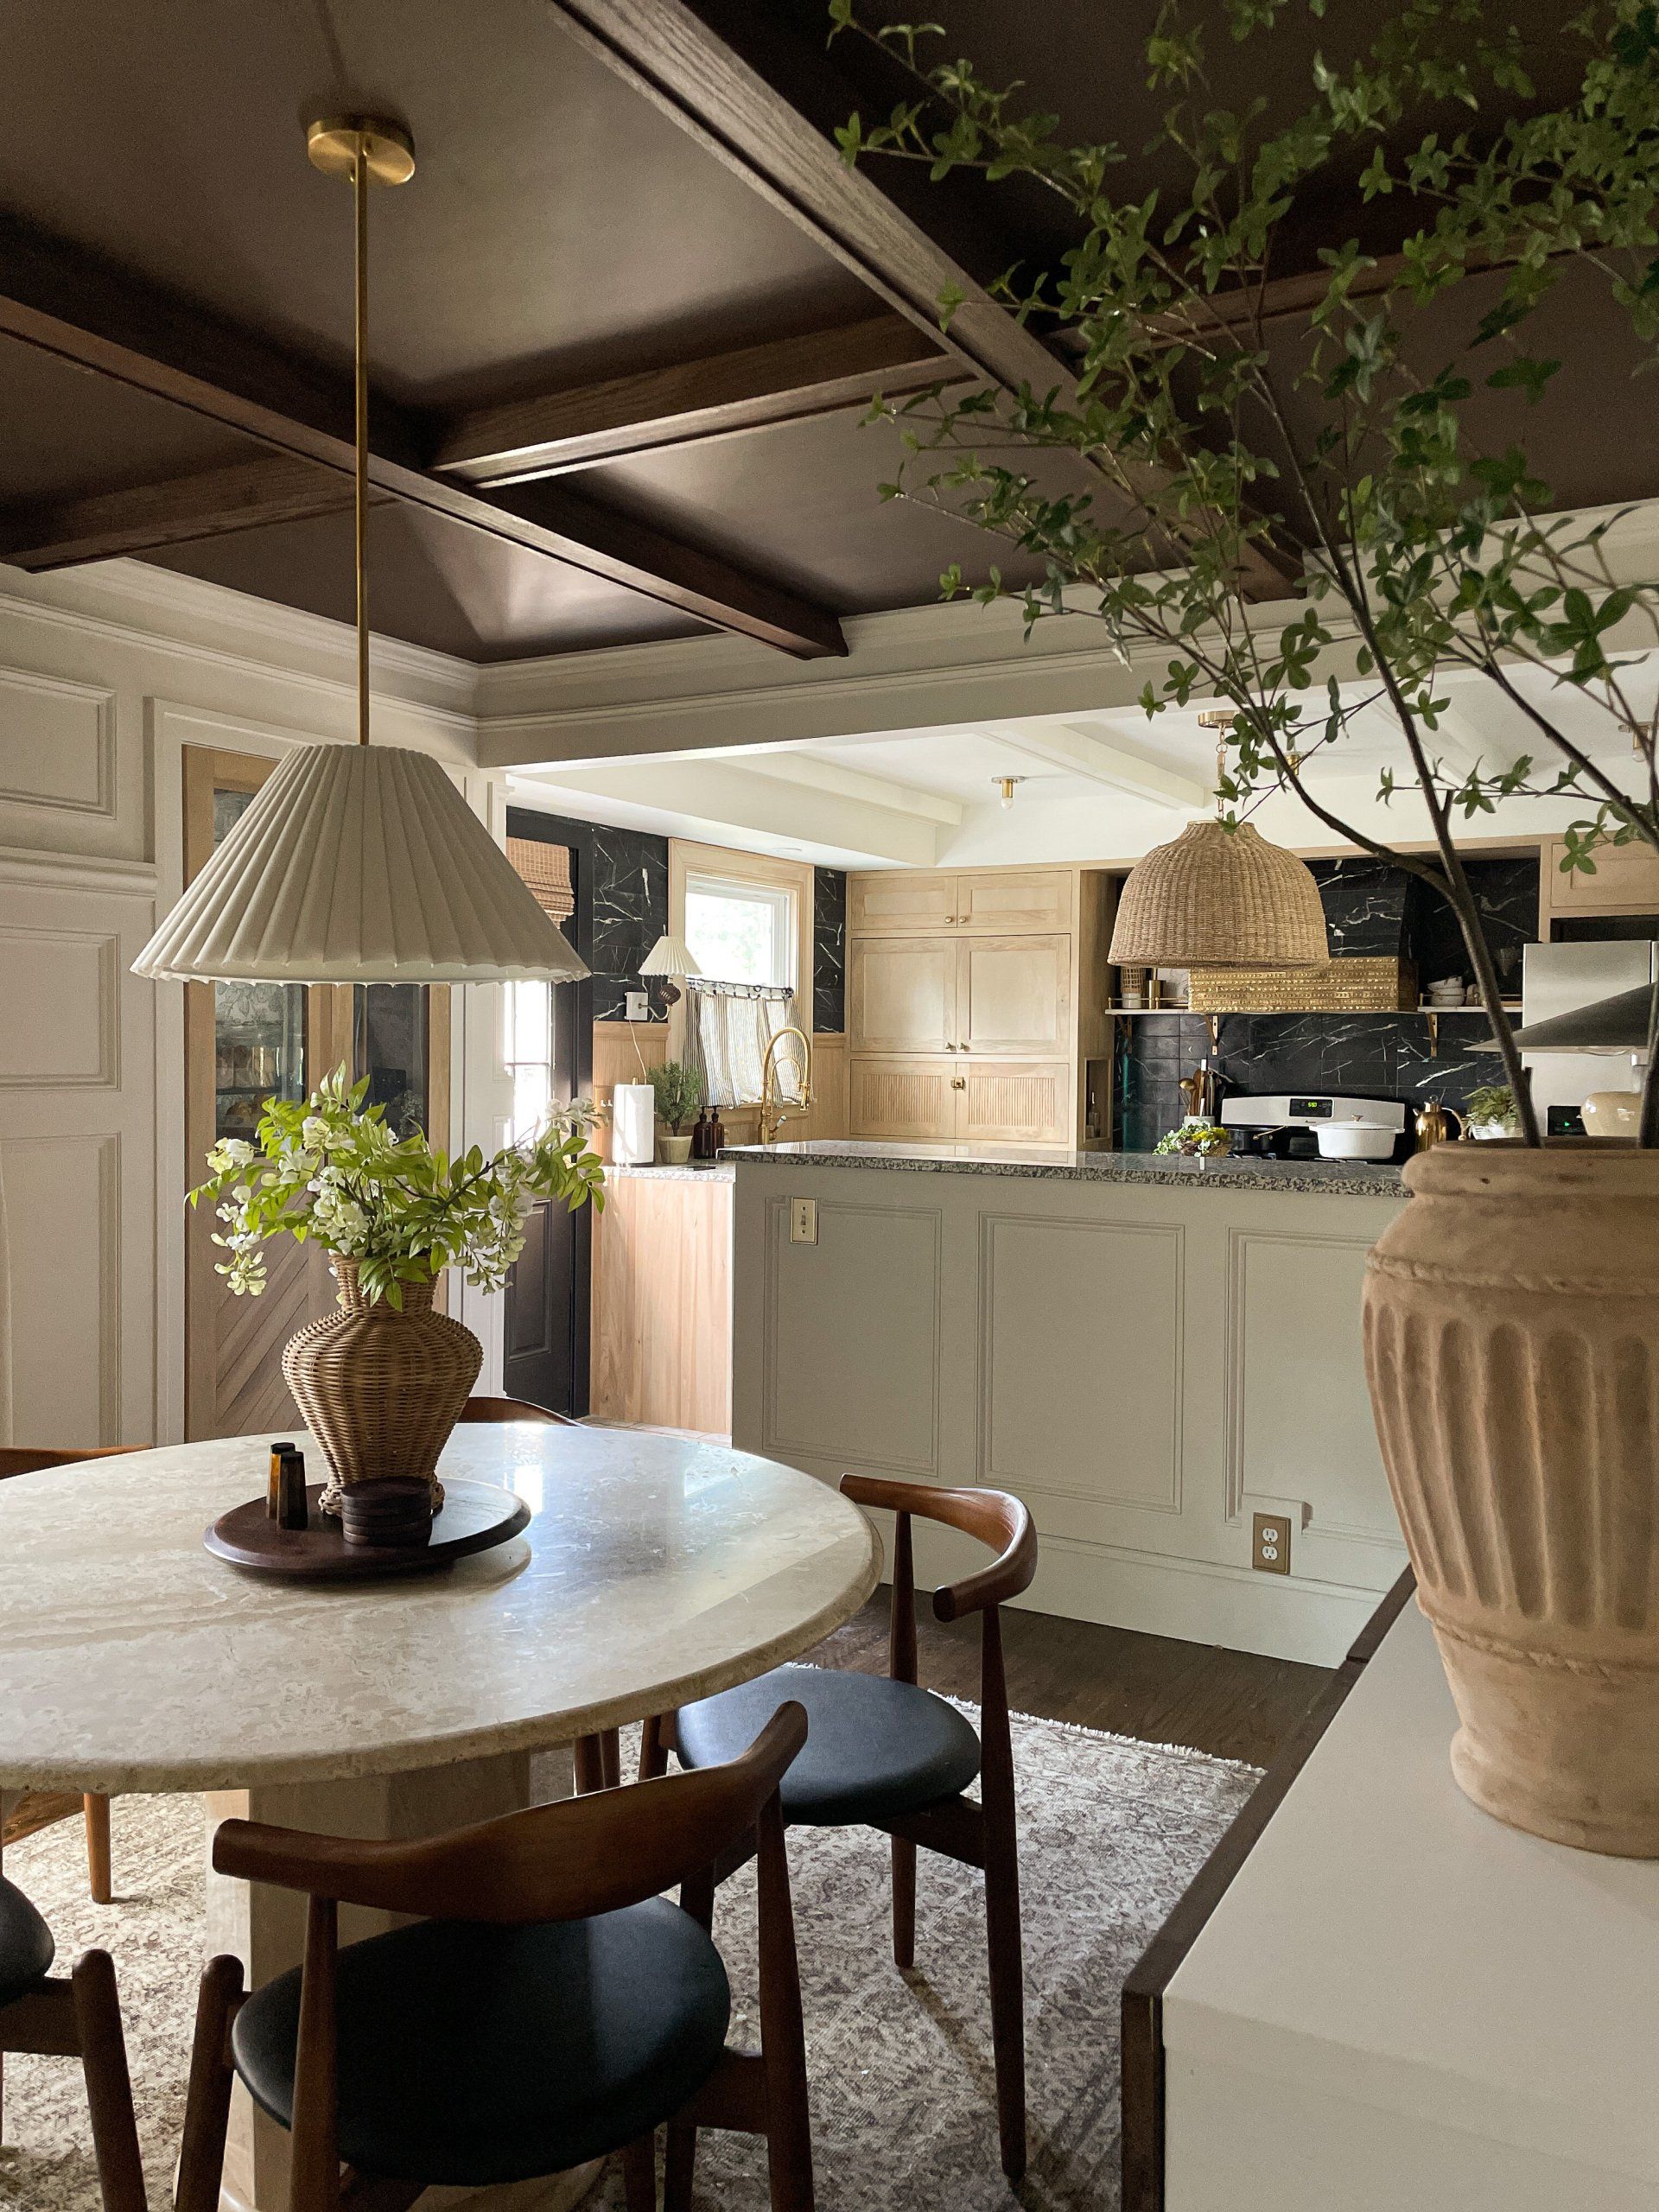
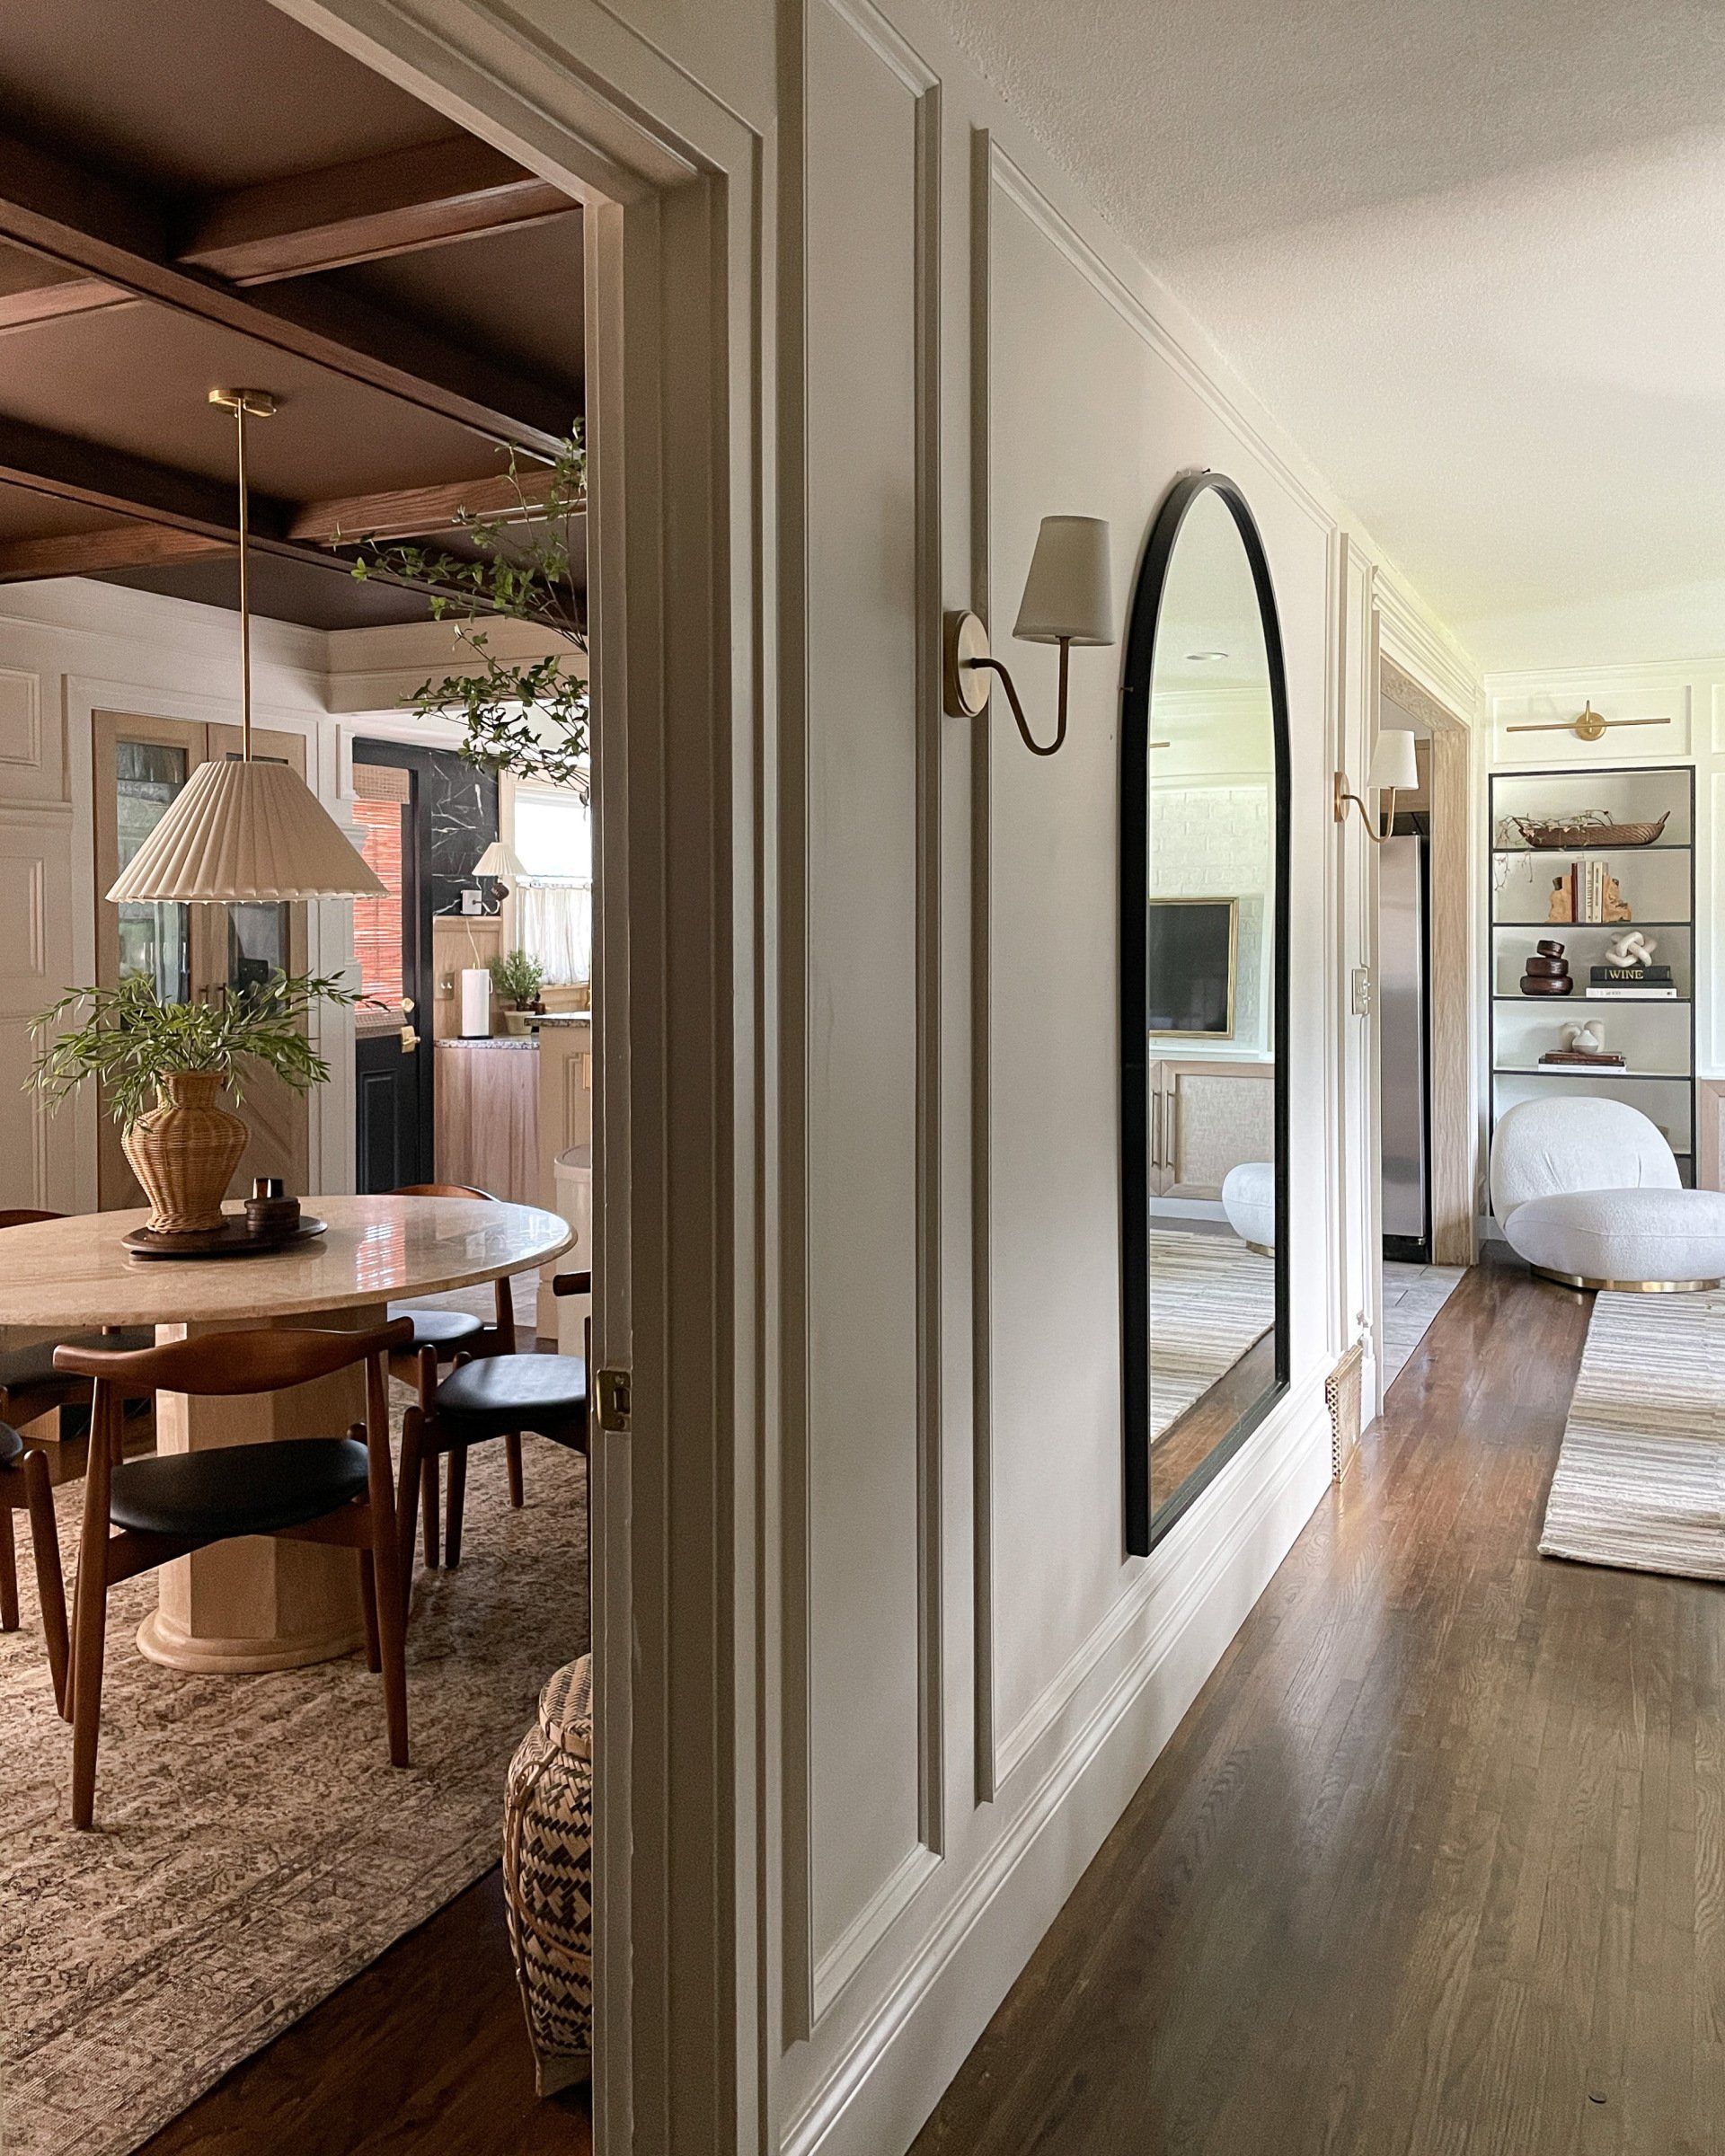
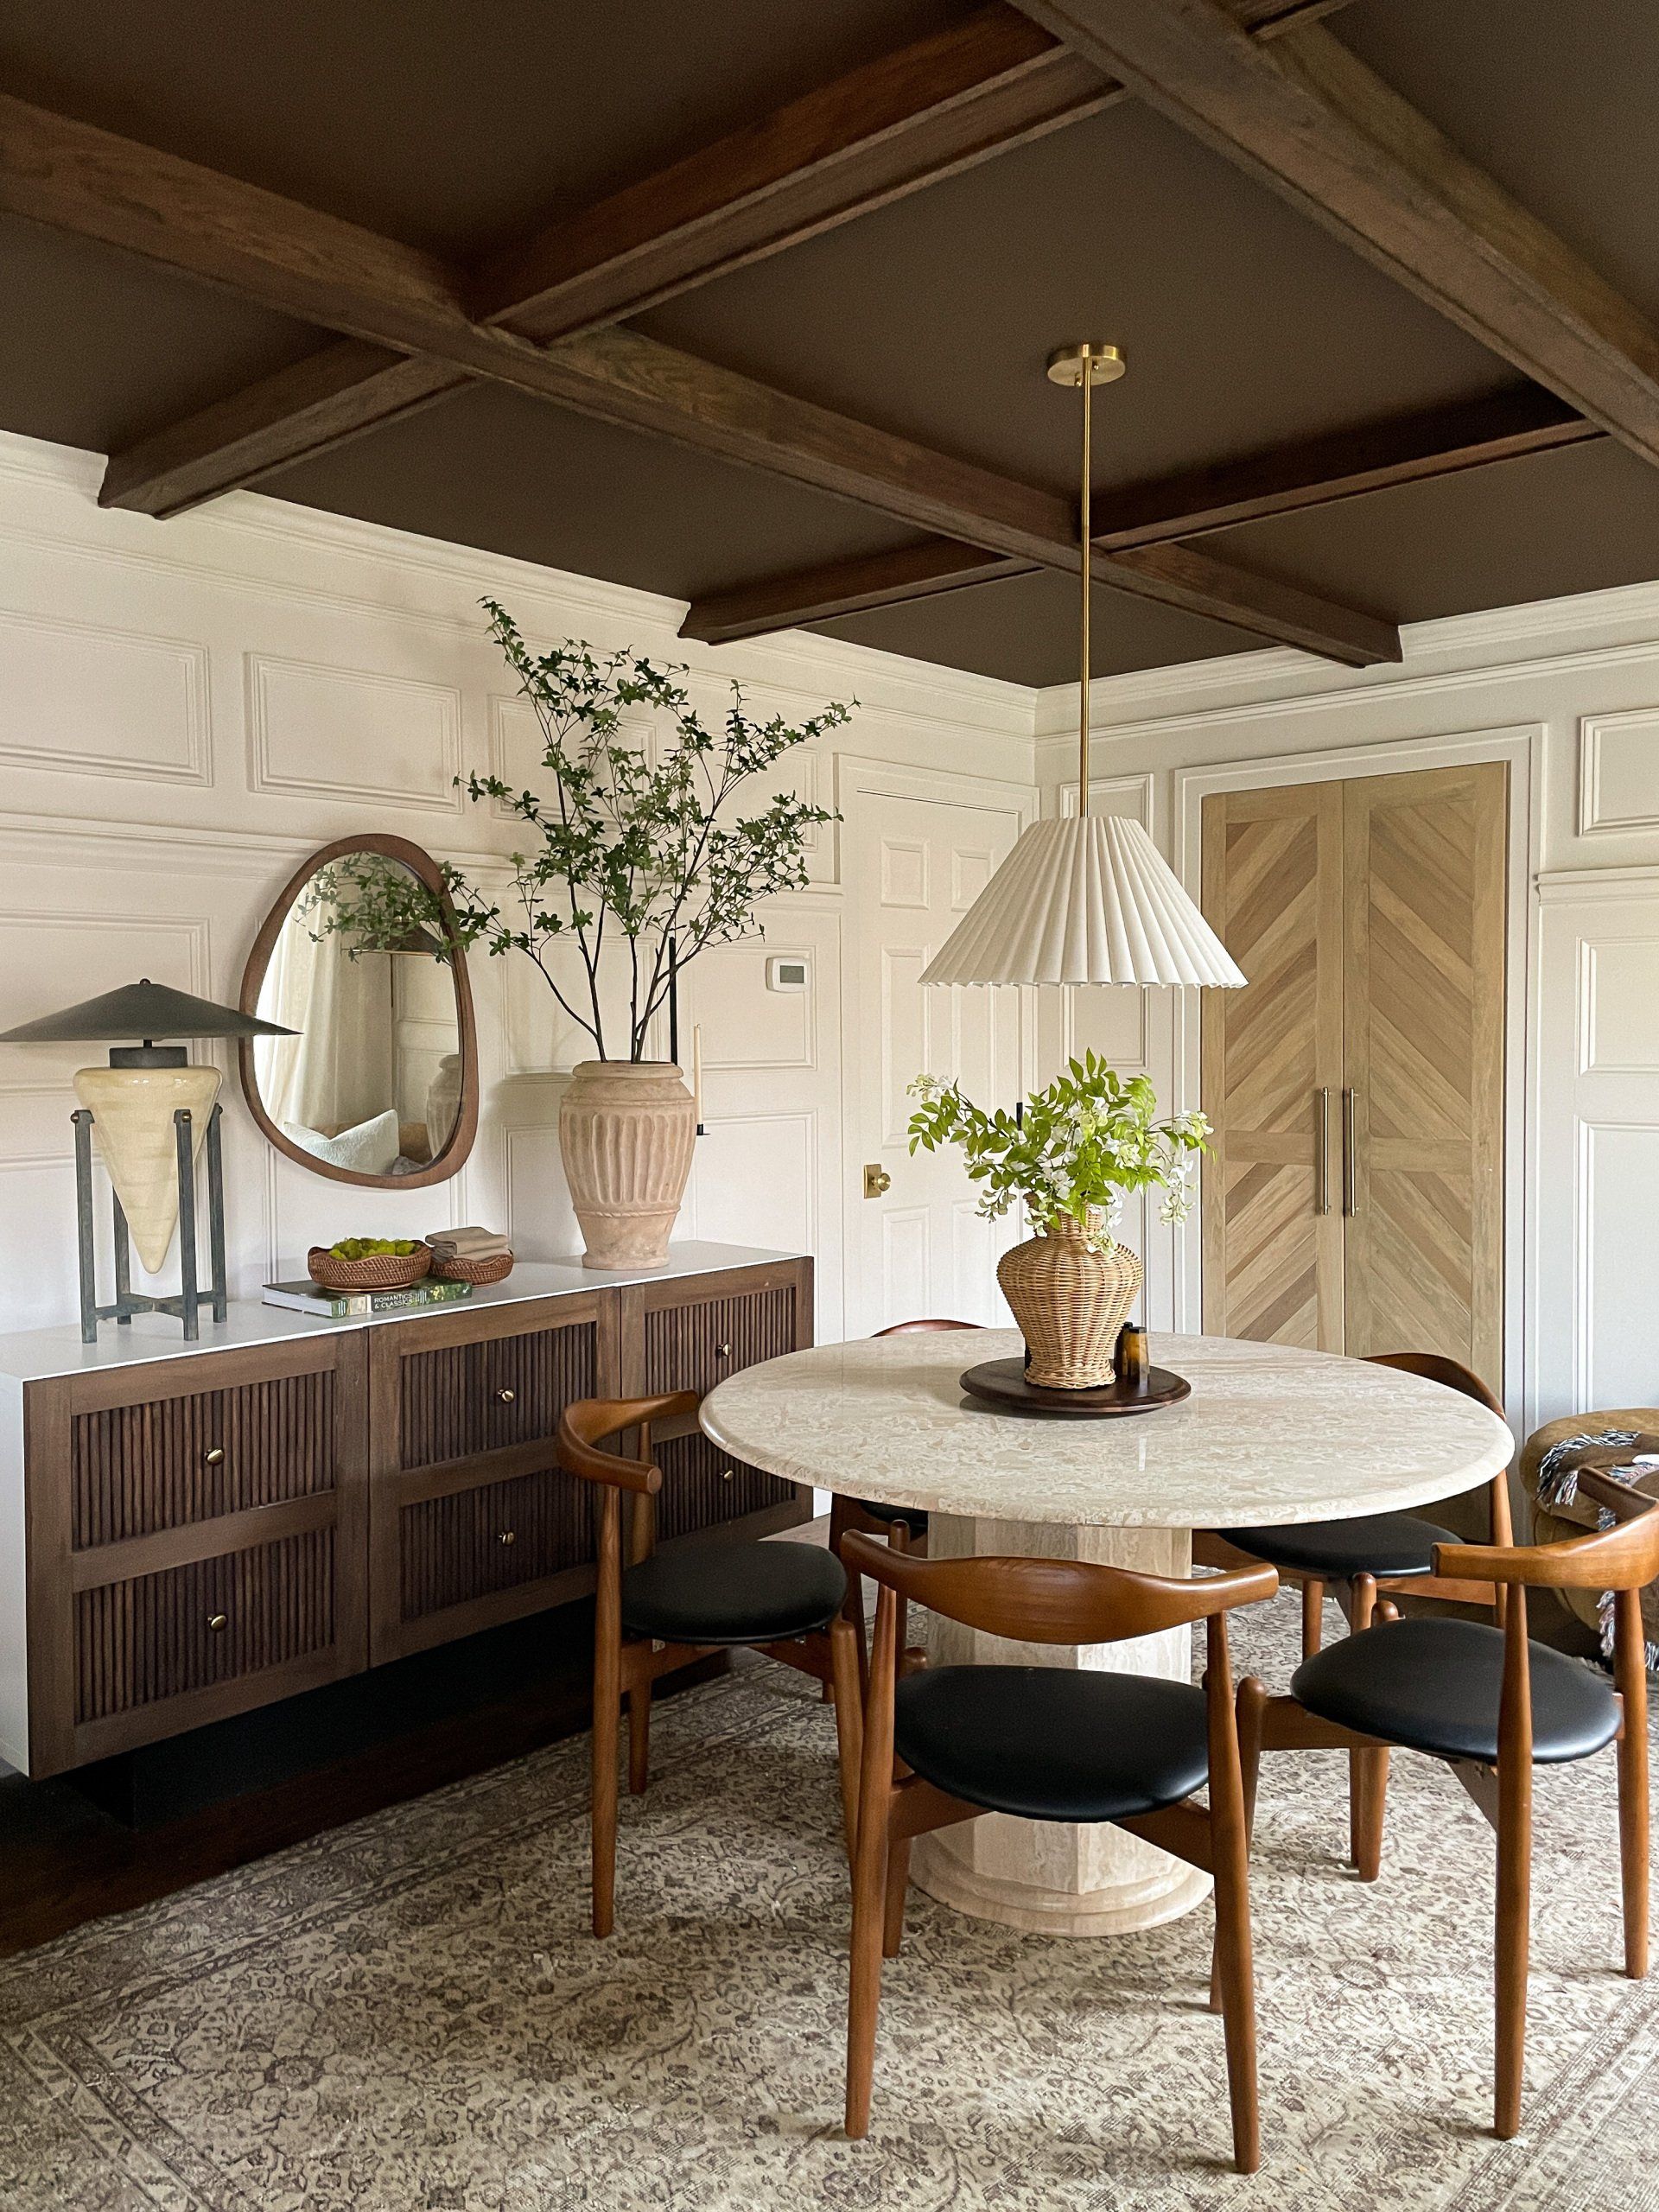
Here it is, our dream coffered ceilings..
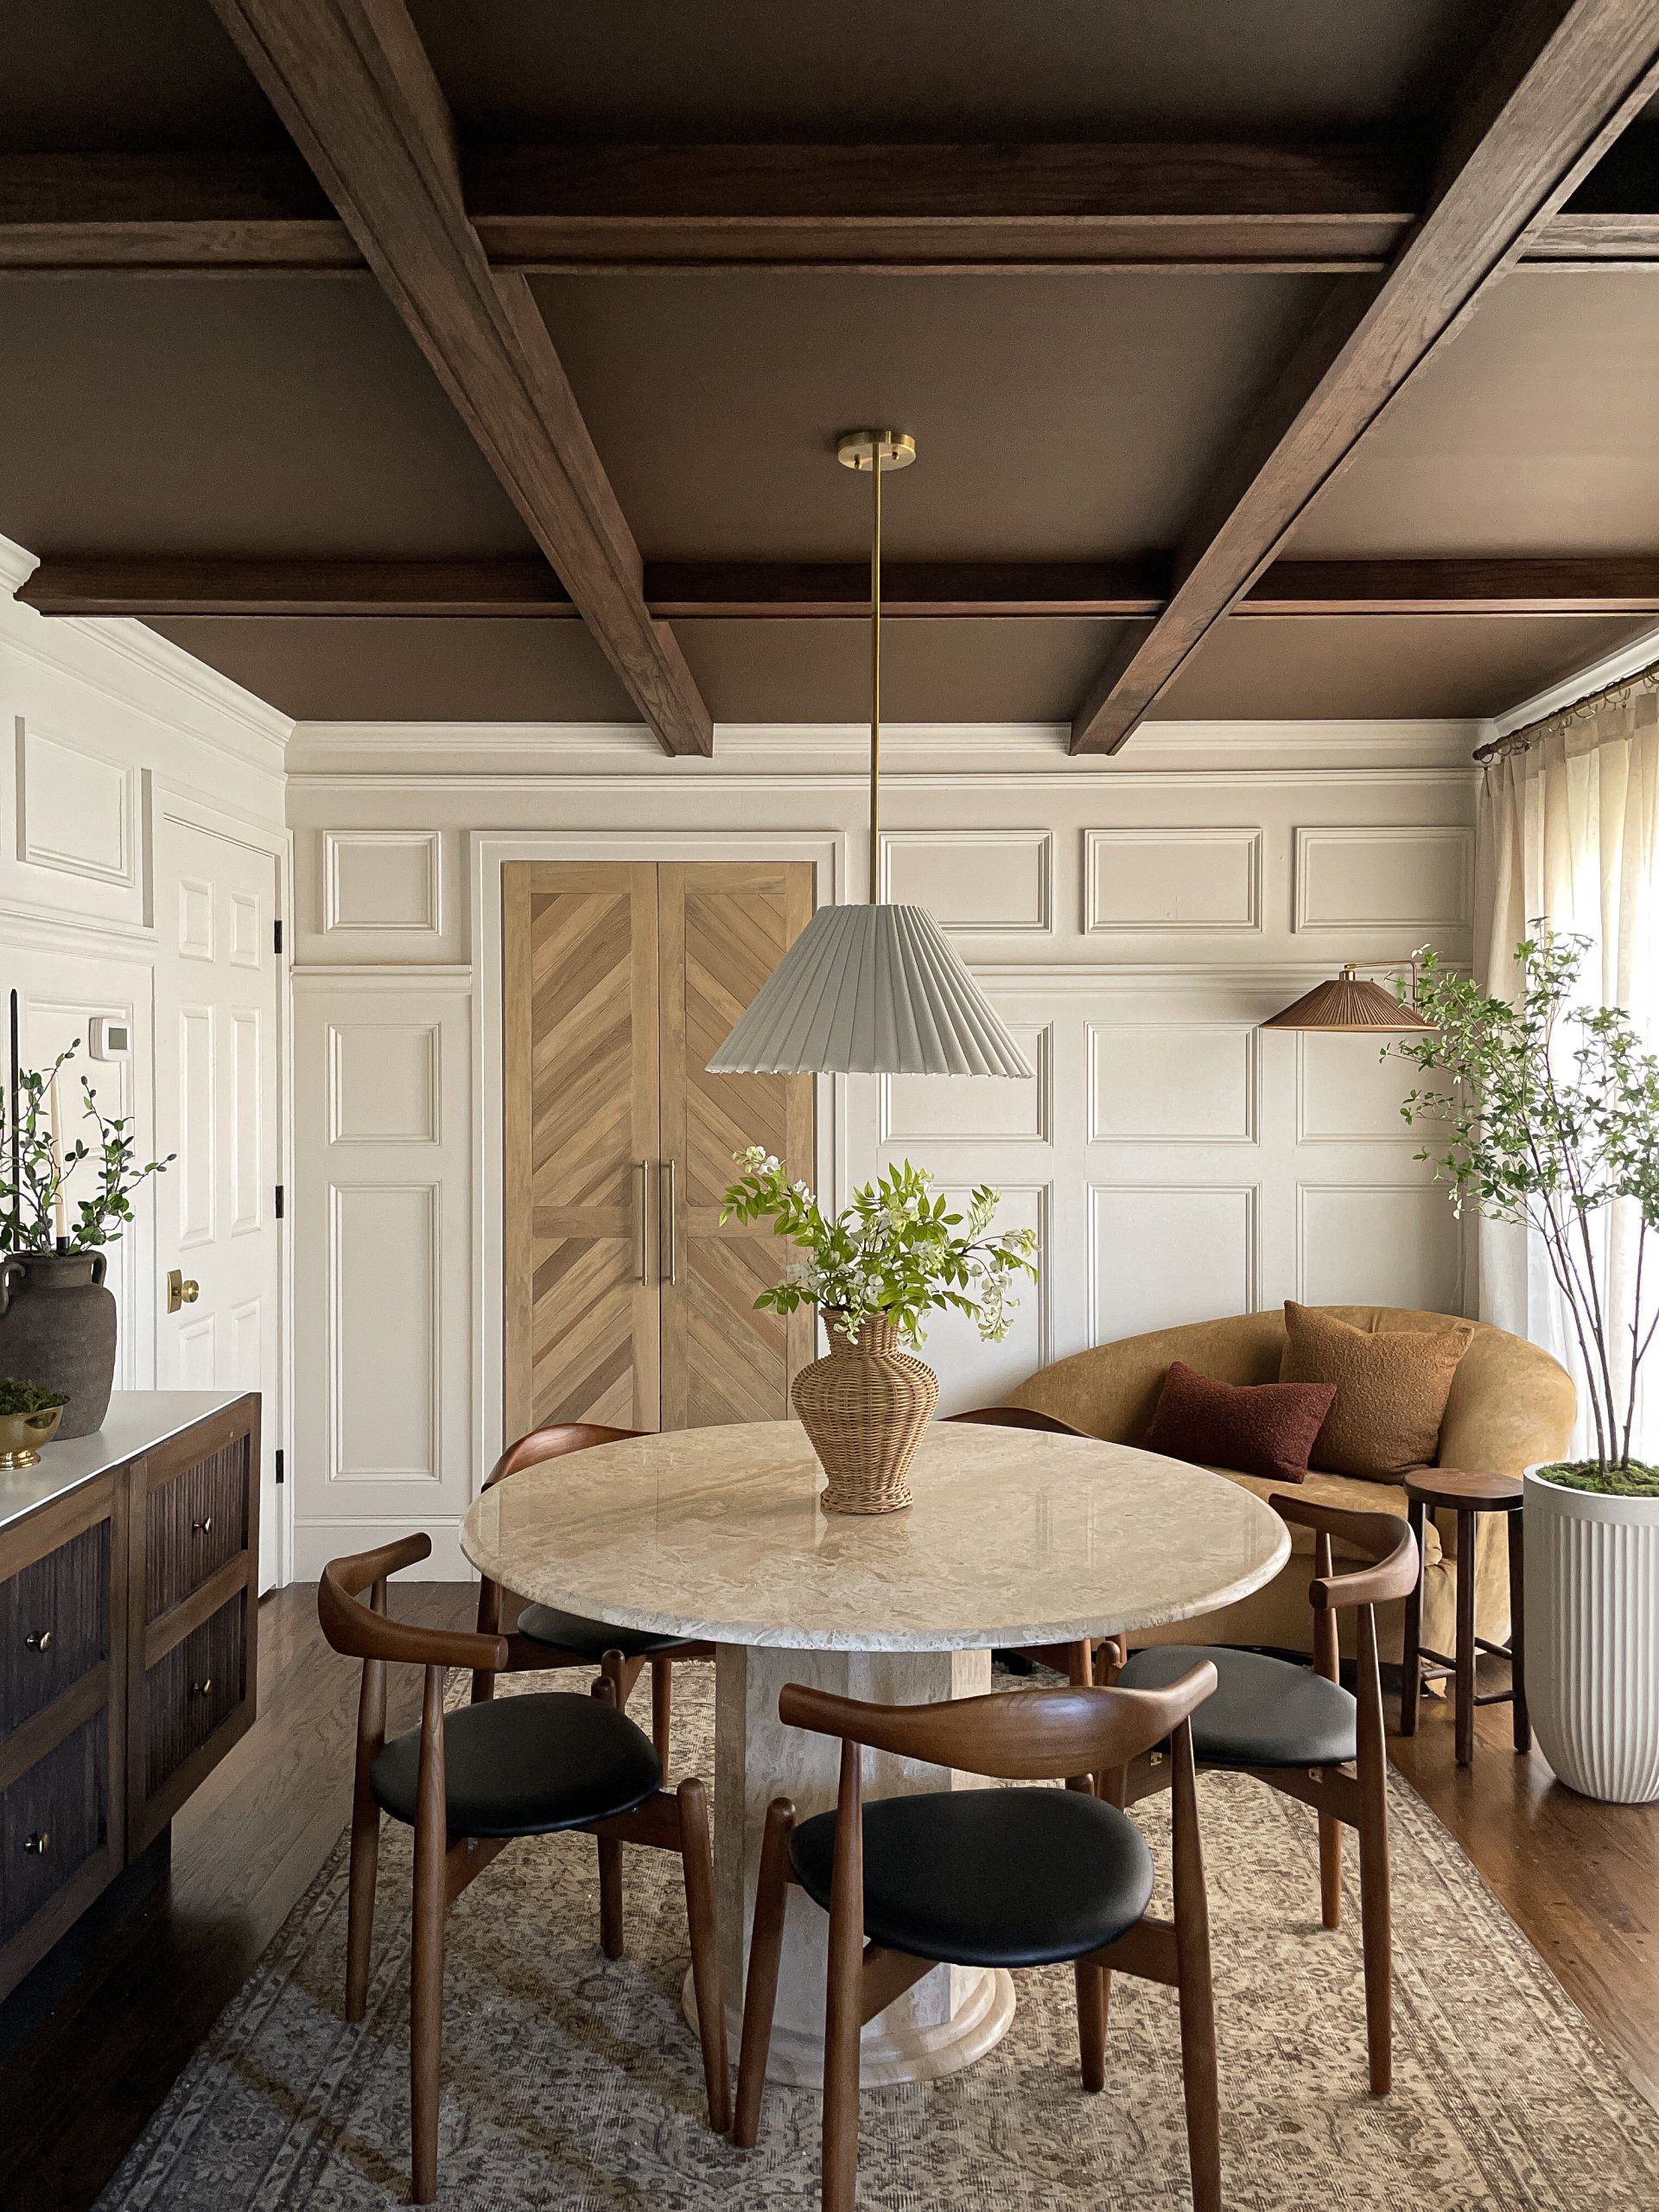
We've been imagining having a ceiling treatment like this in our home for a long time. It never felt like the right time to tackle and we honestly didn't know where to put one anyway. After living here for almost 7 years, it finally clicked. The dining room is the perfect space for it. Plus, the old herringbone ceiling was no longer reflecting our style. Sometimes, it takes living in a space for a bit to truly feel it out. A warm, rich ceiling was more us.
Cozy yet grand. It has so much interesting dimension while still being simple.
"What paint color is on the ceiling?"
TURKISH COFFEE BY SHERWIN WILLIAMS
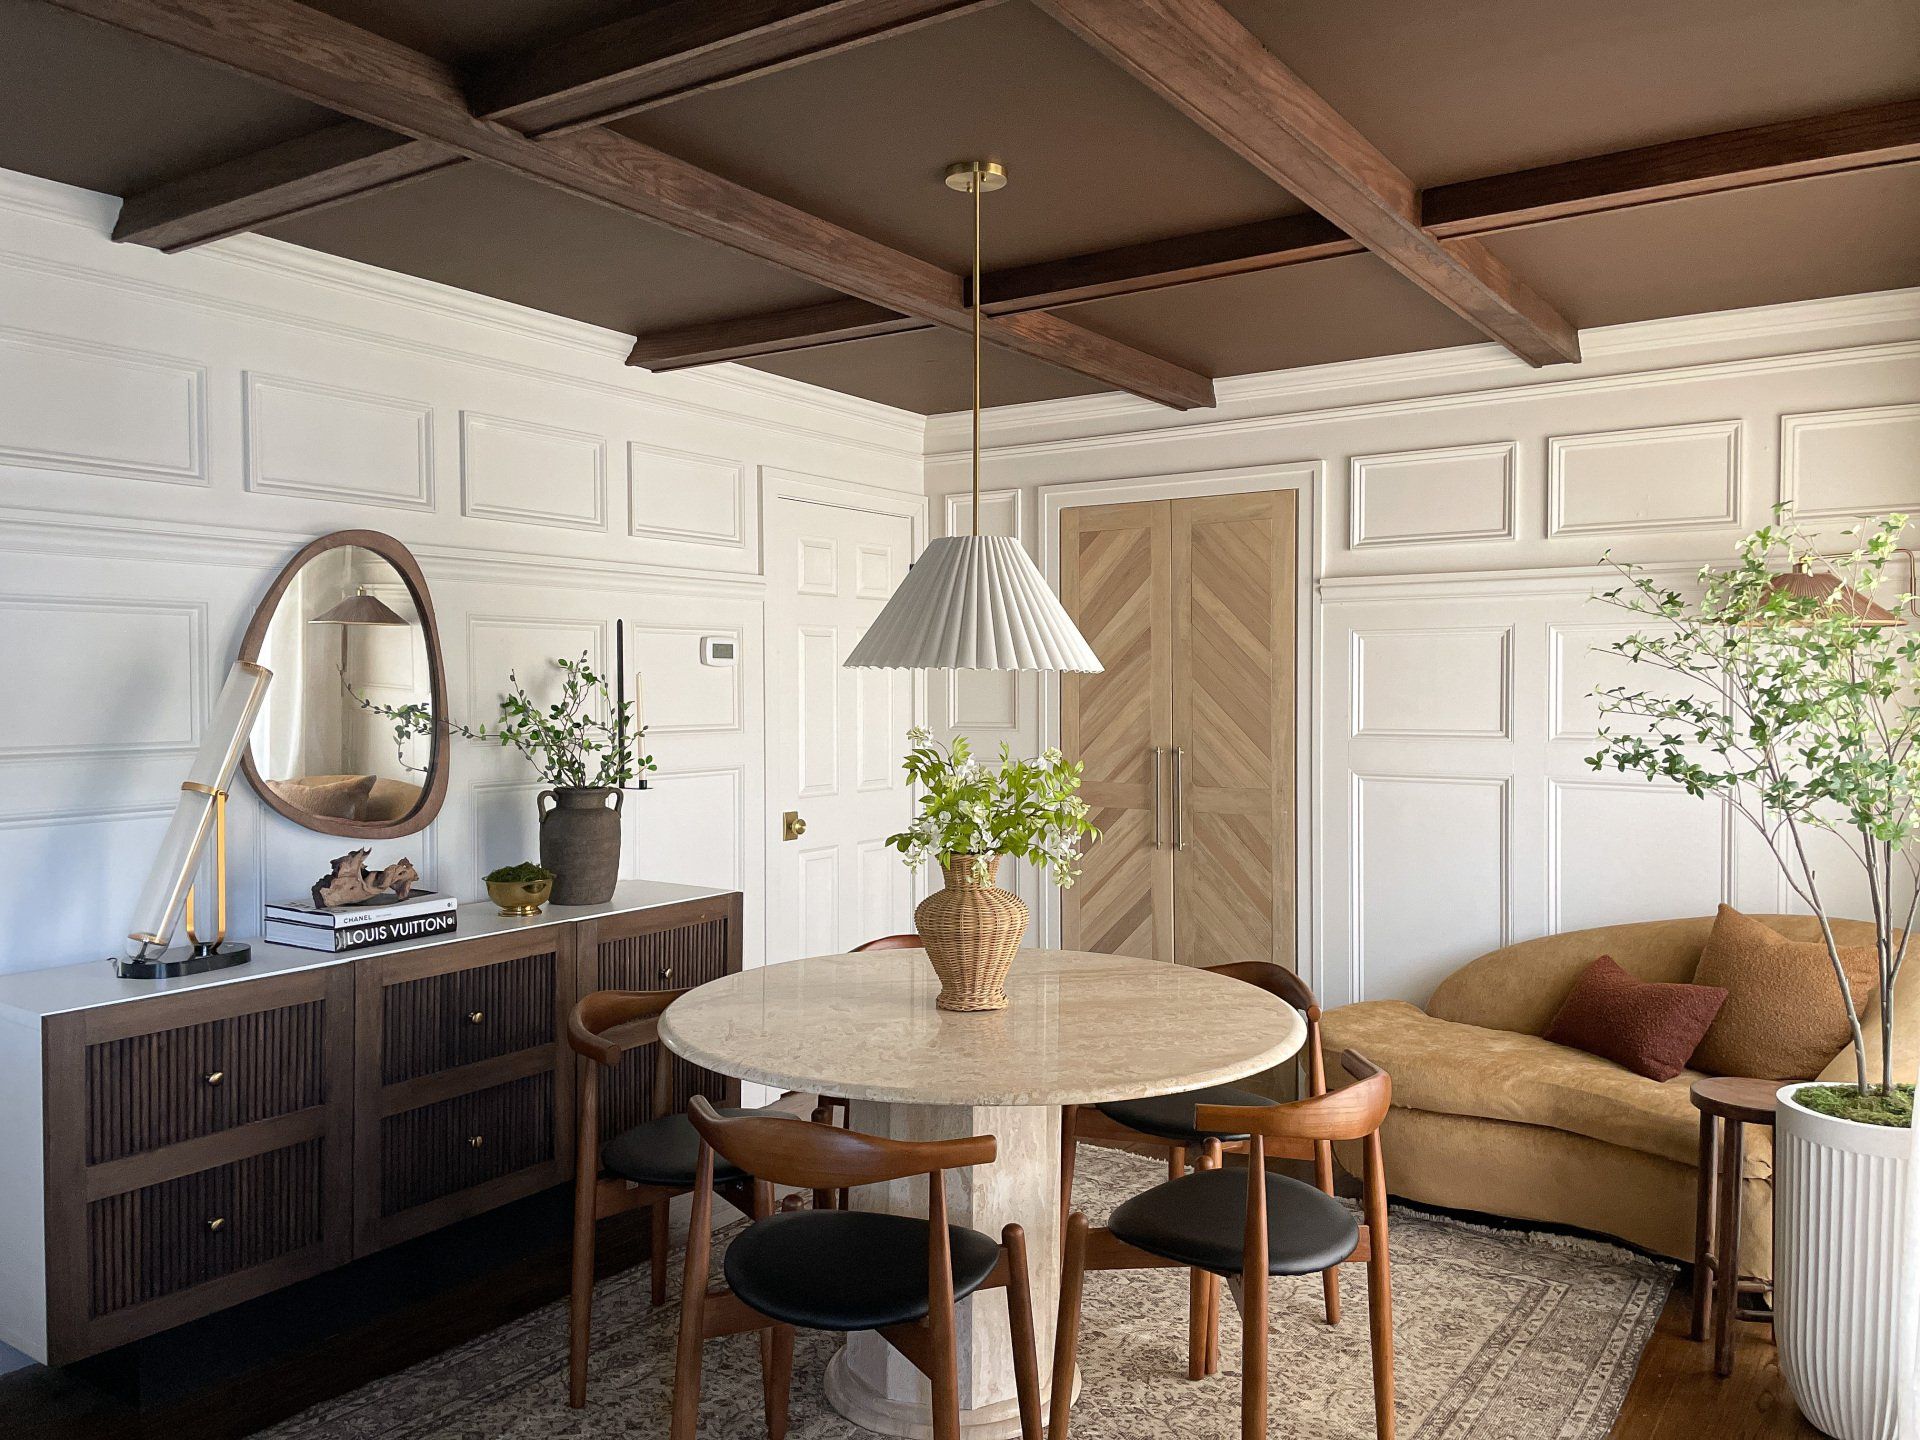
"I know brown isn't for everyone, but I didn't do it for everyone. I did it for me."
Some people think brown interiors and immediately think of the outdated, brown & burgundy style. While everything seems to always cycle around, I believe it usually comes back in a very fresh, new way. Fortunately, I've convinced thousands of you that brown is kinda the new black (although, I think neutrals/earthy-tones are timeless). We're all loving the touches of brown throughout the house and the feedback has been overwhelmingly awesome!
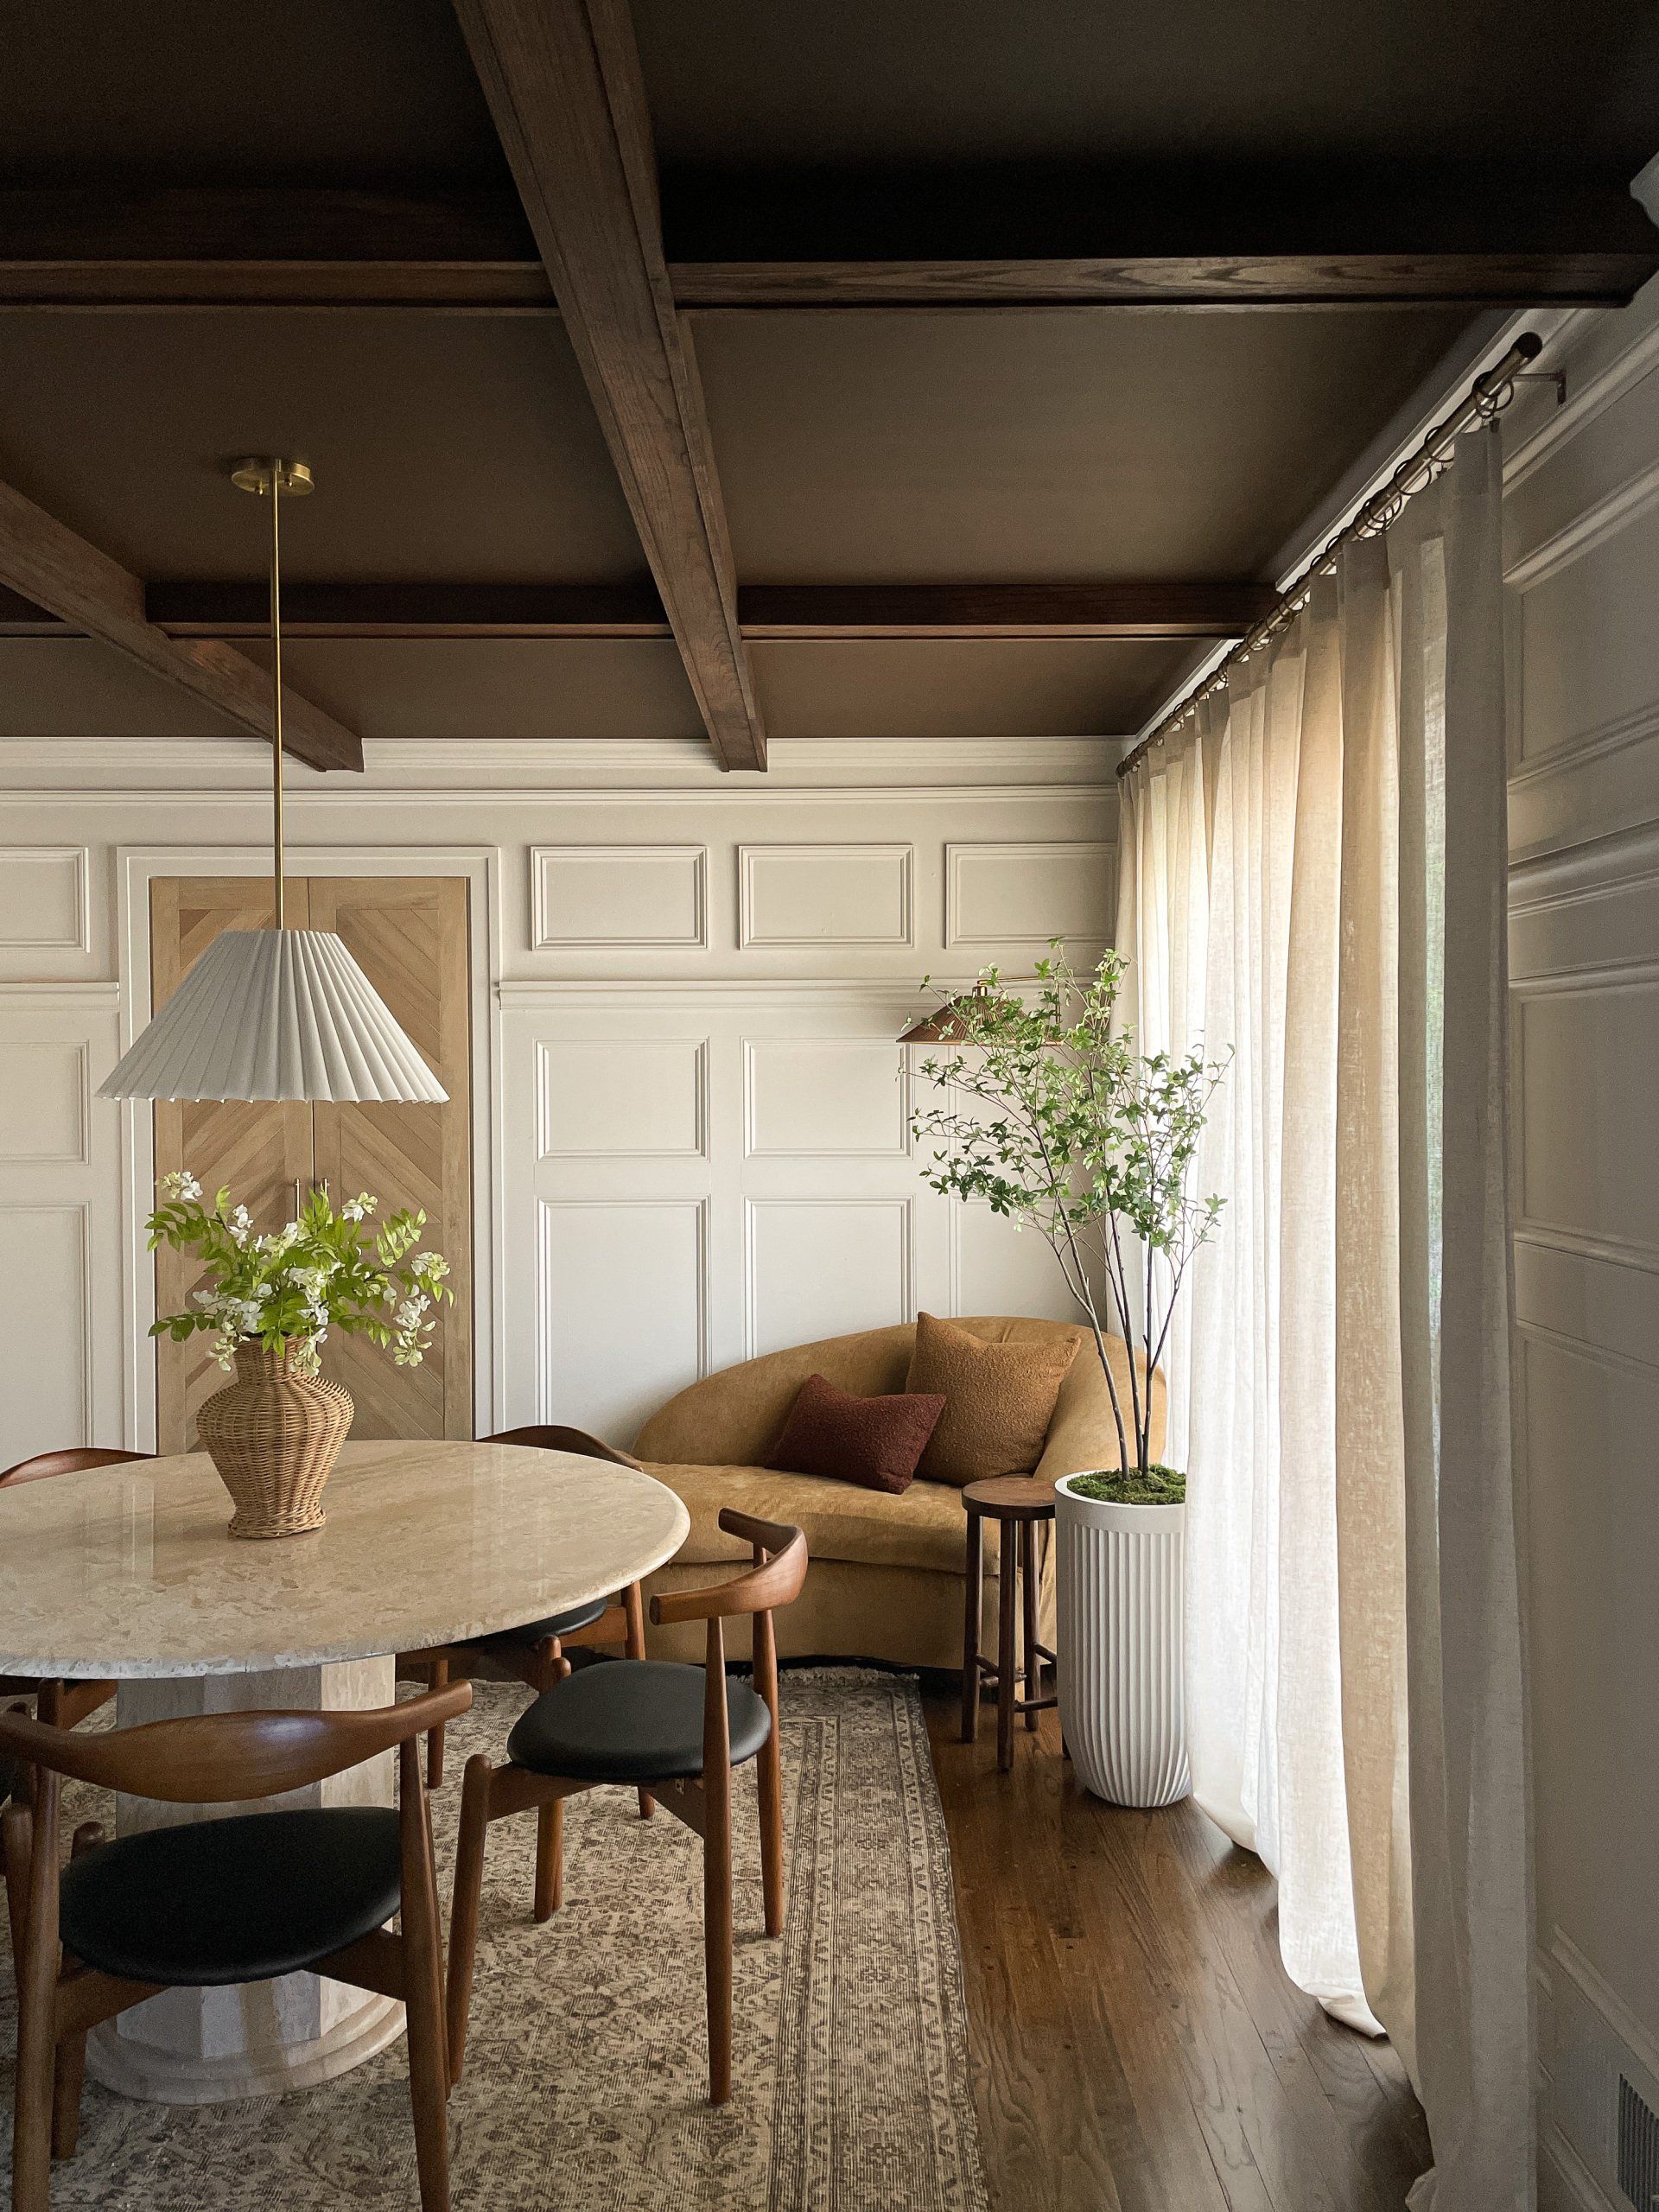
"What kind of wood are the beams made of?"
We built these faux beams out of red oak and stained them with Varathane's Dark Walnut gel stain. I opted for gel because of the thickness of the product. No drips, less mess! I applied with a staining sponge and didn't put down any drop cloths. Living life on the edge? Maybe lol.
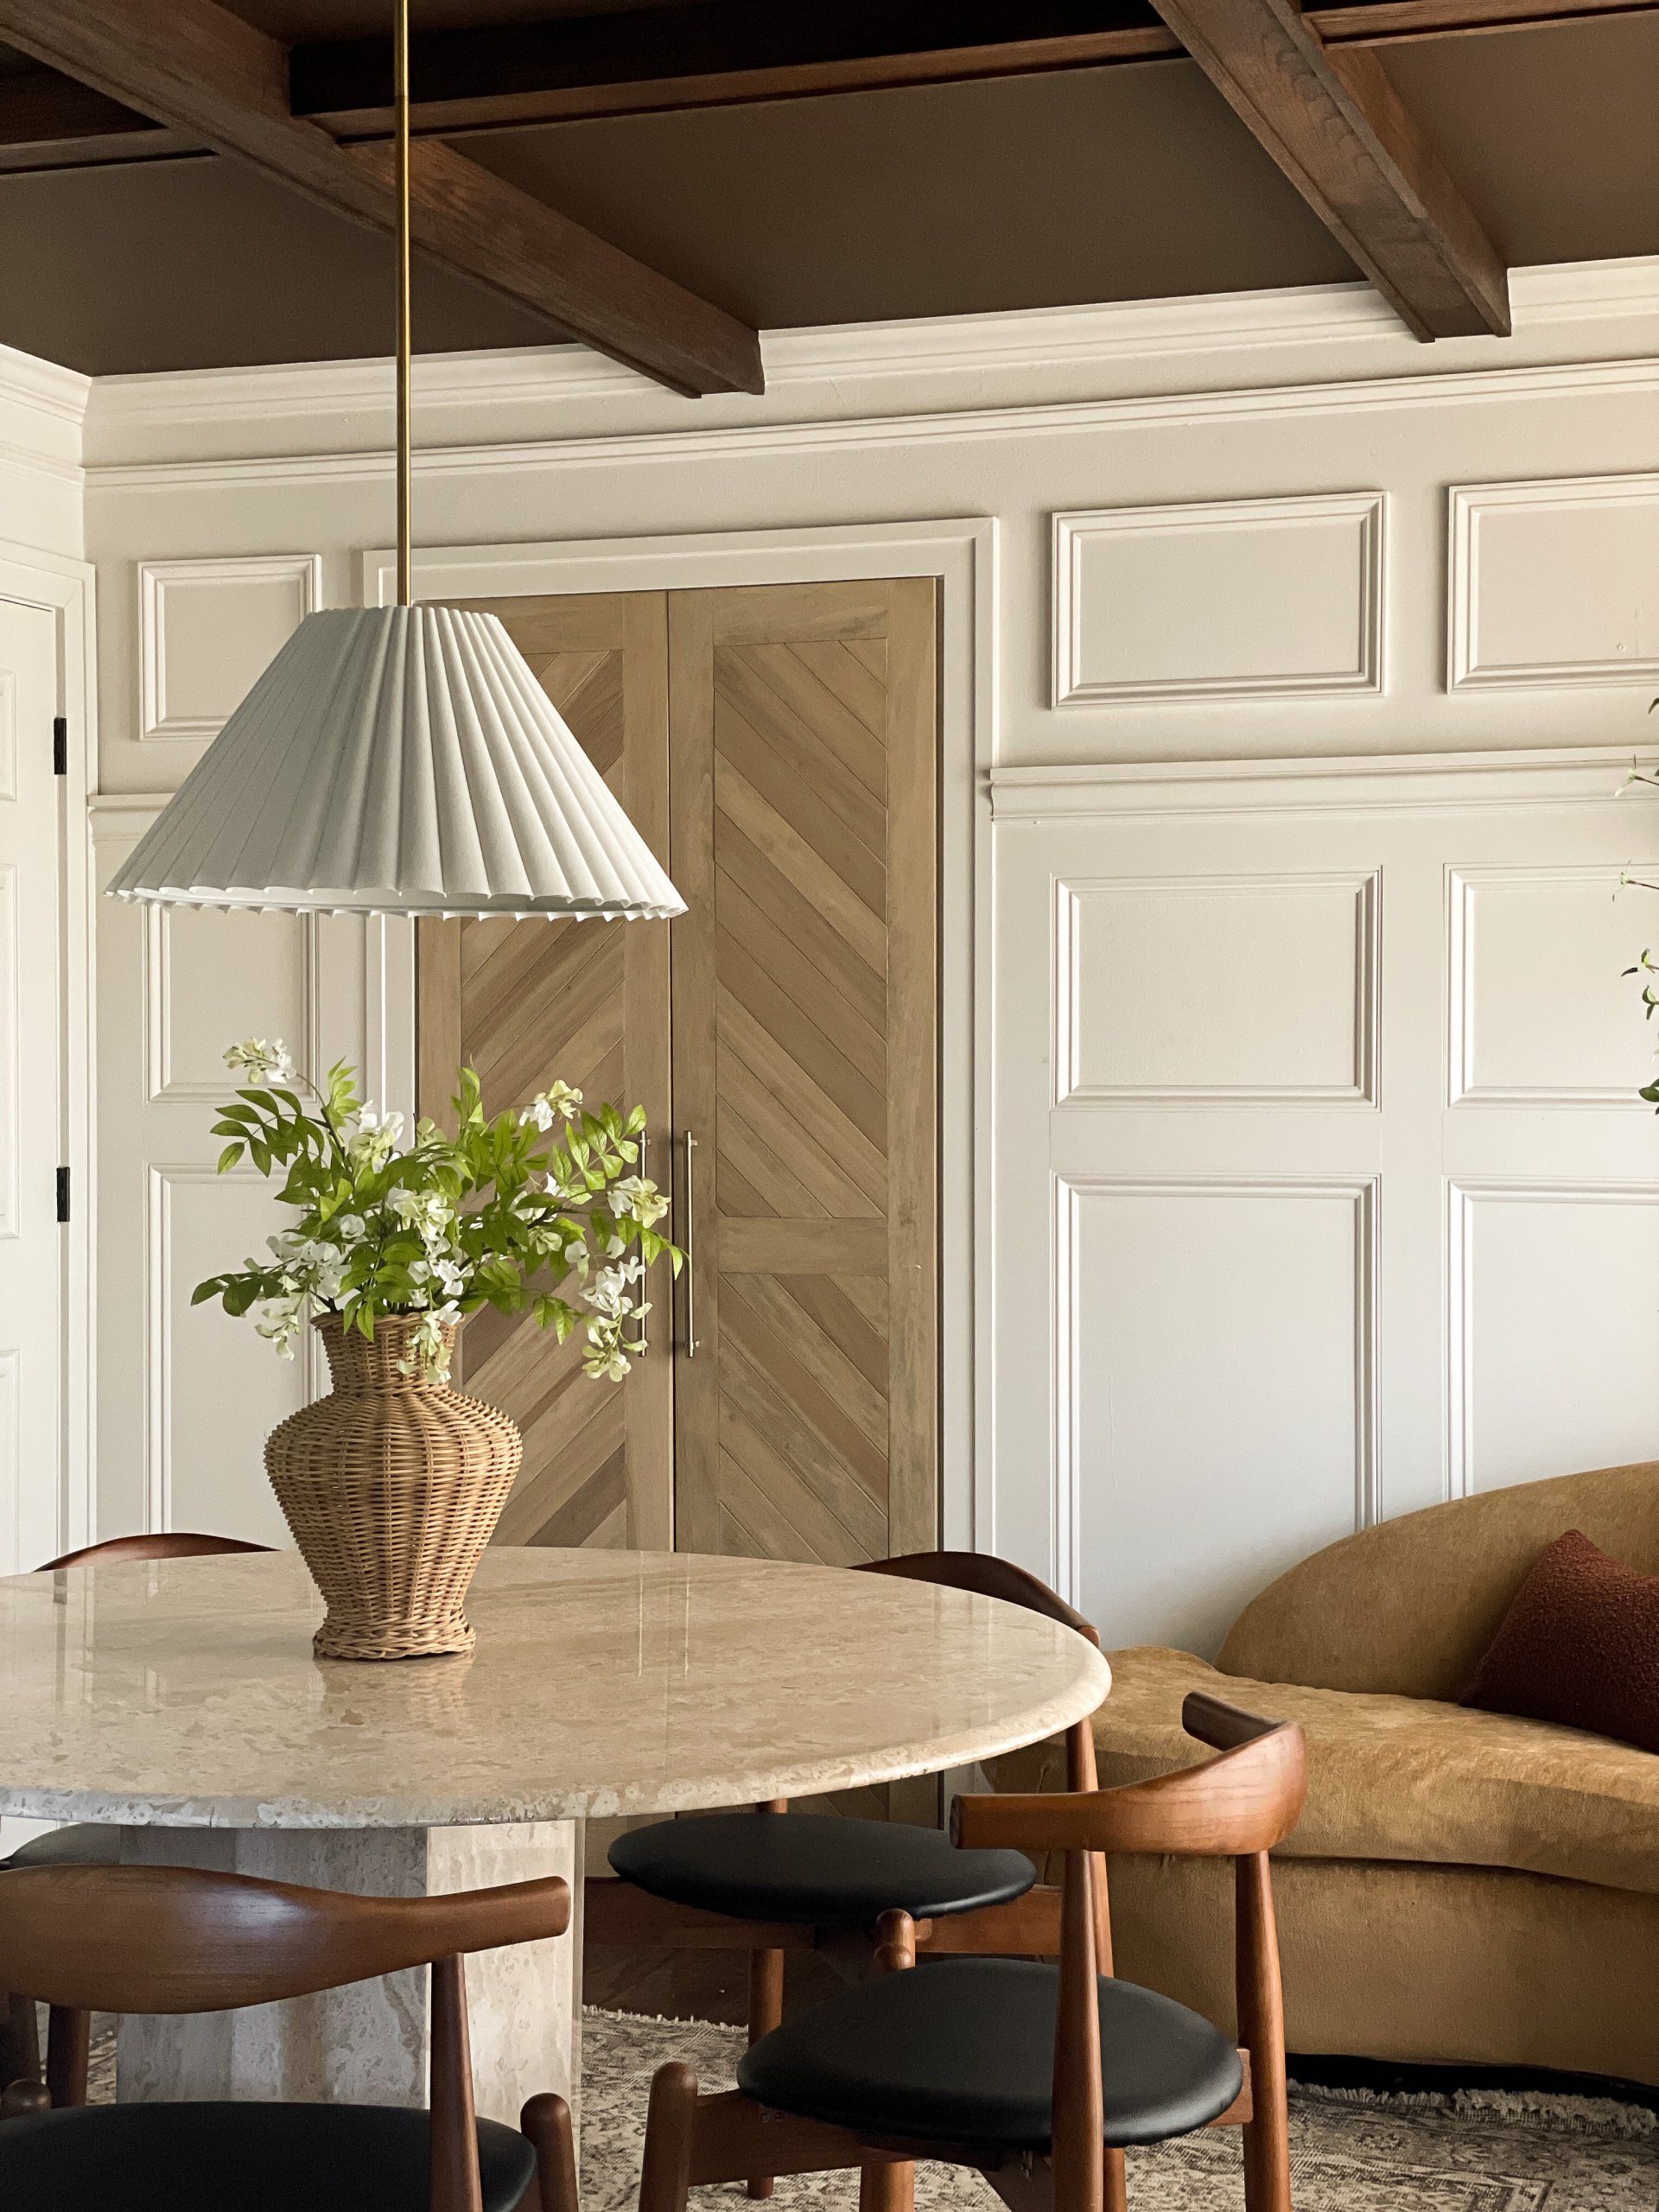
"Where are your dining chairs from? How are they holding up and do you like them?"
You can shop my dining chairs (here). We absolutely love them! From the design, to the low profile, to the tones.. they're perfect for this space. The back of the seat curves so comfortably and double as an arm rest. The seats aren't as thick in cushion as our last chairs but they're still comfortable to sit on for hours. They'll definitely last for years to come. Bonus points because they're extra kid-friendly! I hadn't realized how messy of a eater my son was until I paid more attention to his chair. Fortunately, these wipe up easily and they're as good as new.
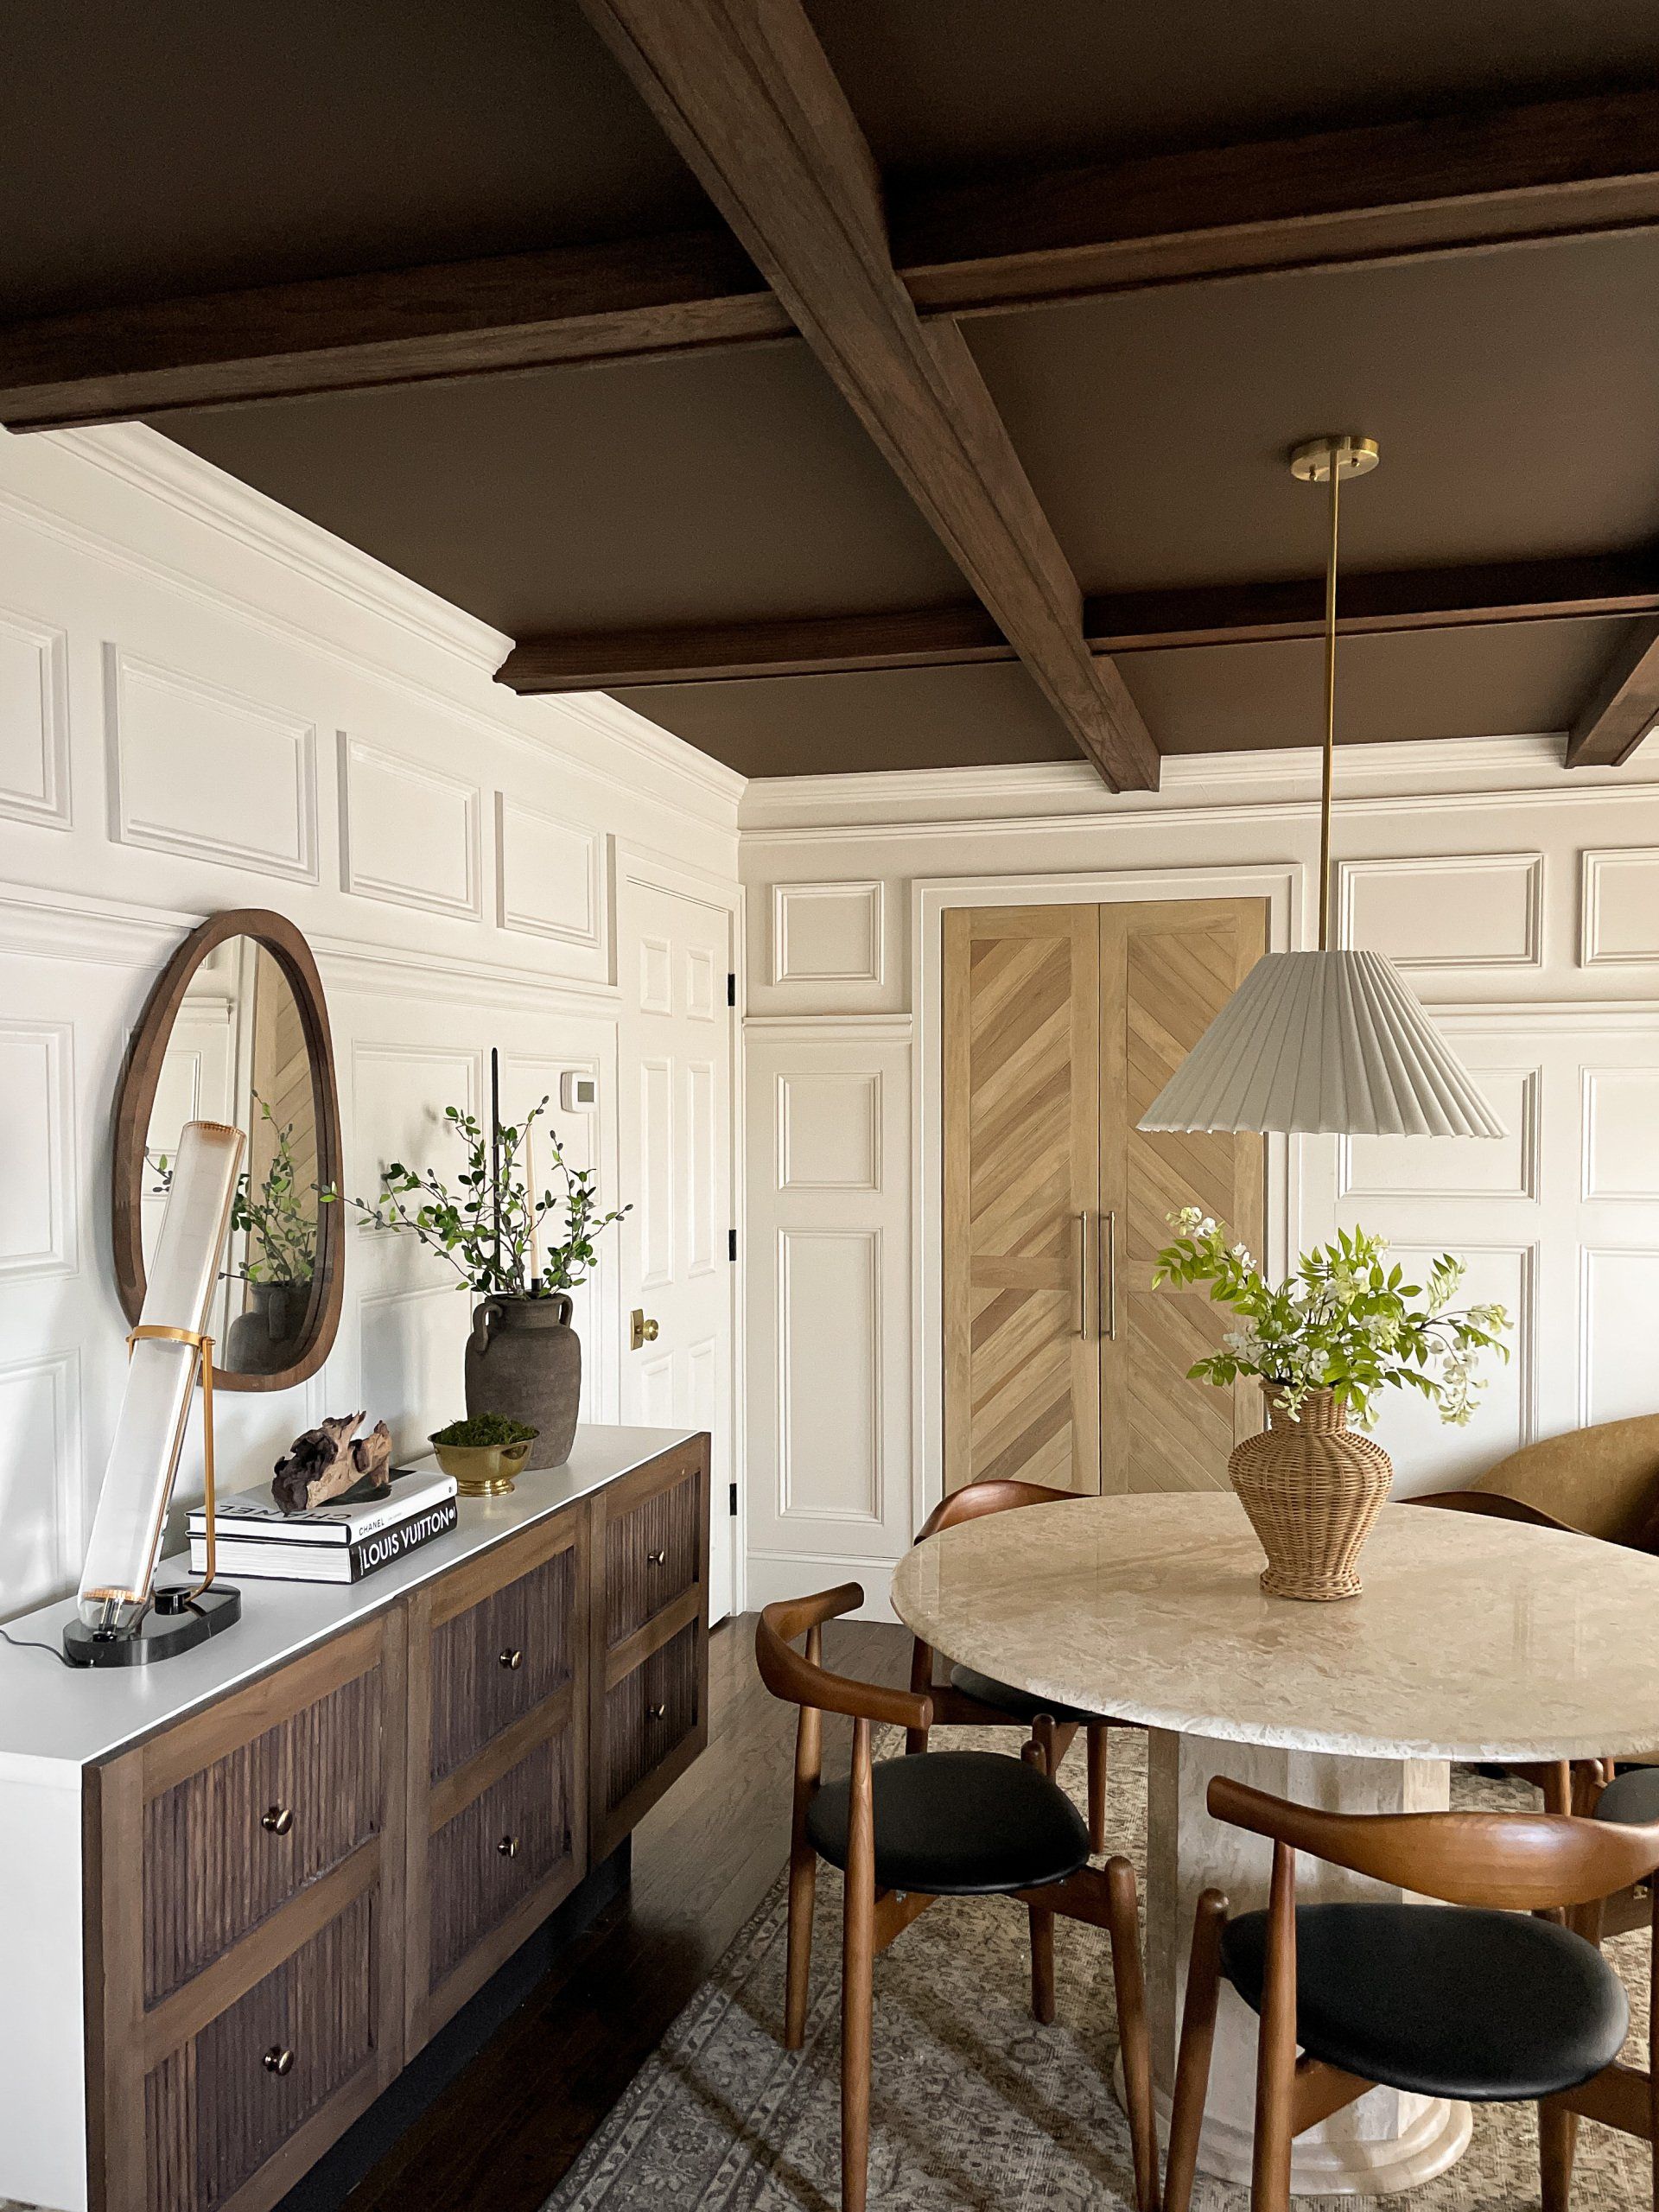
"...that pleated pendant light!!!"
I know, it's a beauty. Could you believe that it's only a lamp shade combined with a modified pendant light fixture? SO inexpensive for both pieces and a quick D.I.Y. project. You can find the shade (here) and the pendant (here). We removed certain parts of the pendant in order to fit the shade on it.
BEFORE
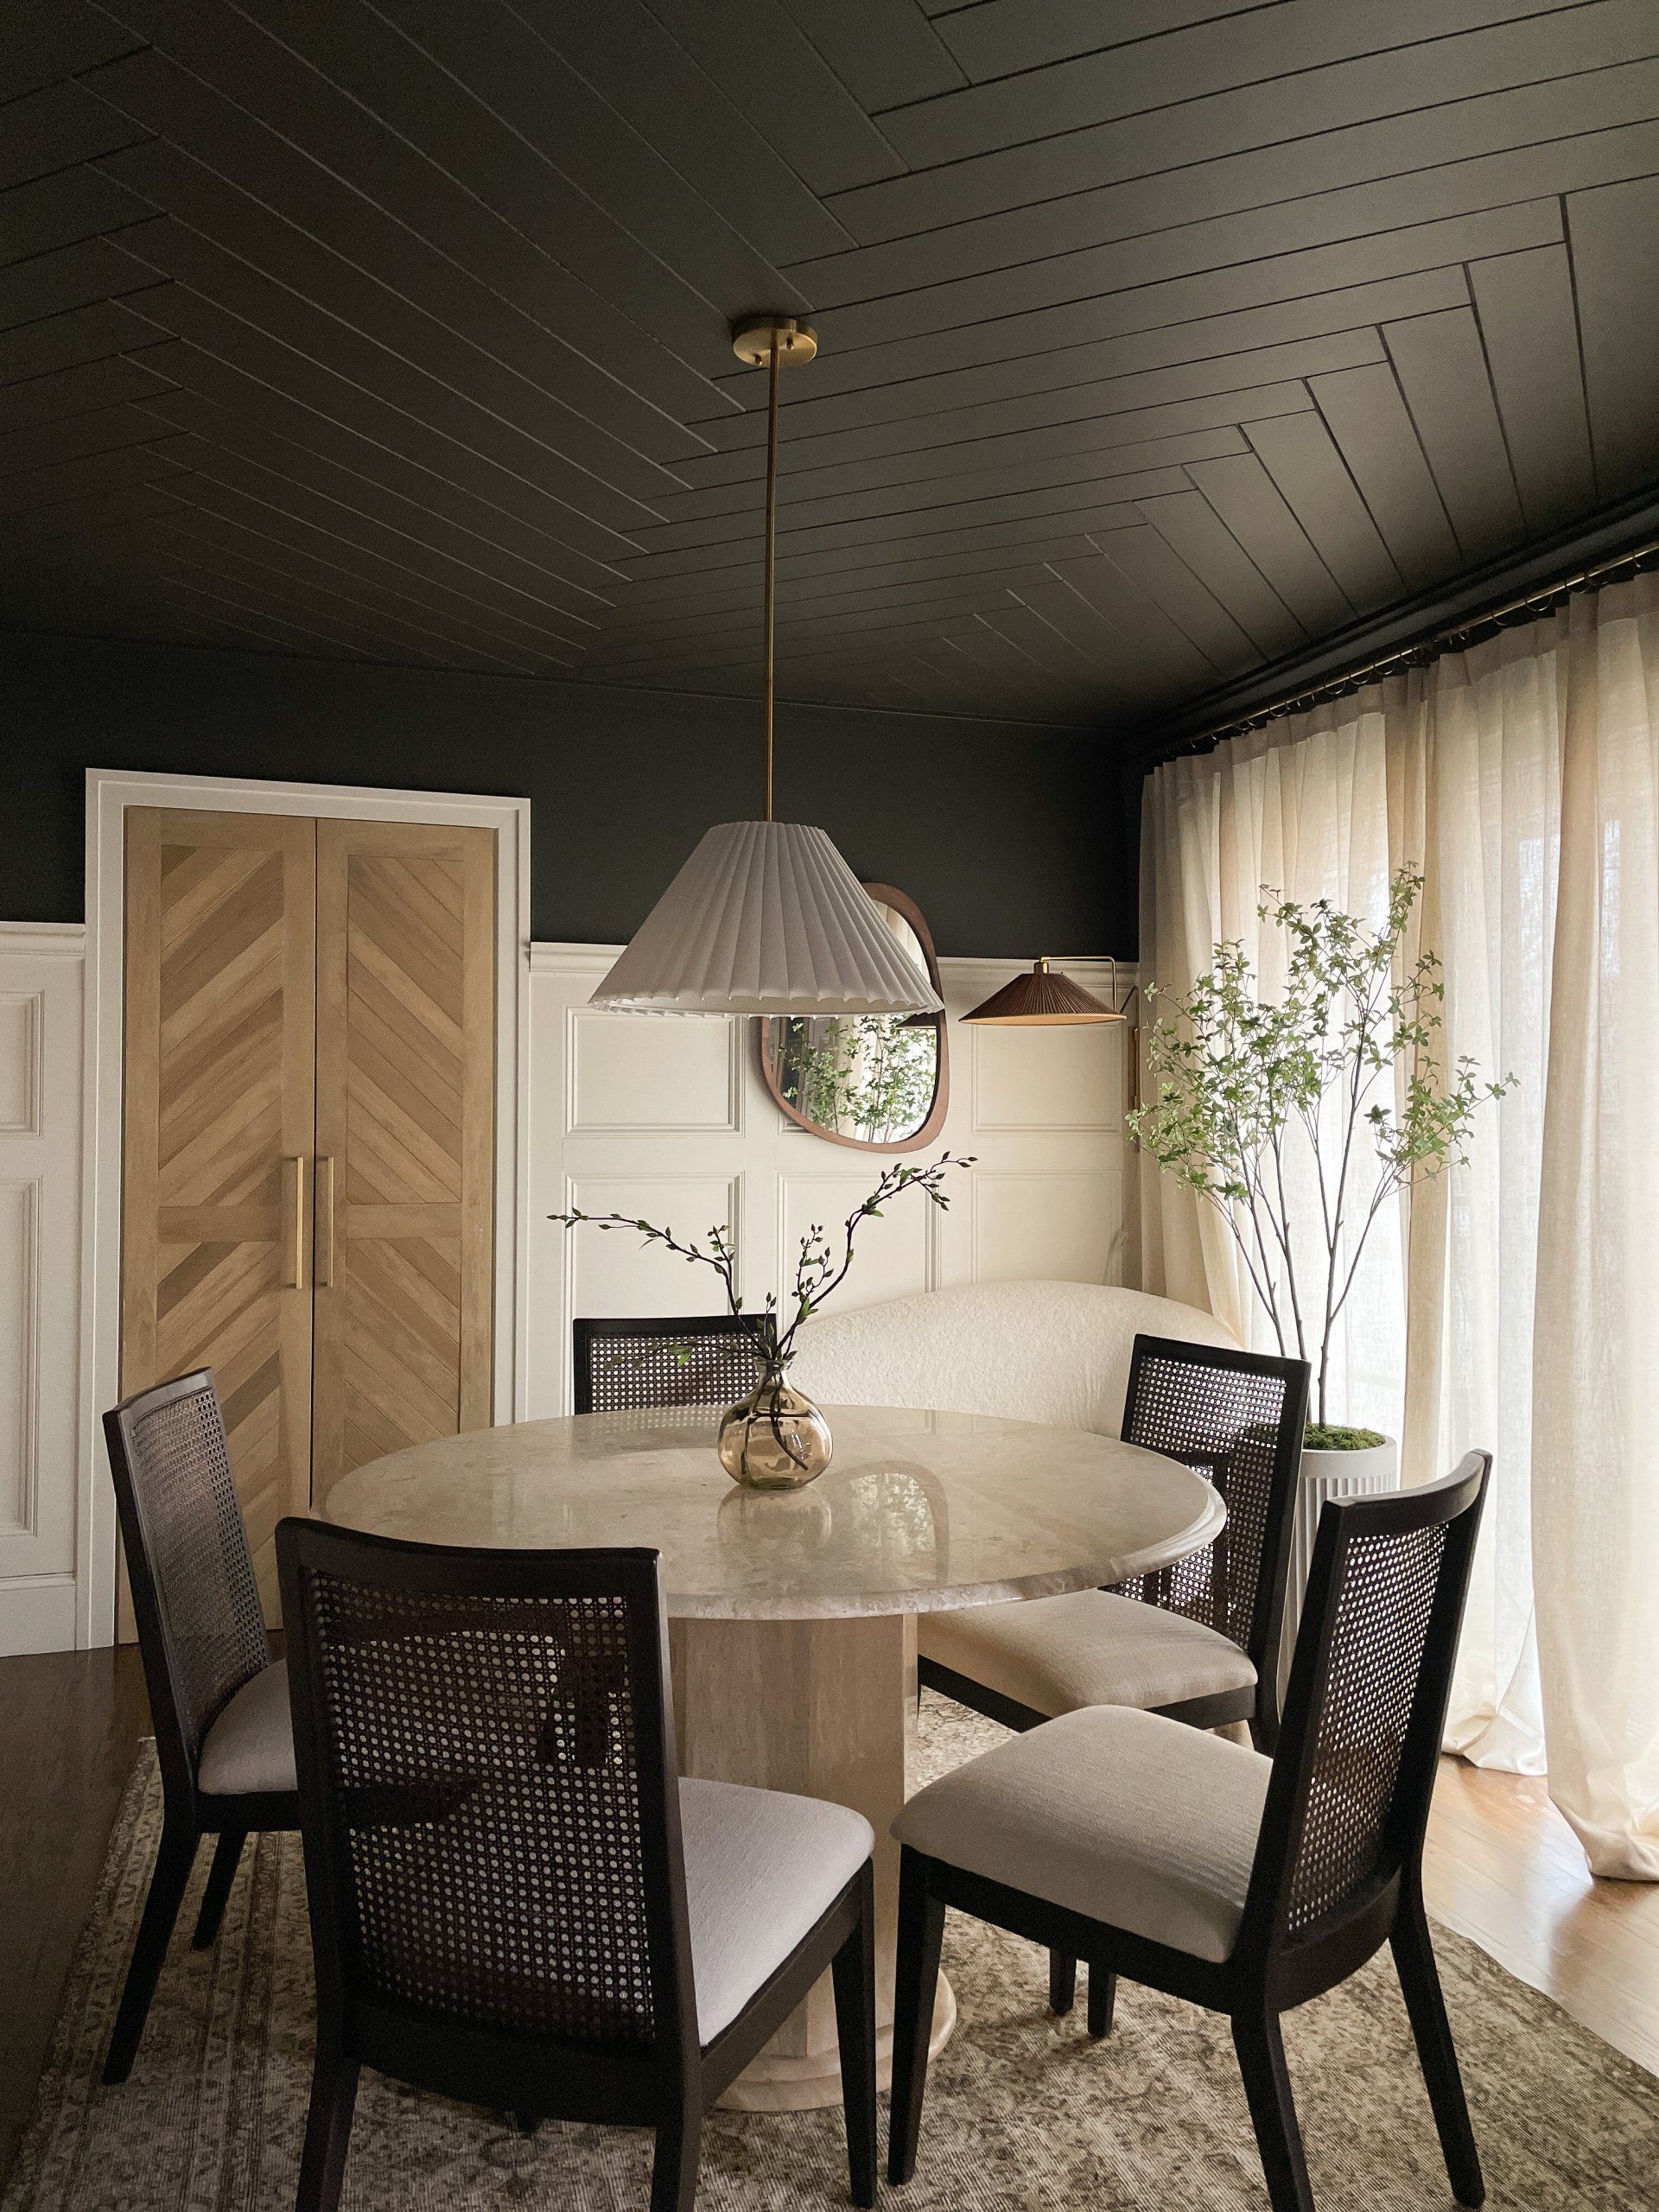
You can read more about us saying goodbye to our black herringbone ceiling. We love our home through every phase. We feel at peace knowing that our design decisions aren't forever. The herringbone was very trendy and I've wanted to change it for quite some time now to something more timeless.
Change is beautiful and we embrace it.
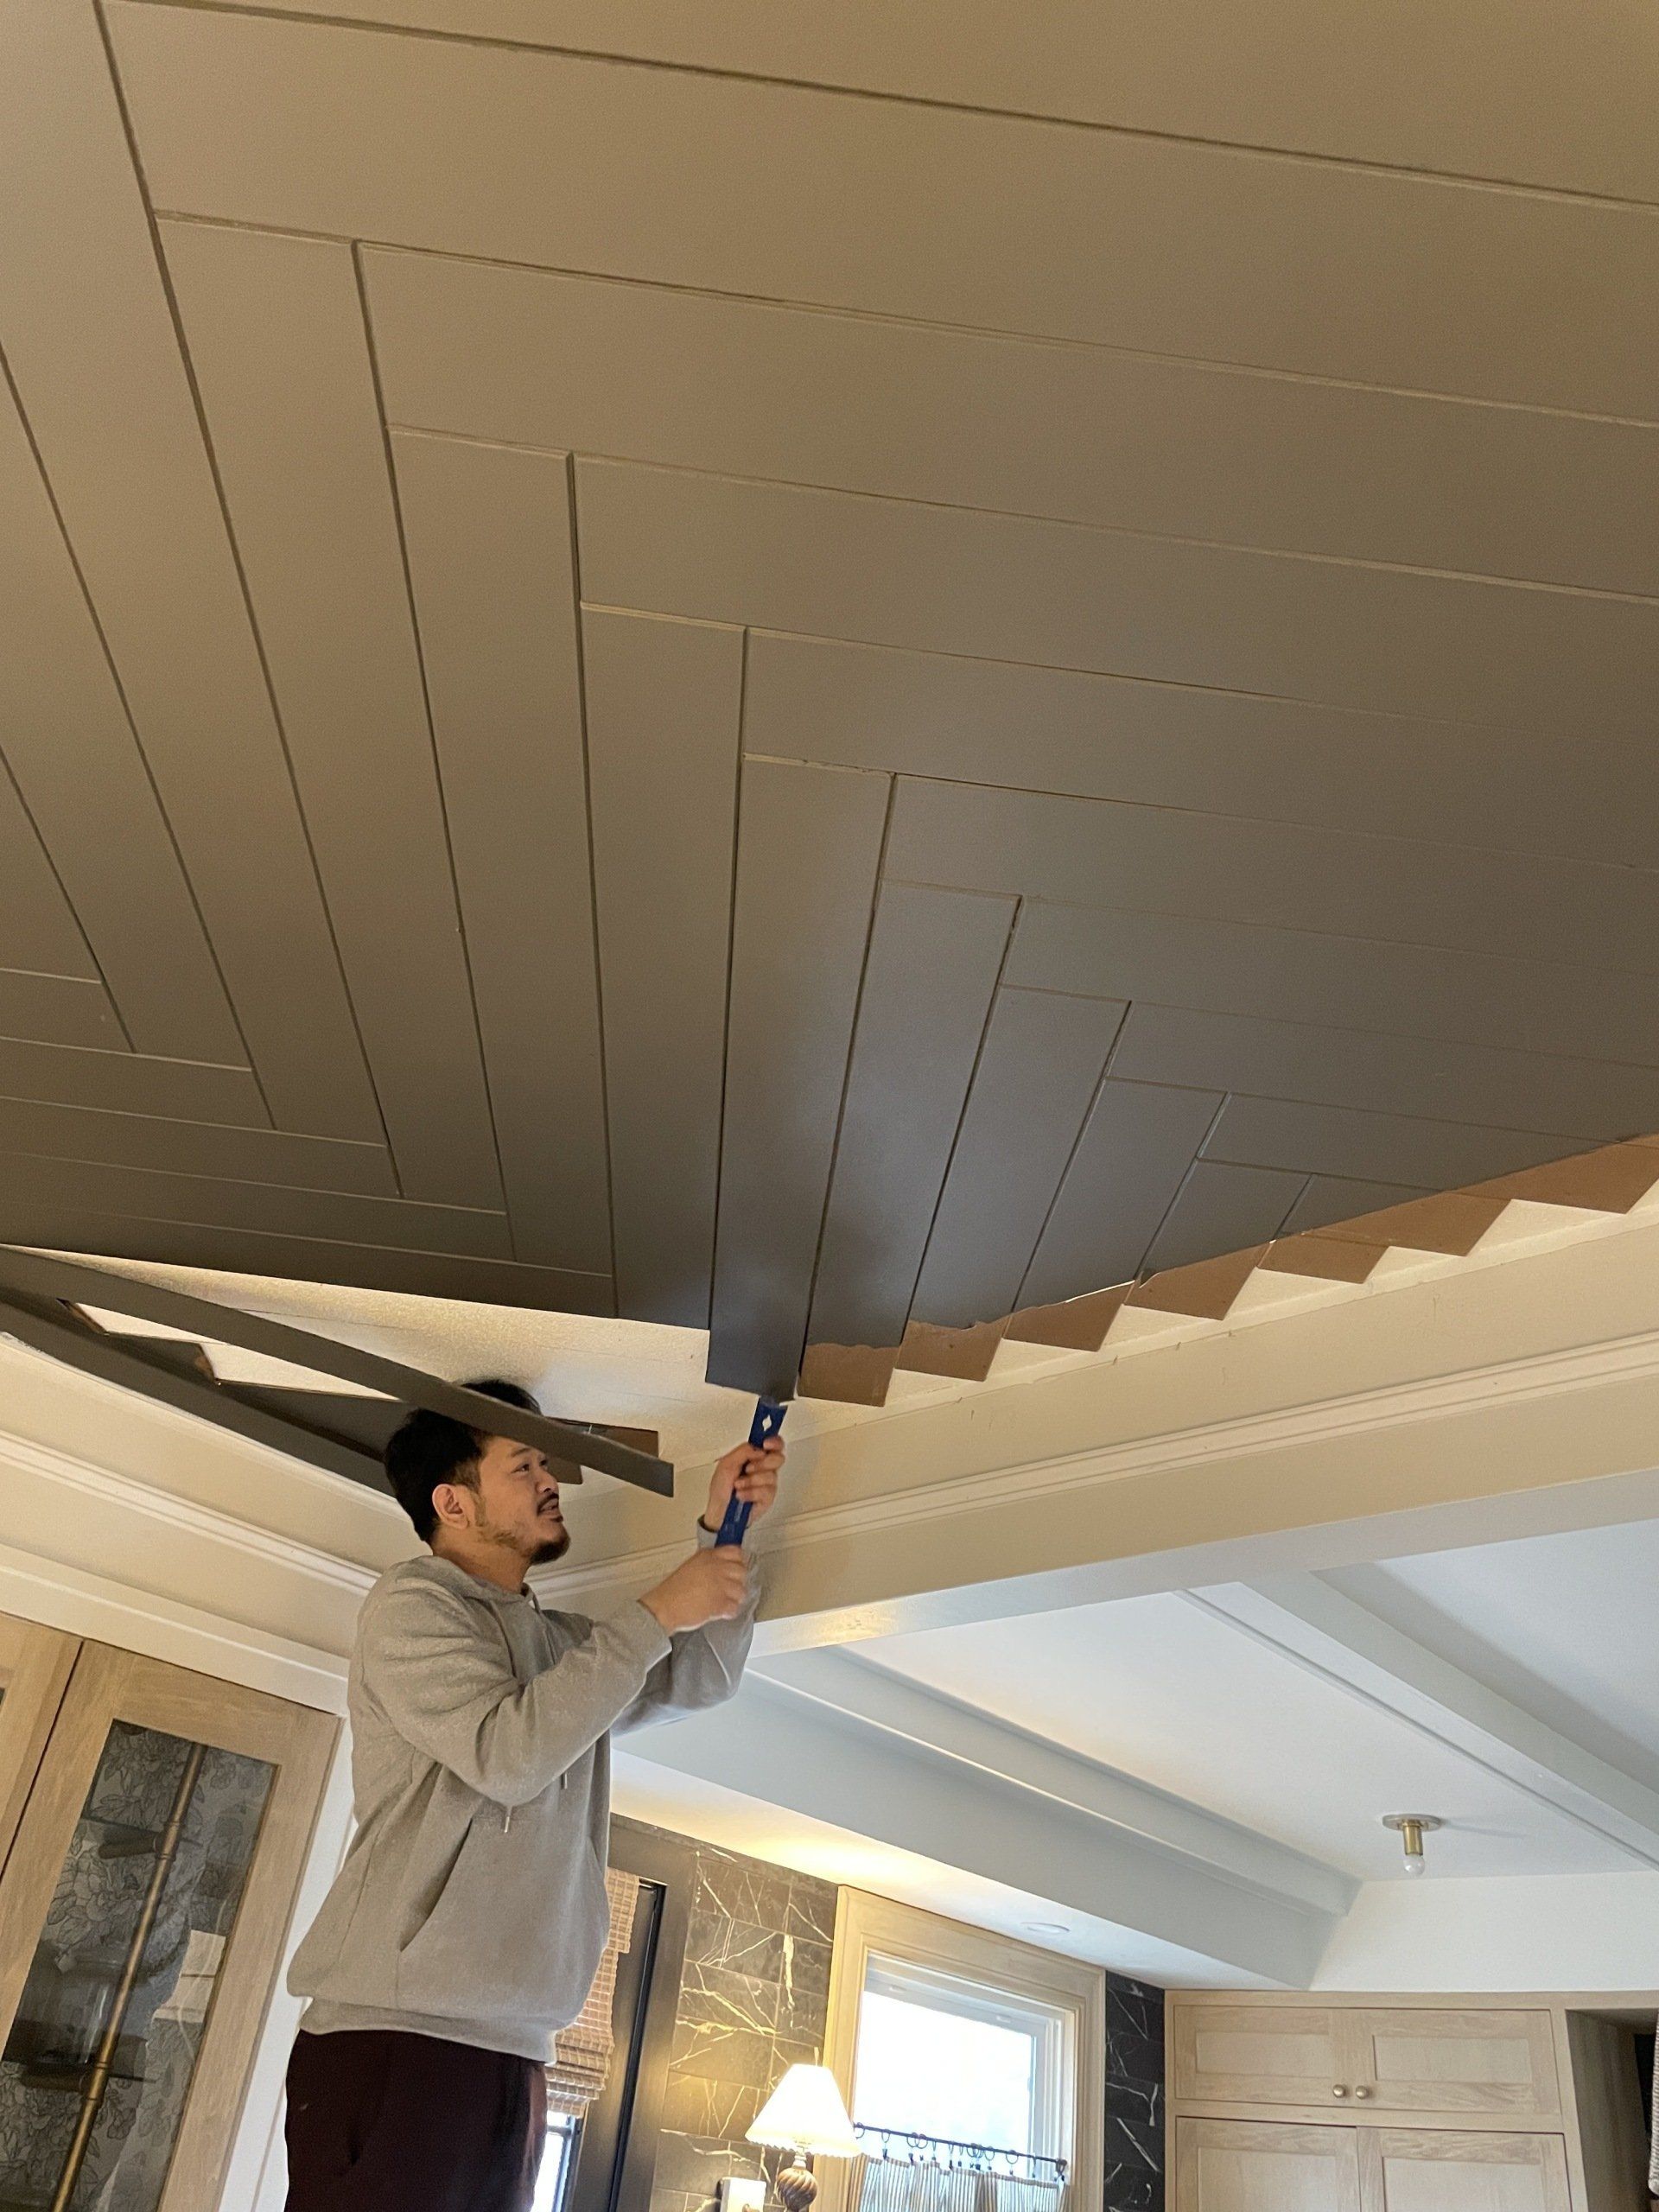
We ripped out all of the herringbone. We originally used hardboard, cut into strips and routed the edges on each board. This was an inexpensive project, so we didn't feel too bad about ripping it all out!
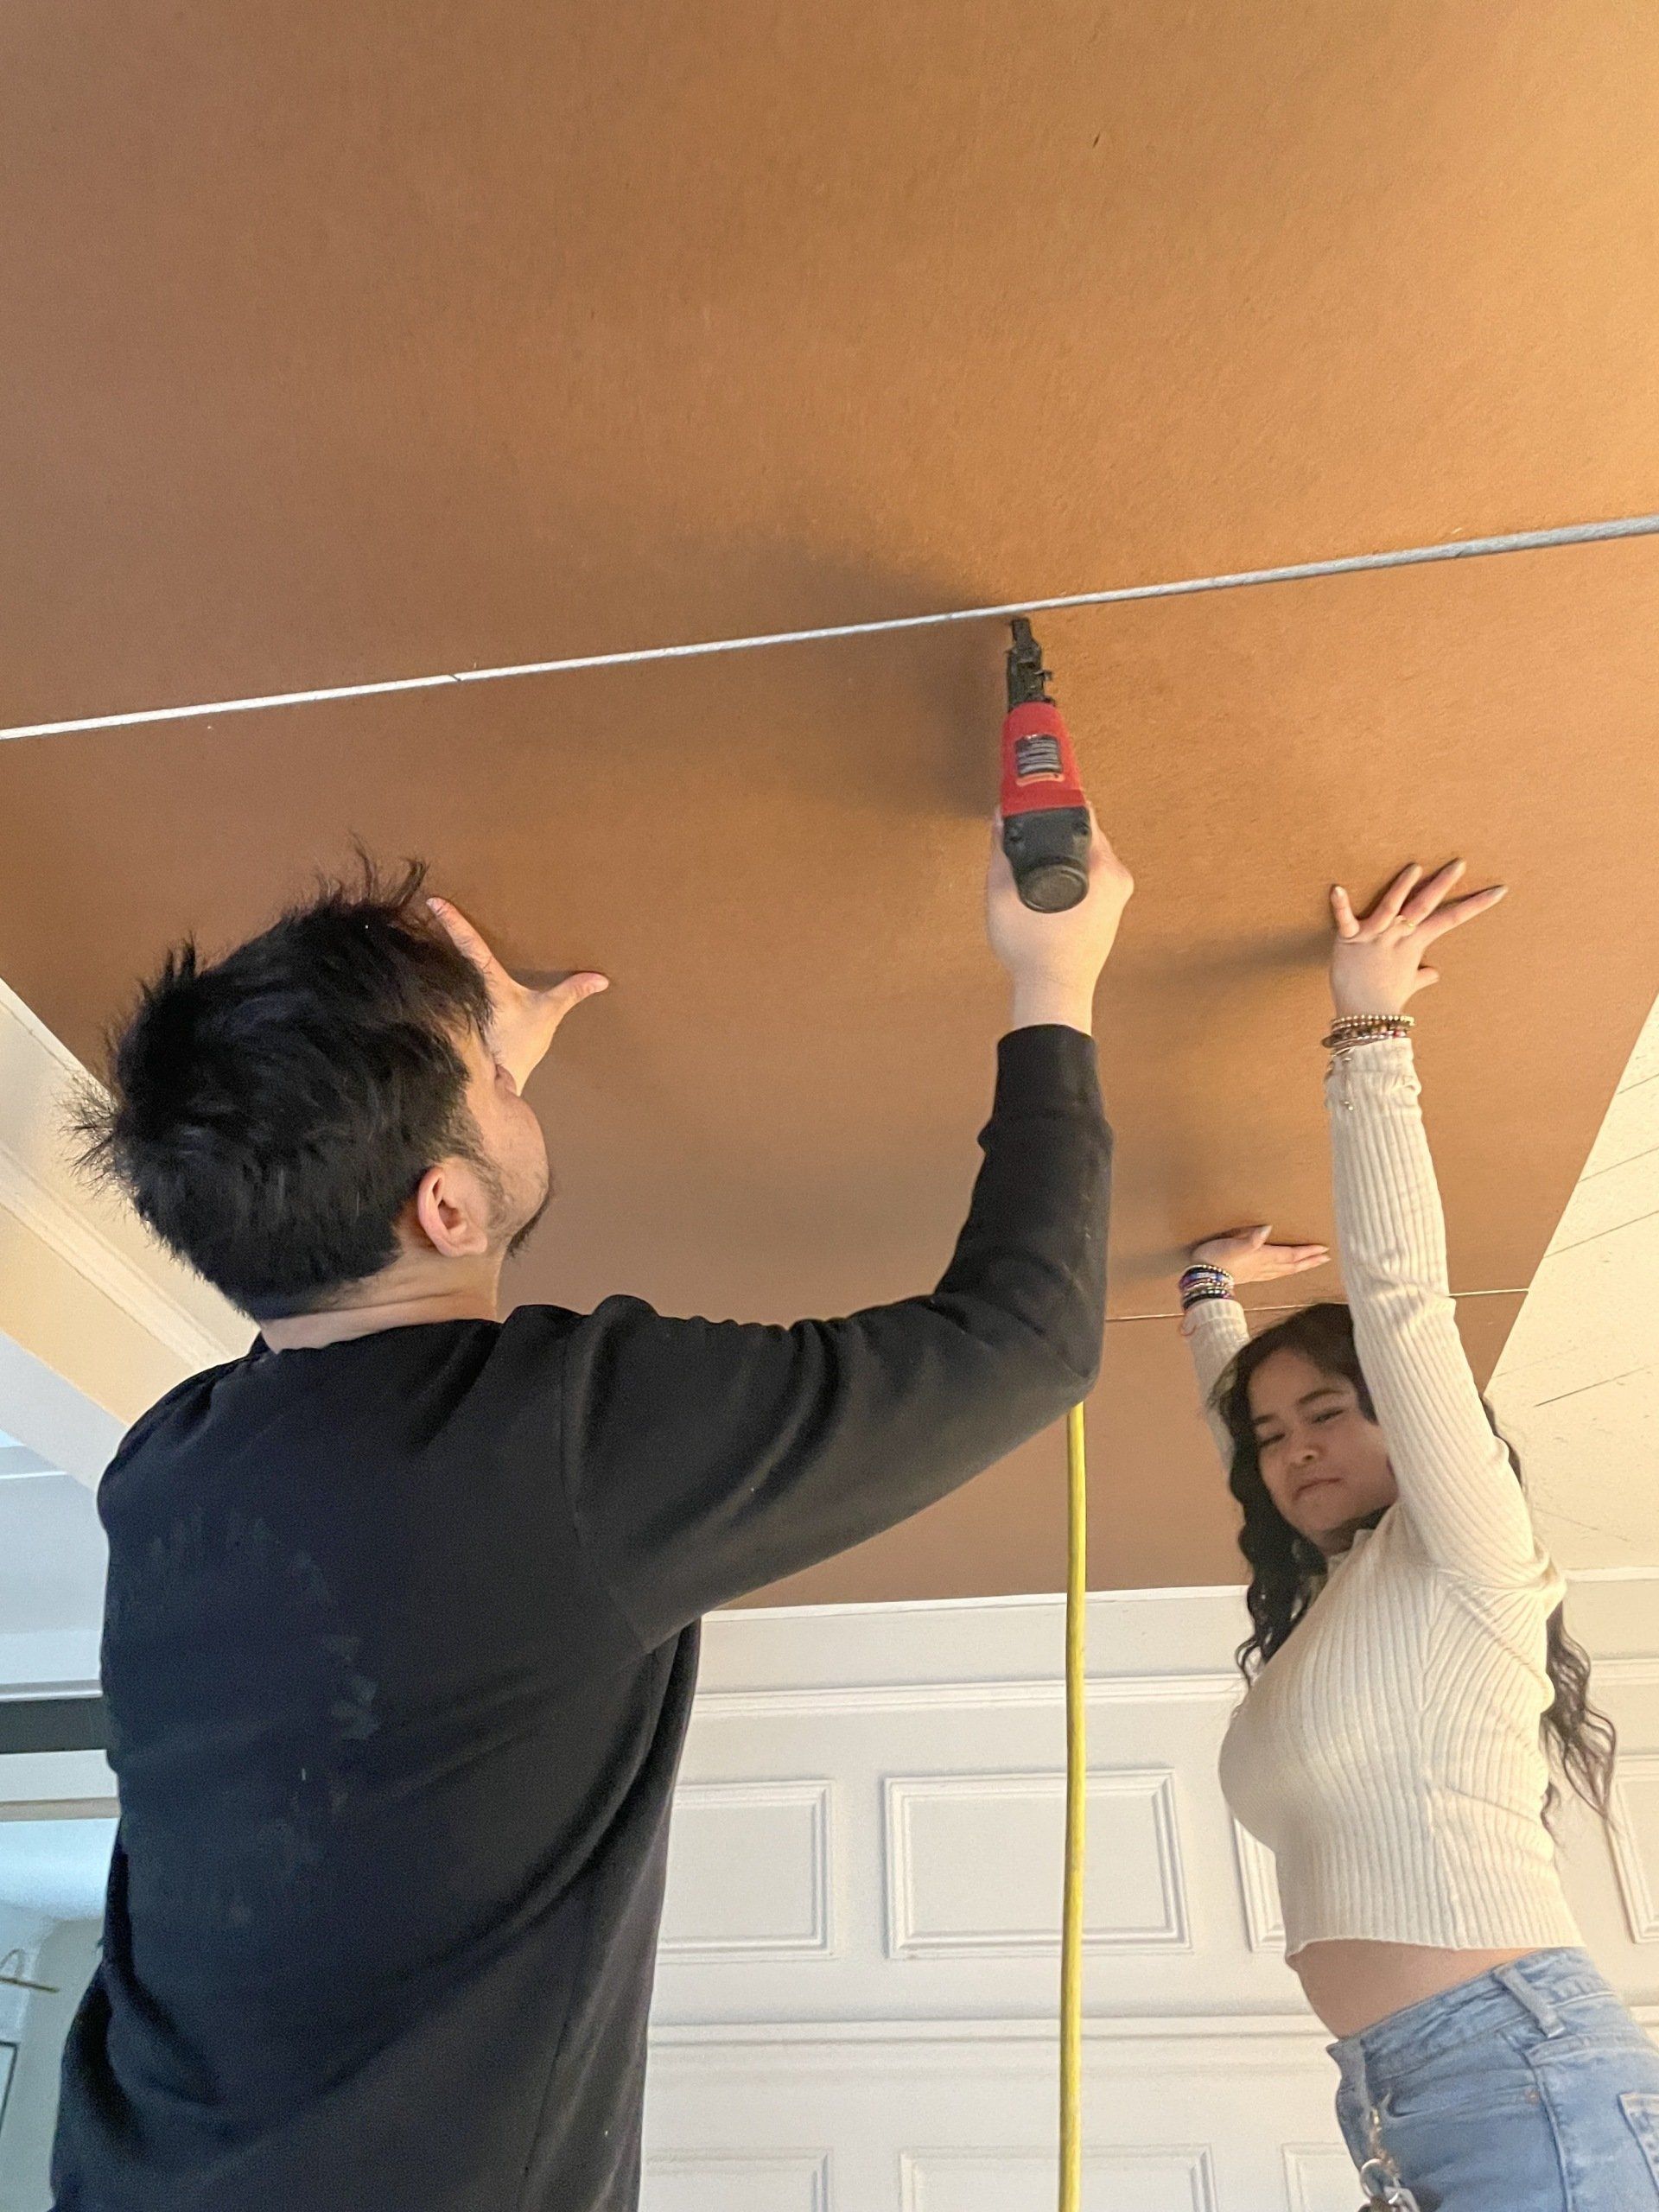
Installation for the coffered ceiling starts off with smooth ceilings. We installed hardboard once again for the smoothest base. We made sure to cut and install them so that the seams would be covered by the beams.
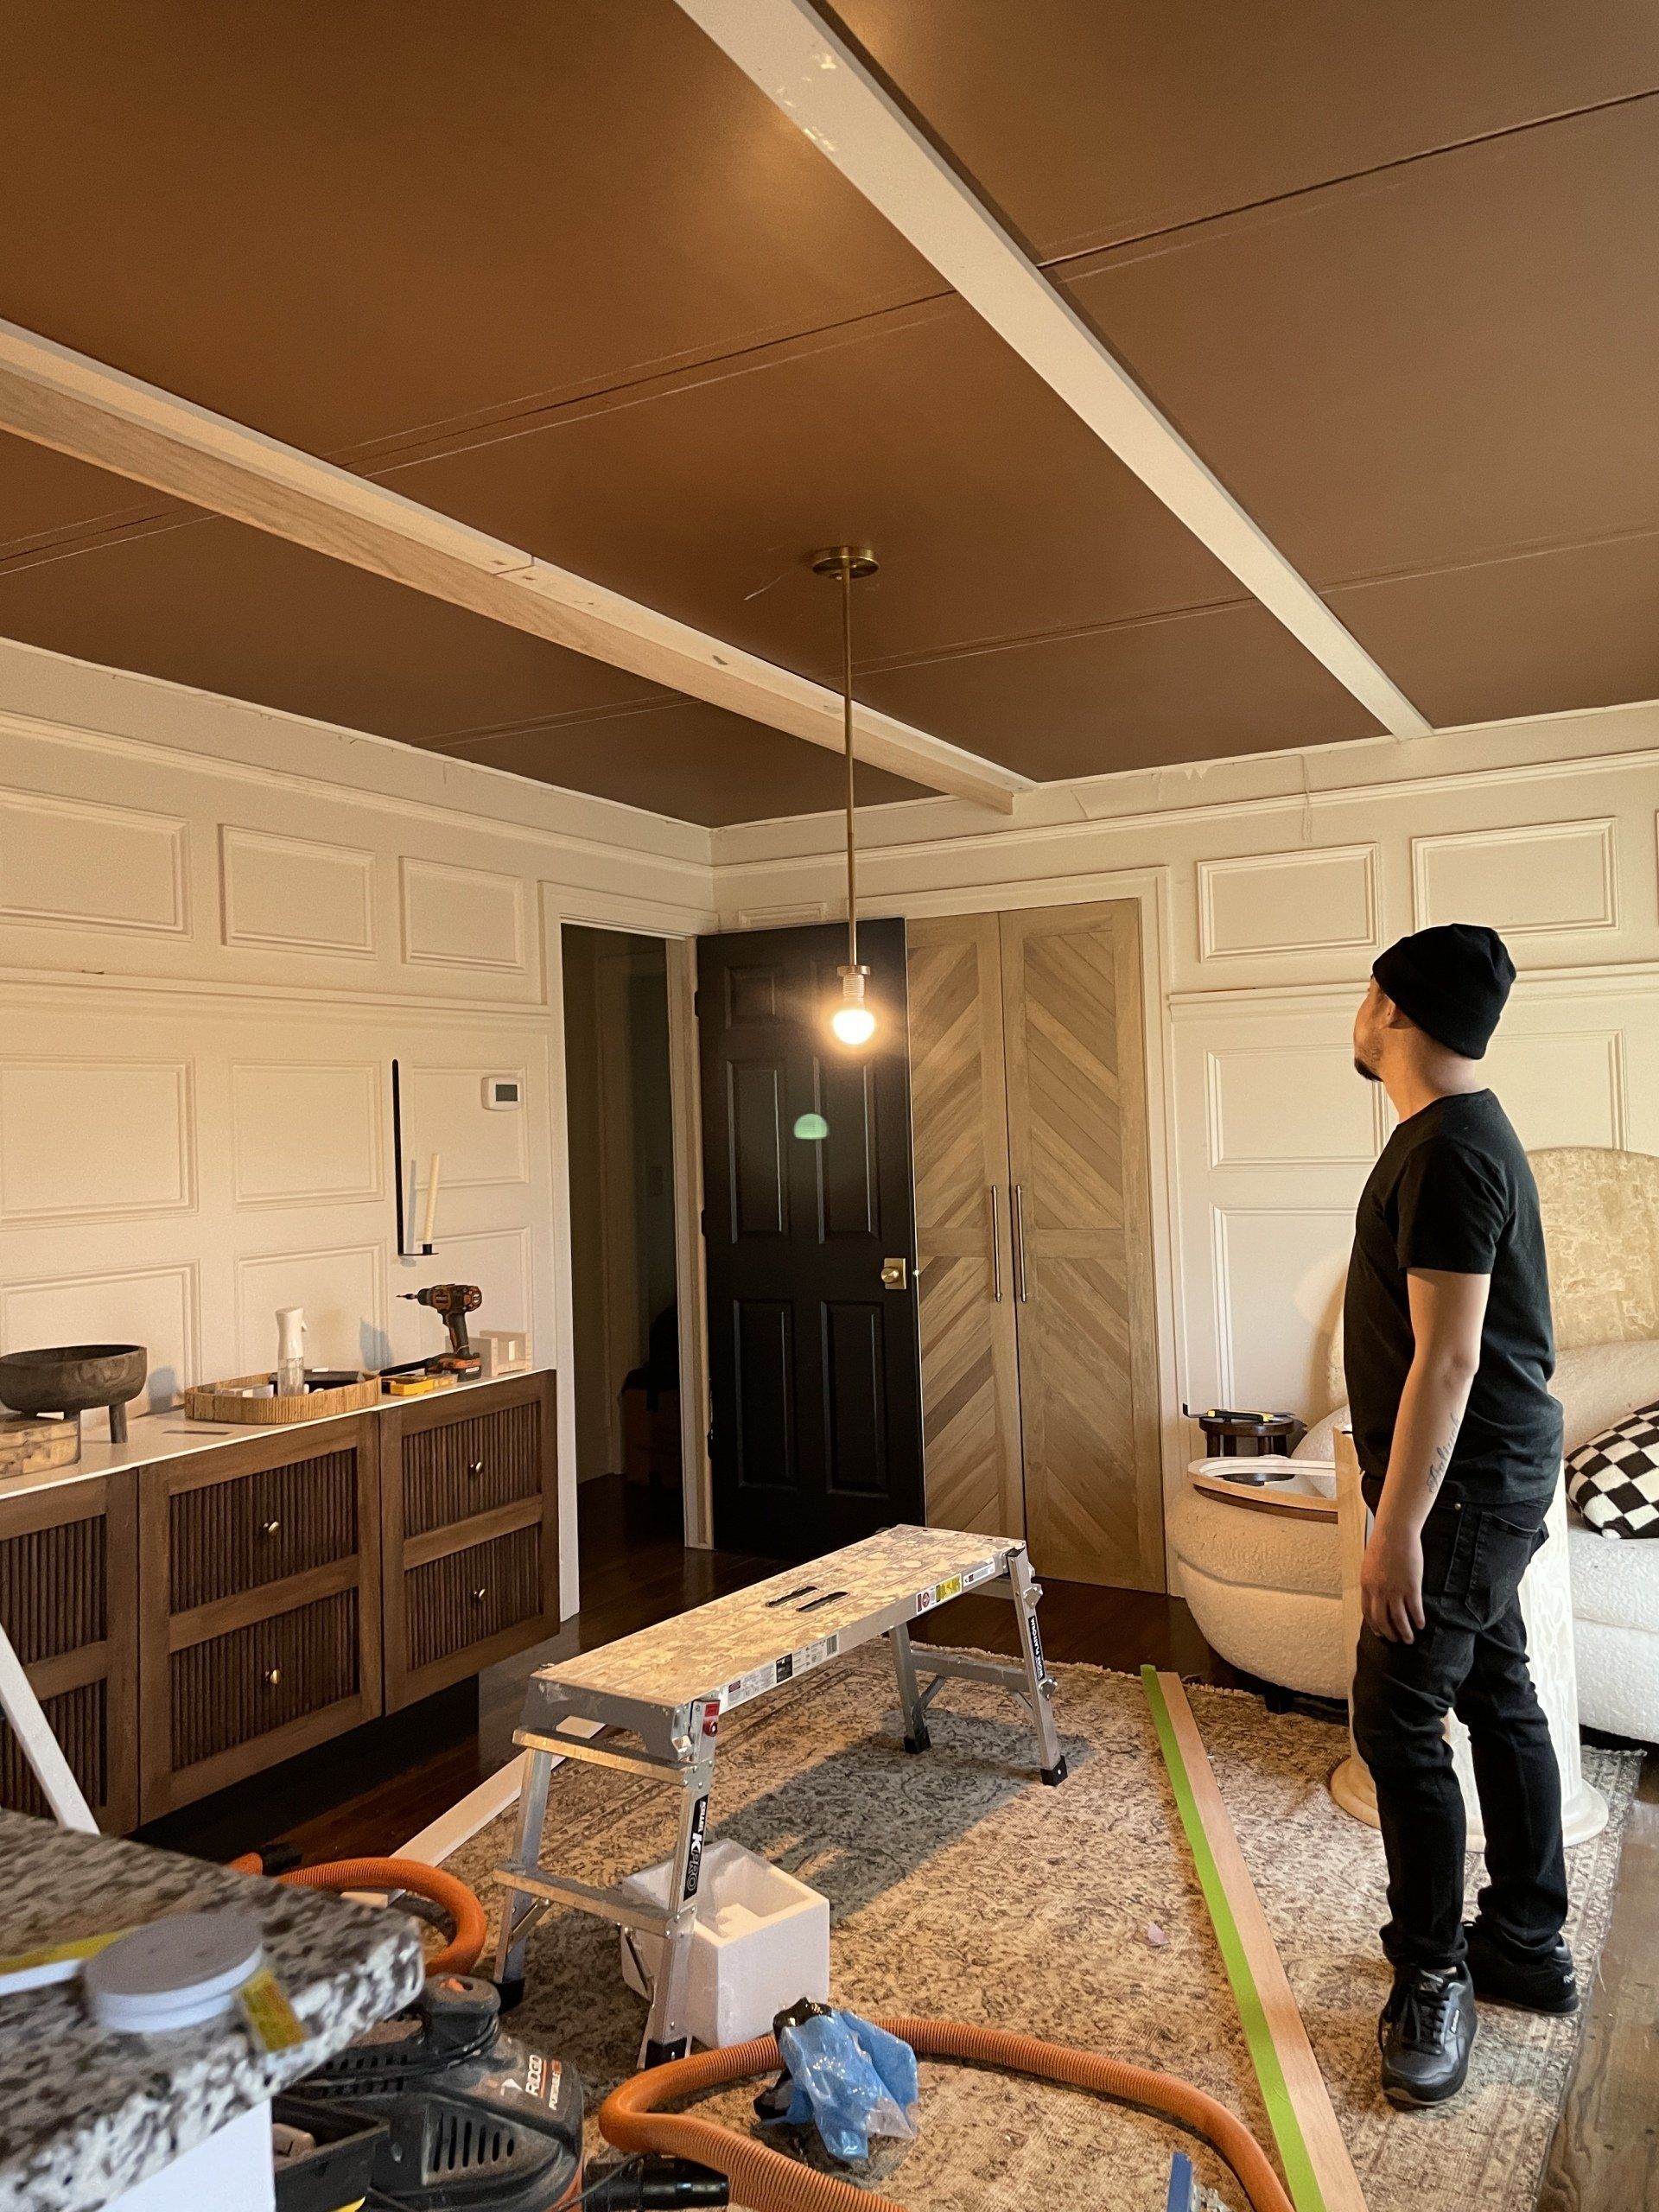
I probably should have taken more detailed photos of the construction of the beams. Please note, this is not a tutorial. I'm only showing bits & pieces of our process. We started off with placing boards on the ceiling for the sides of the beams to be attached to.
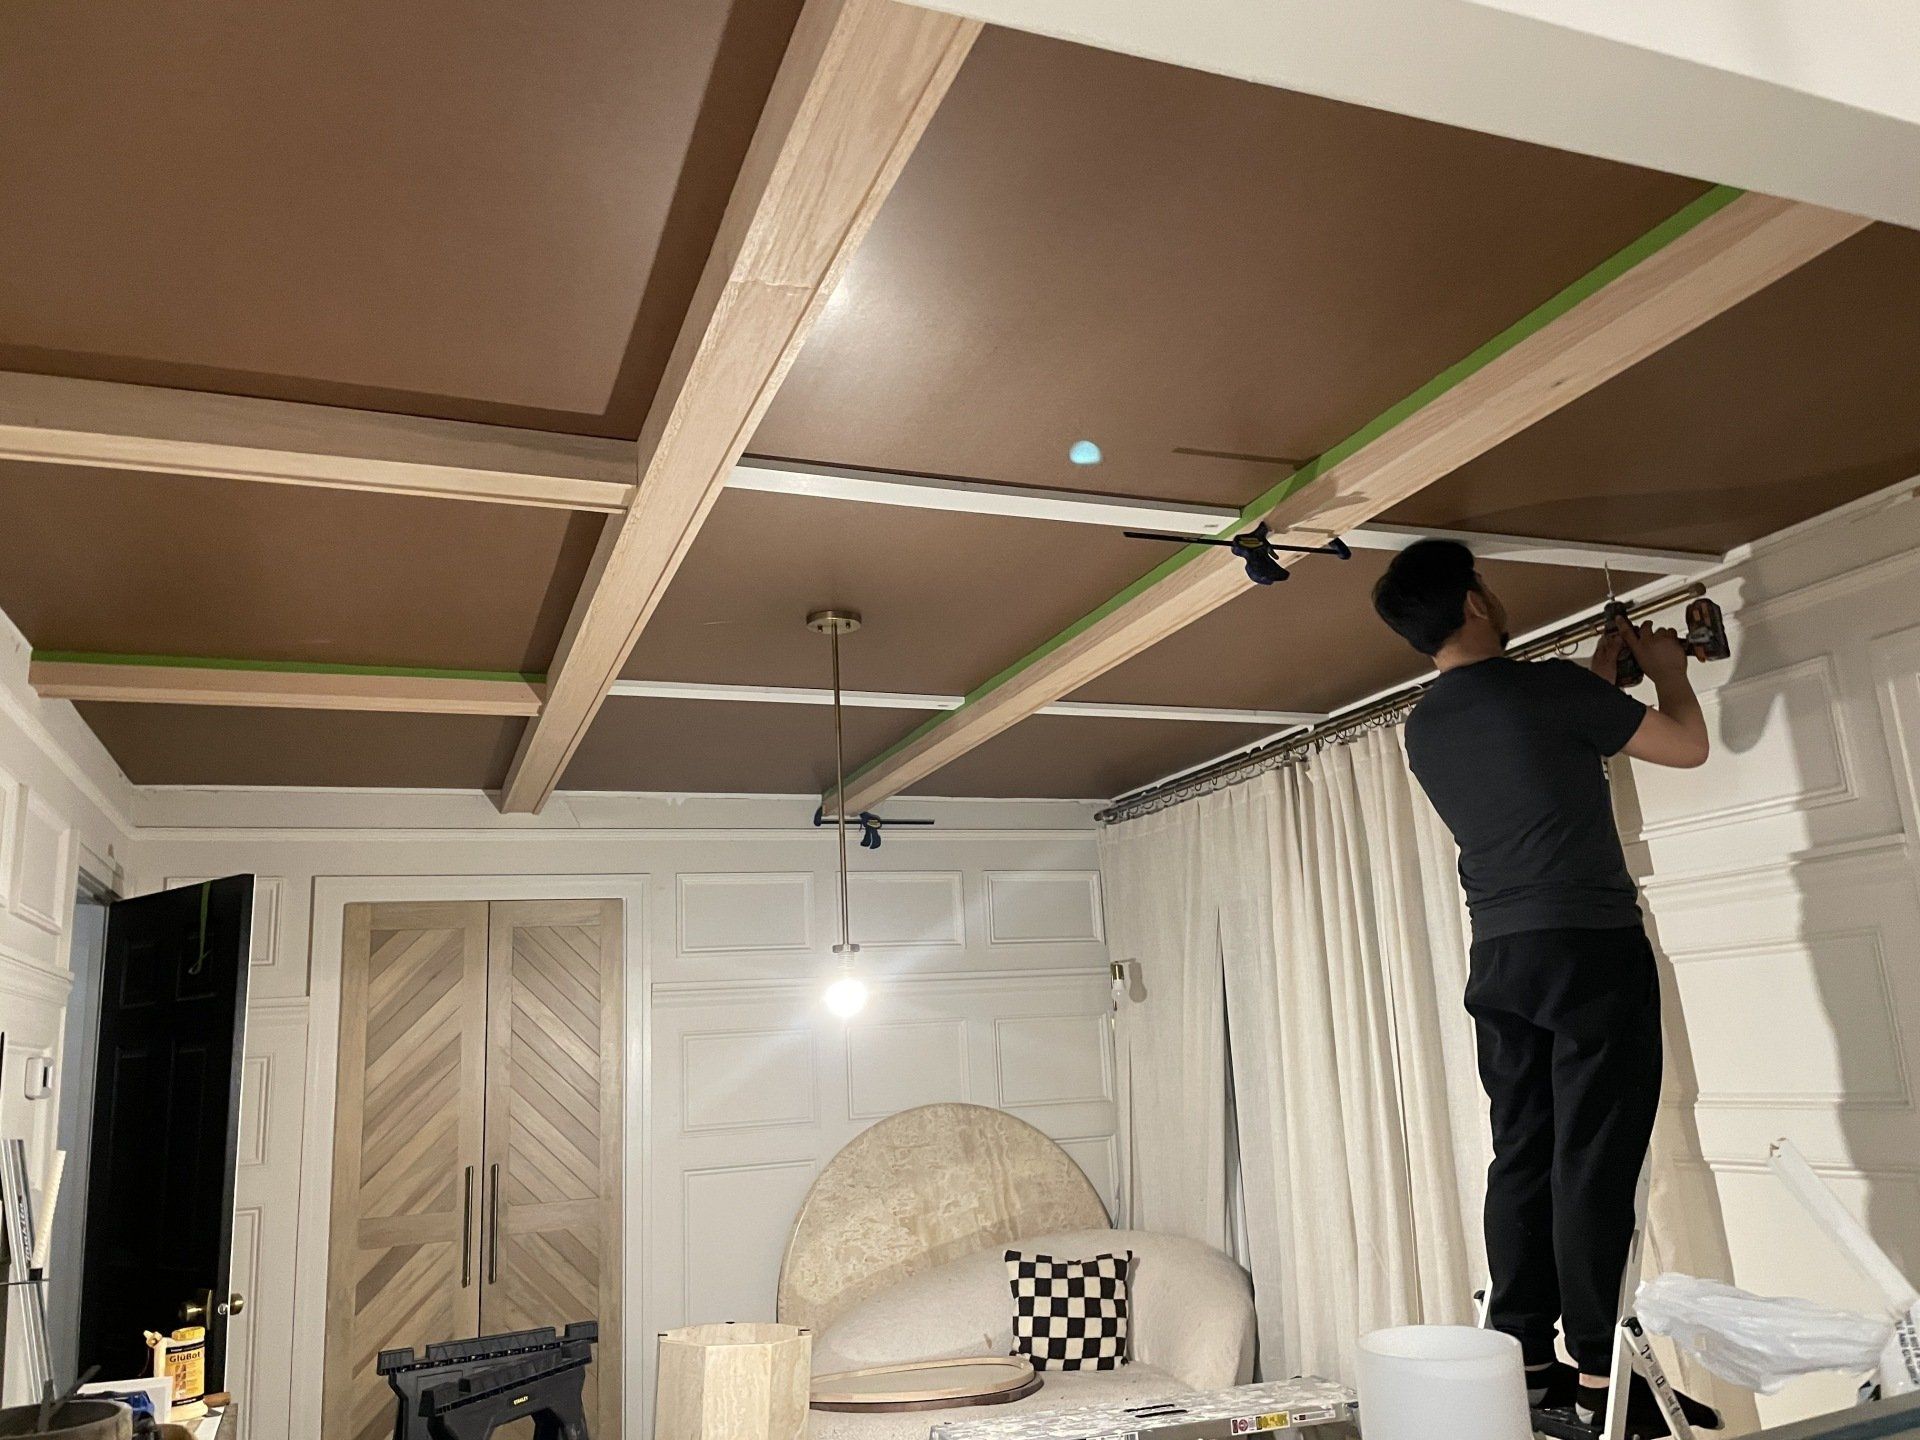
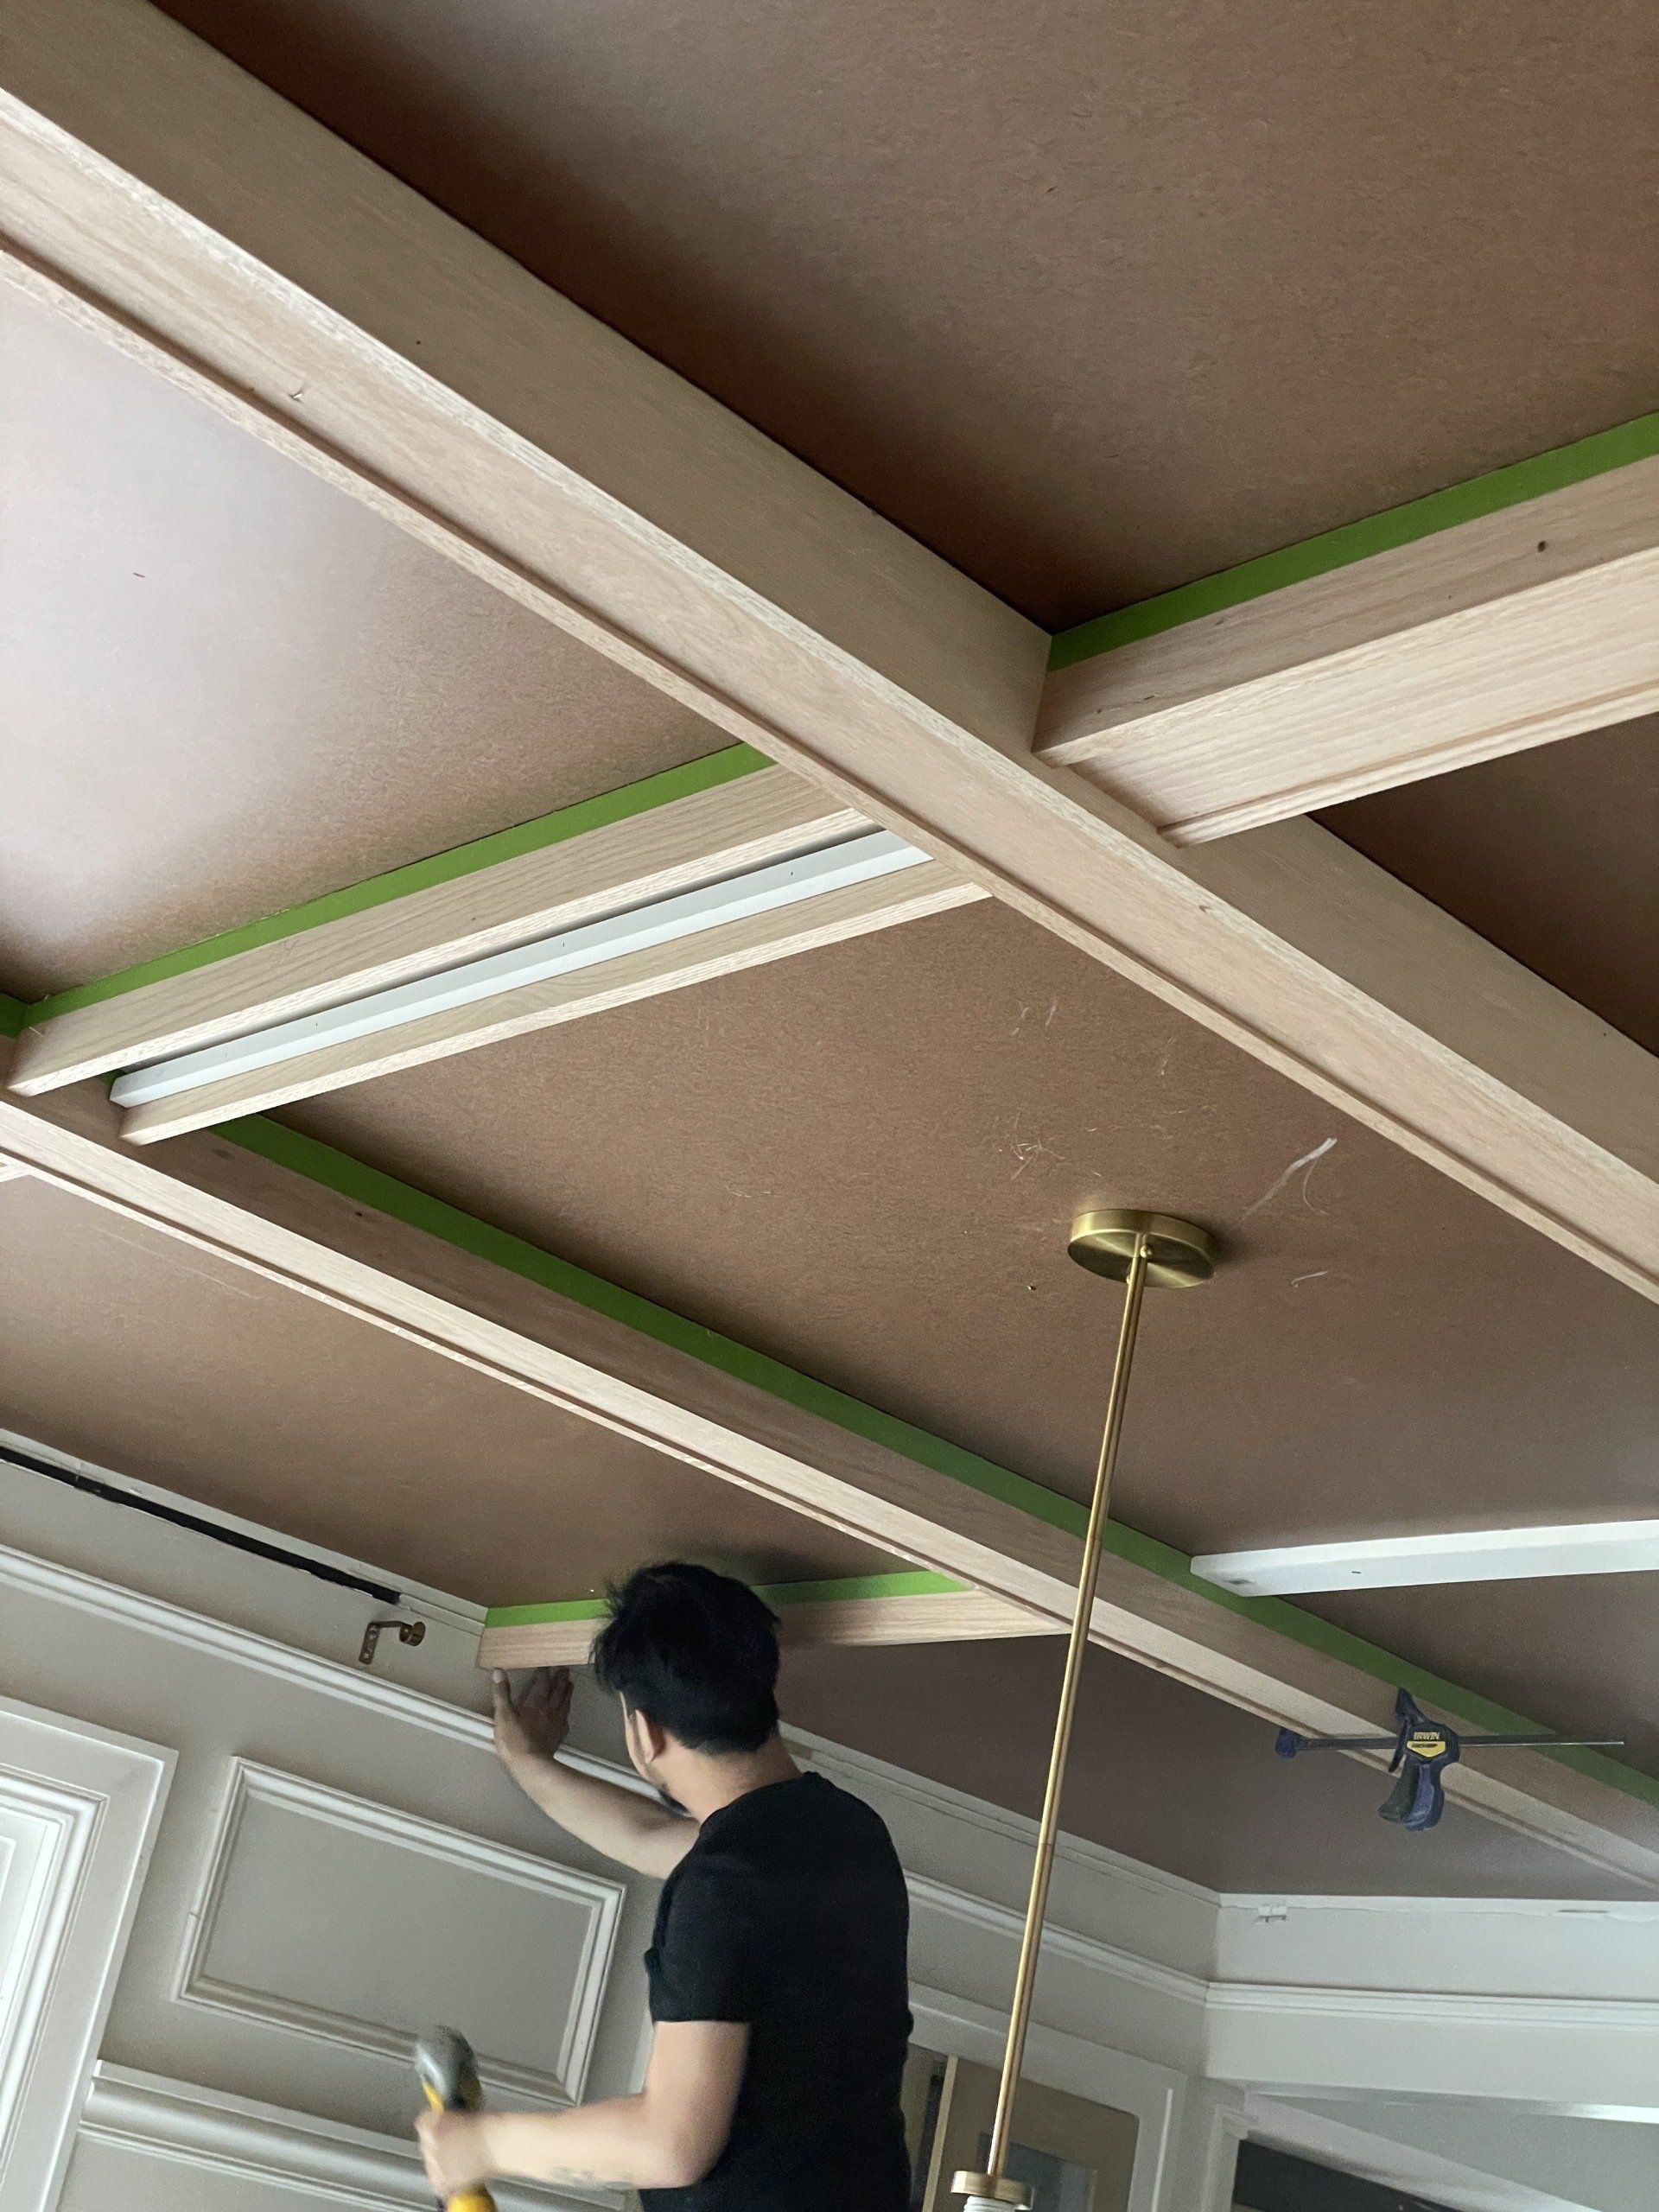
We attached wood to the inside of the side pieces for the bottom piece to attach to. You can see it in the photo above.
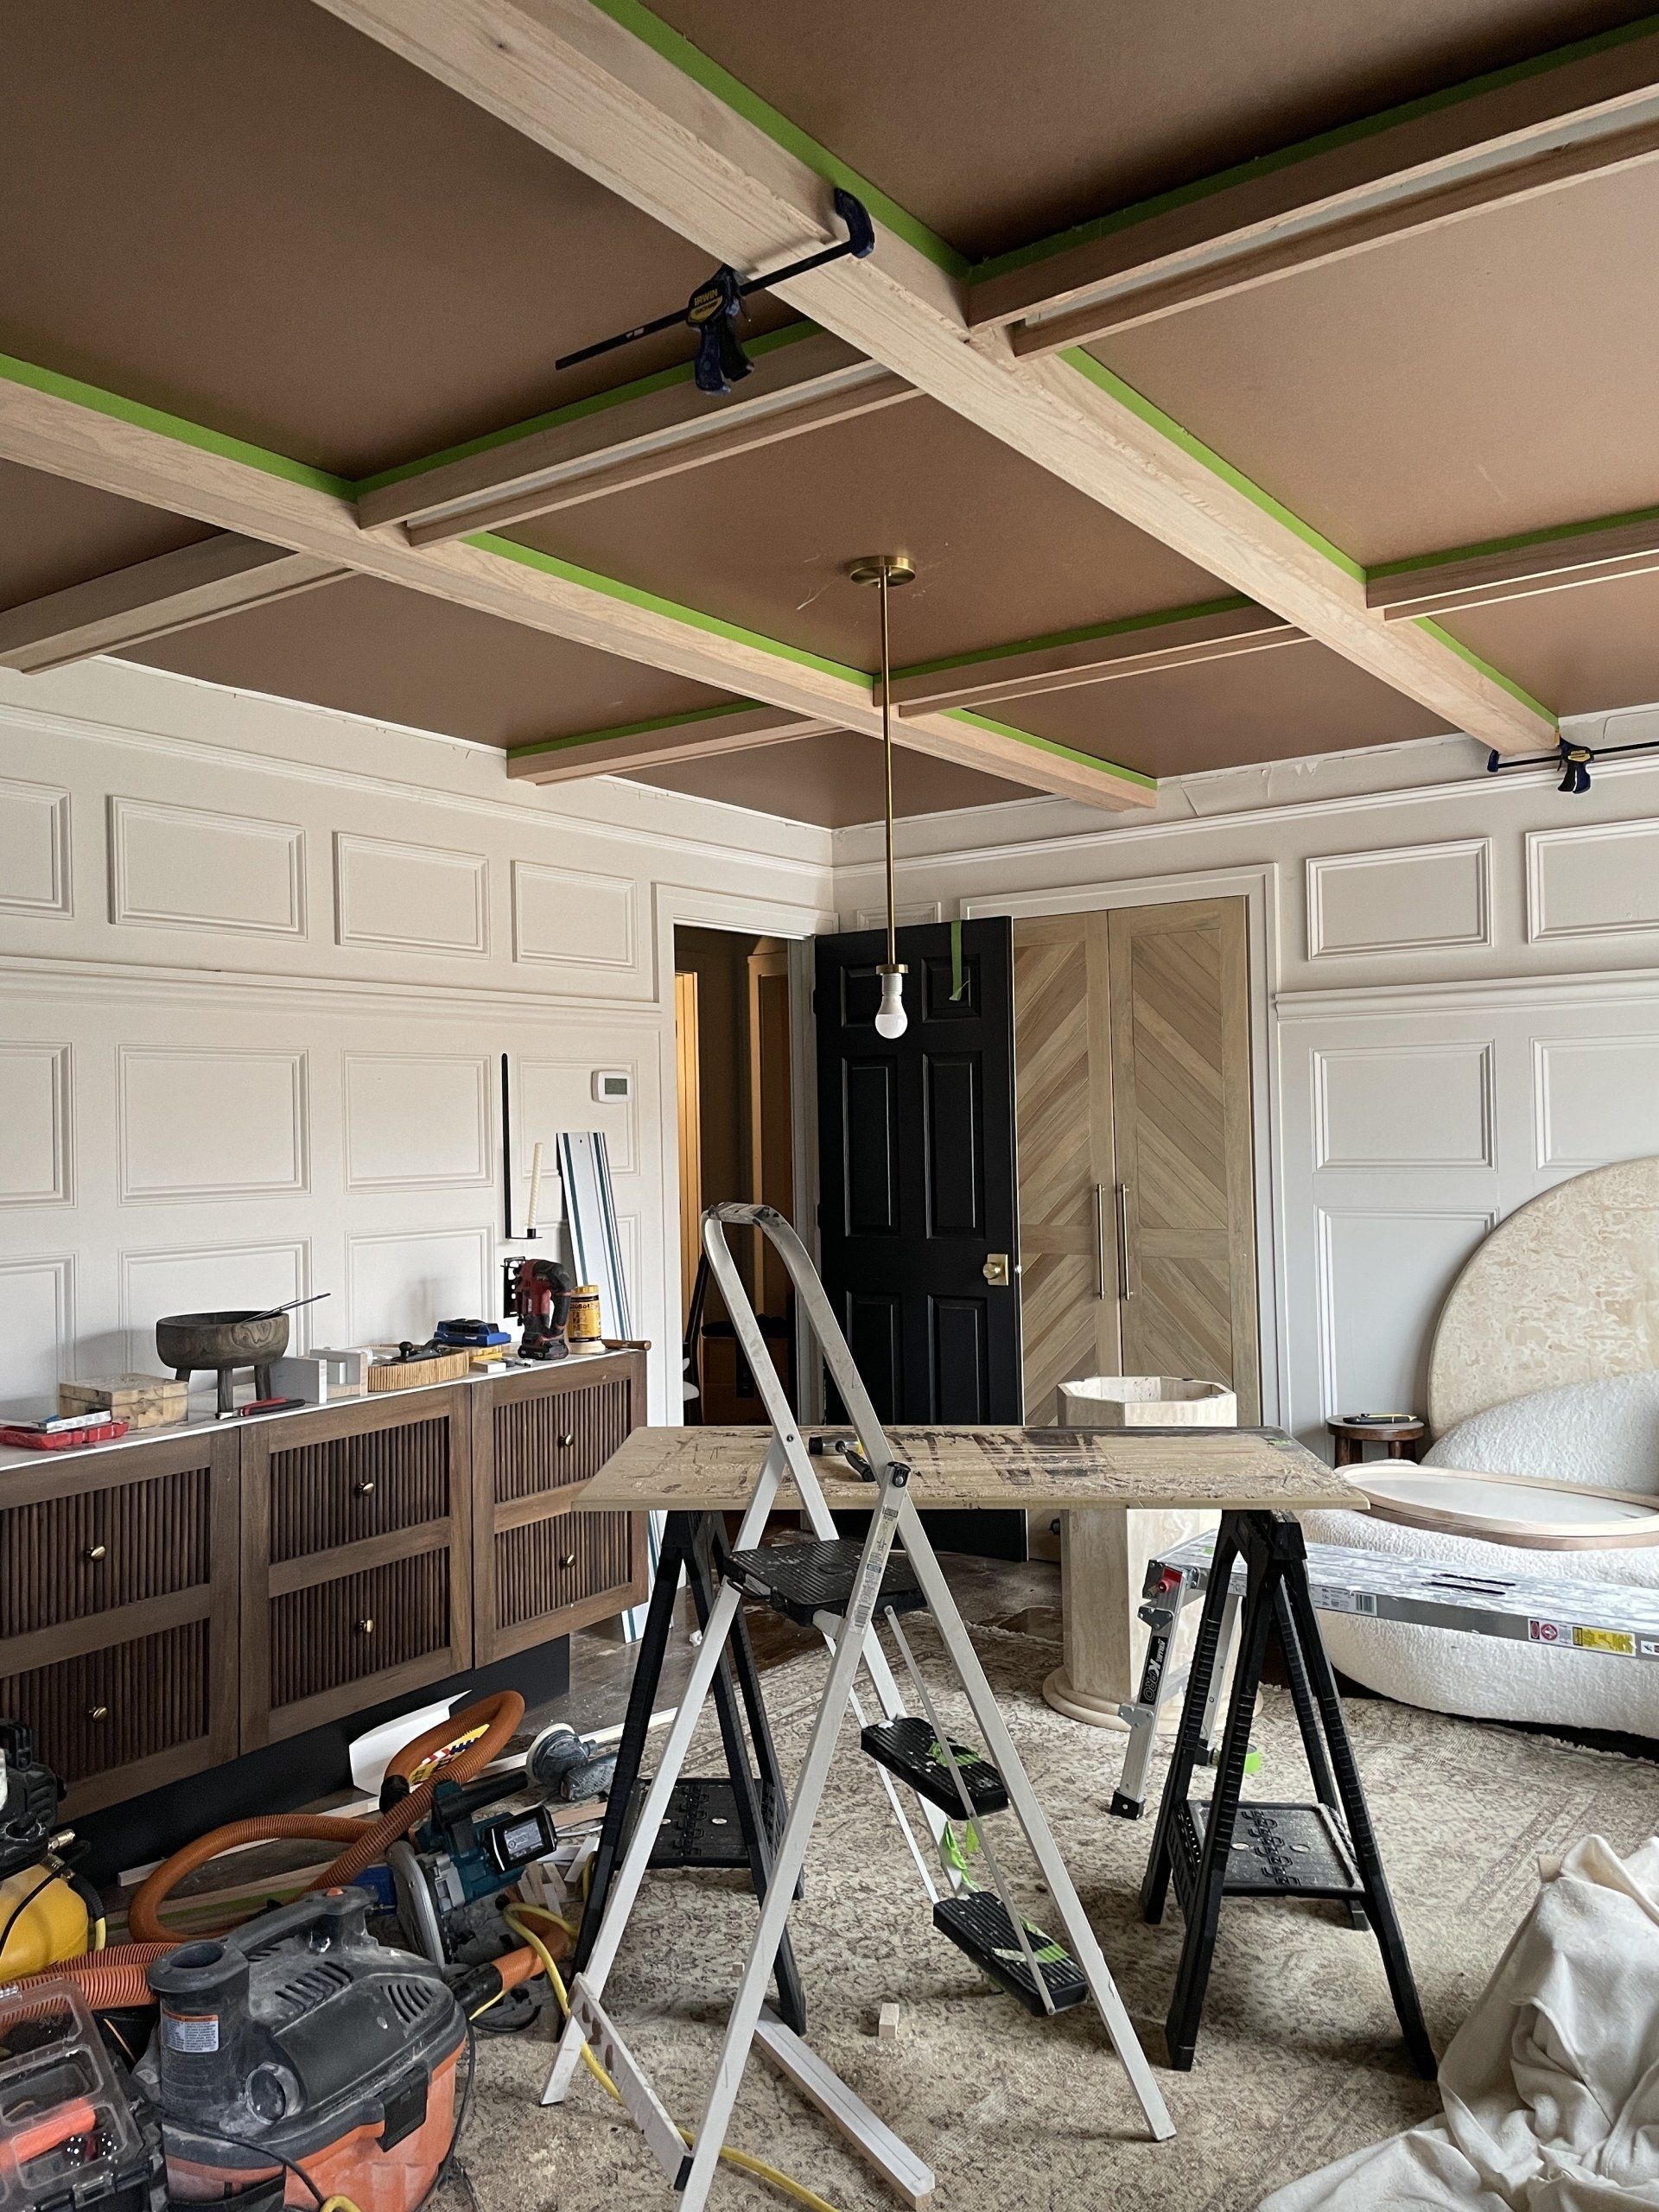
The reason for the tape is because my fiancé scribed each piece of wood to fit the ceiling (because walls/ceilings are always a little crooked!). This ensures the best fit and avoids having large gaps between the beam and the ceiling.
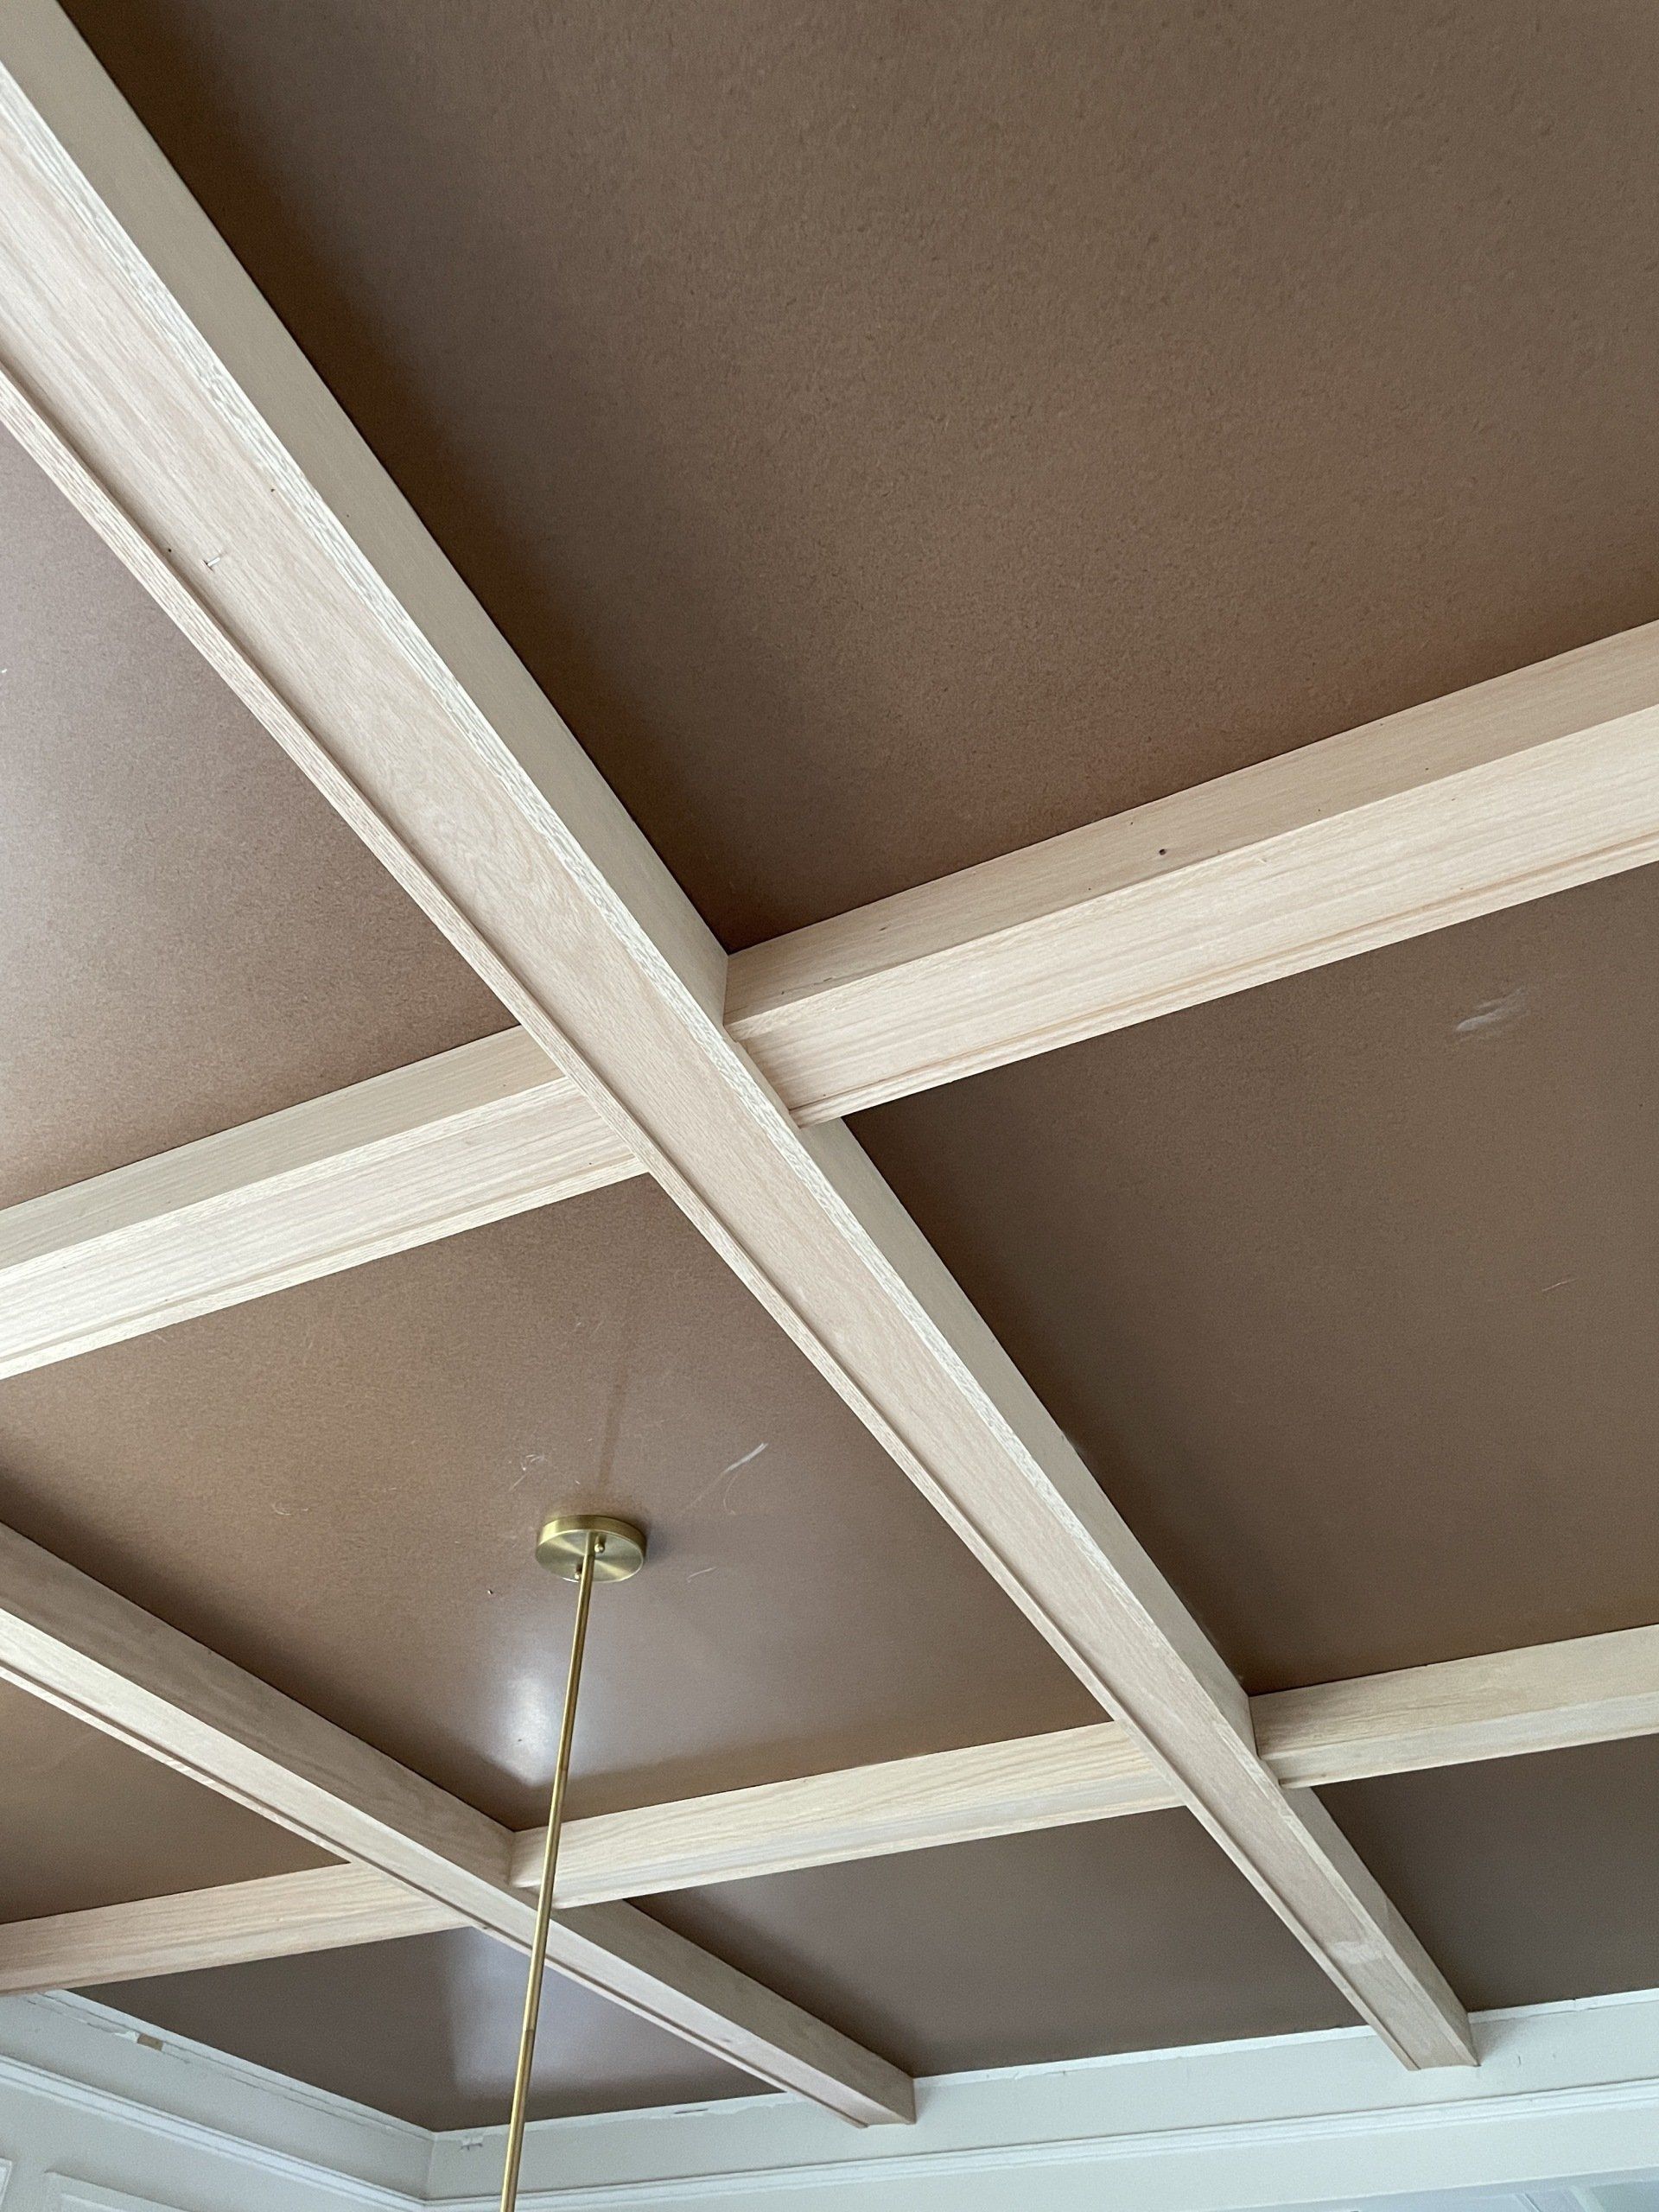
I just love the small lip on the bottom of the beam! It's a simple detail but makes the beams more interesting.
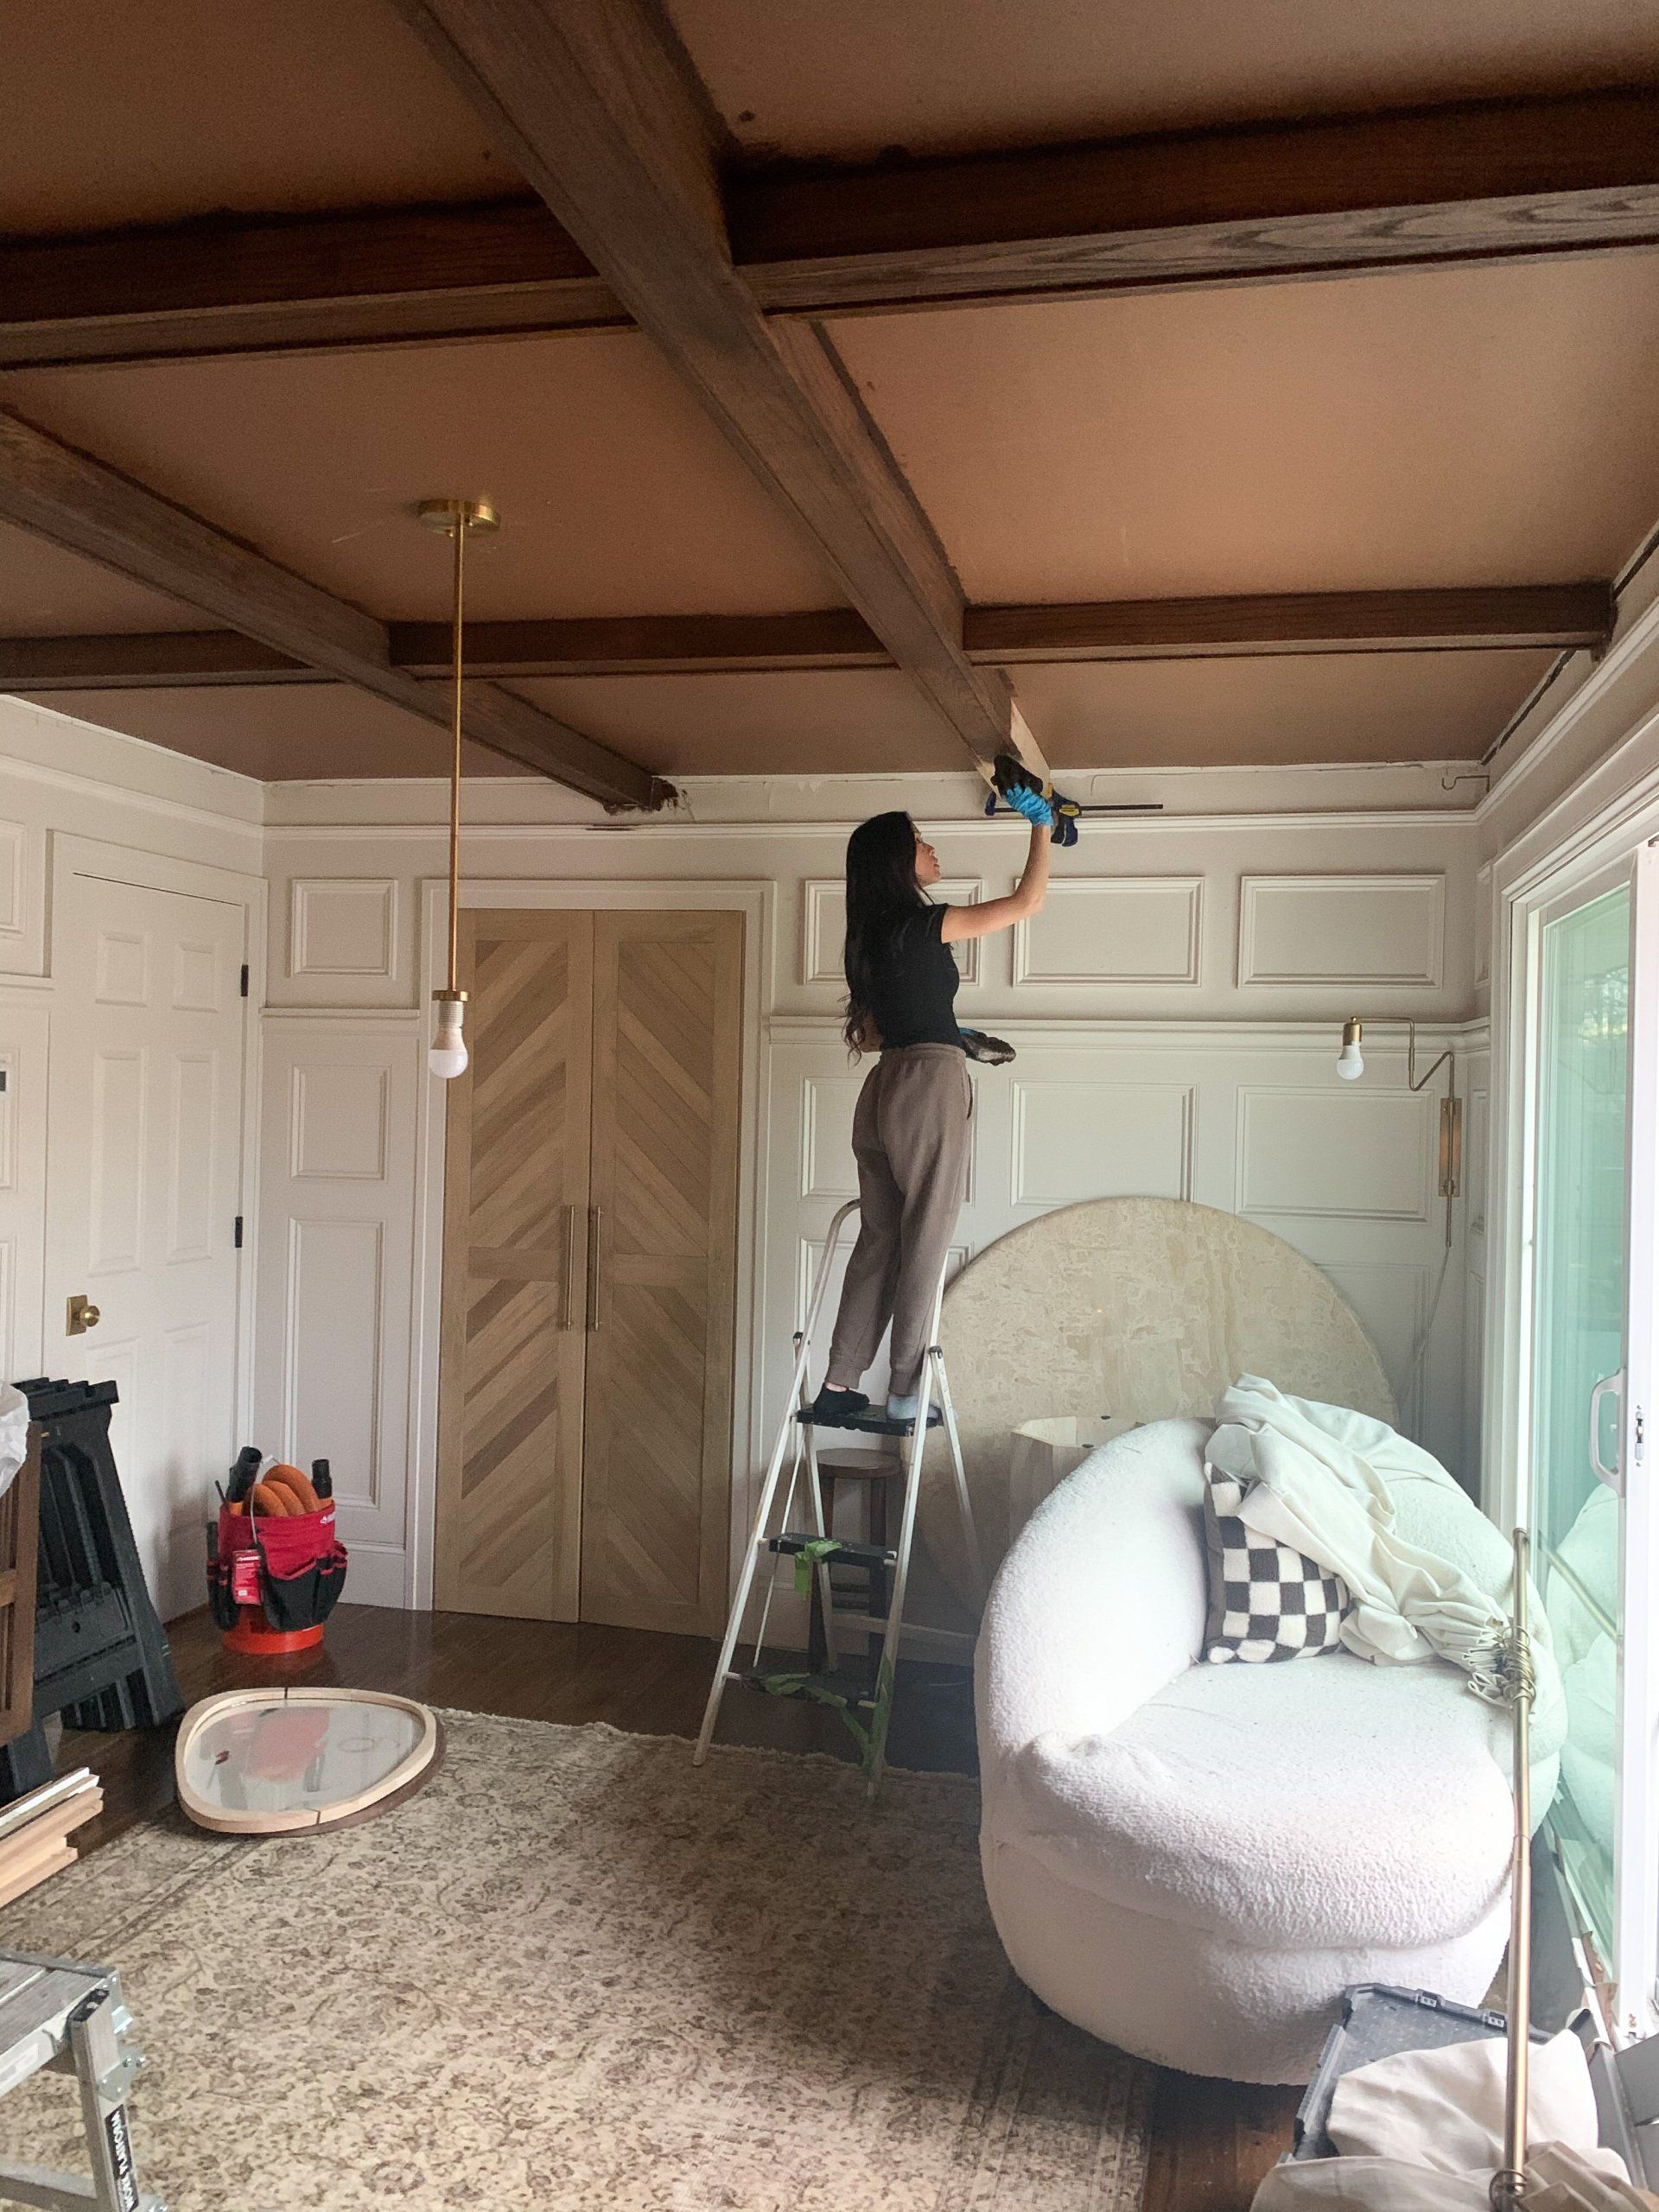
I used my current favorite wood stain color - Dark Walnut by Varathane. I go back and forth on gel or liquid. Like I mentioned earlier, gel was best because of the thicker consistency for this project. No drips!
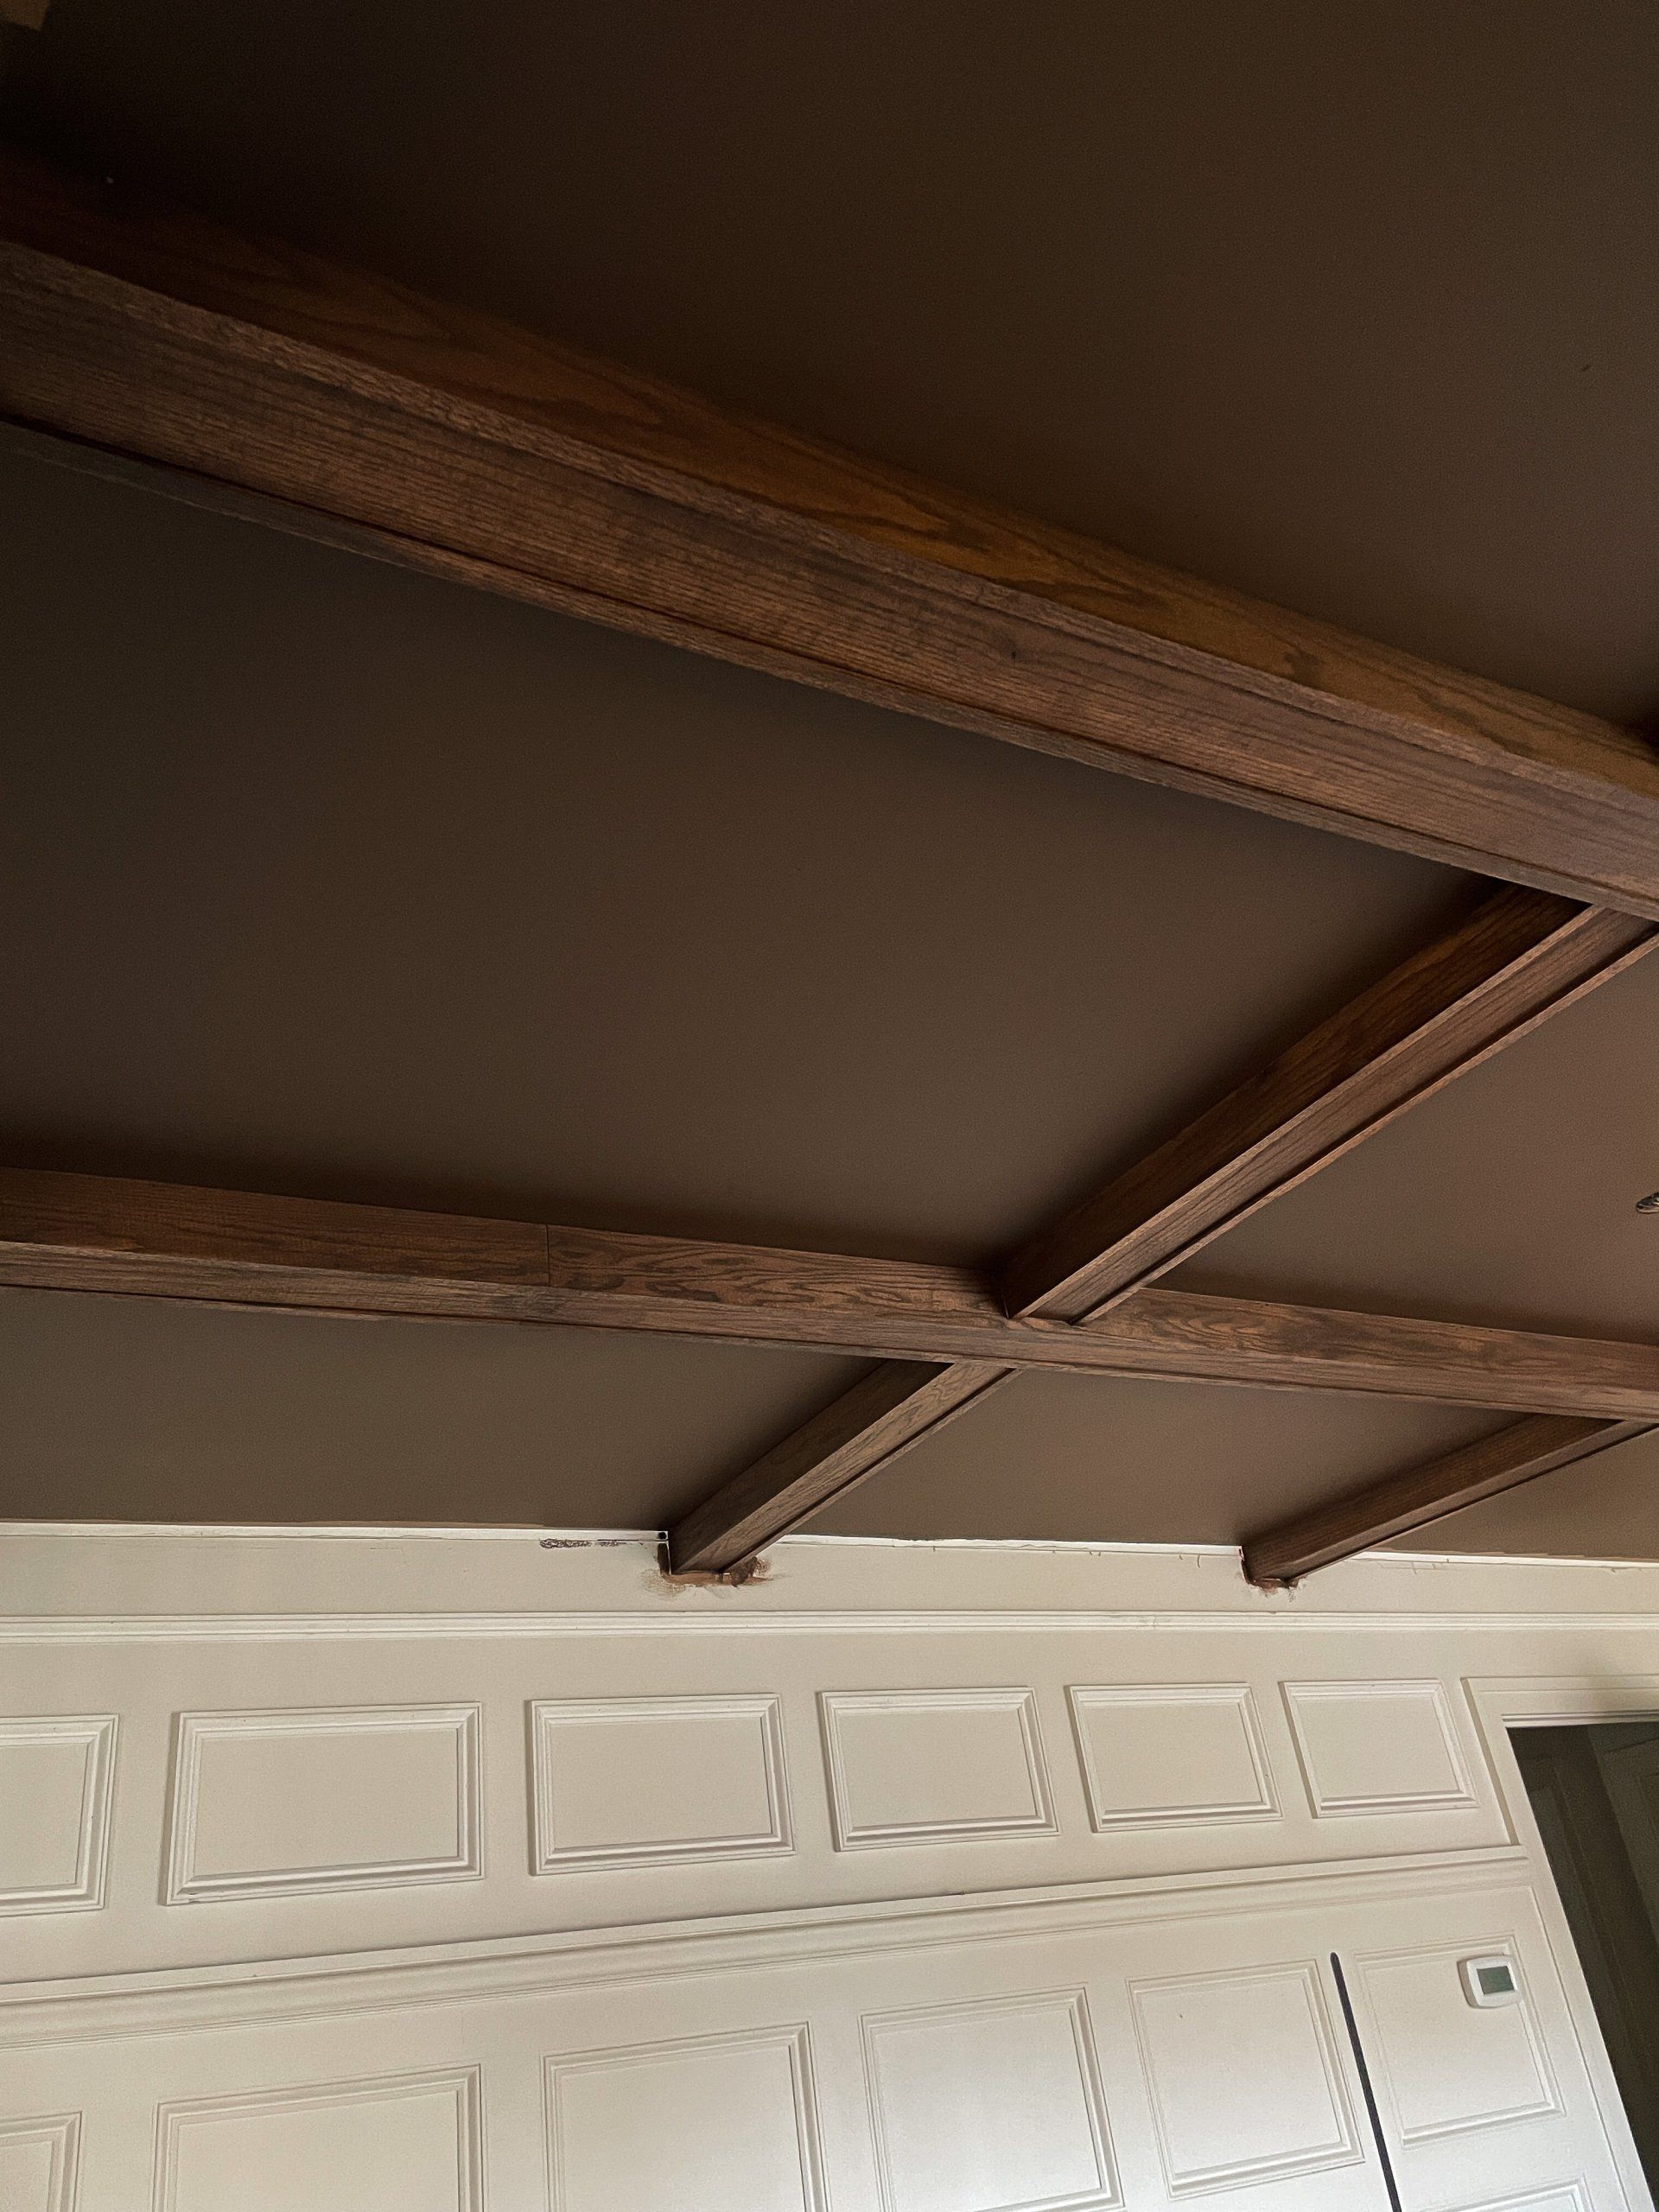
We went back and forth on whether we should paint the inside panels white or brown. It was pretty easy to decide on my end. I love a deep, dramatic ceiling so brown was the clear winner.
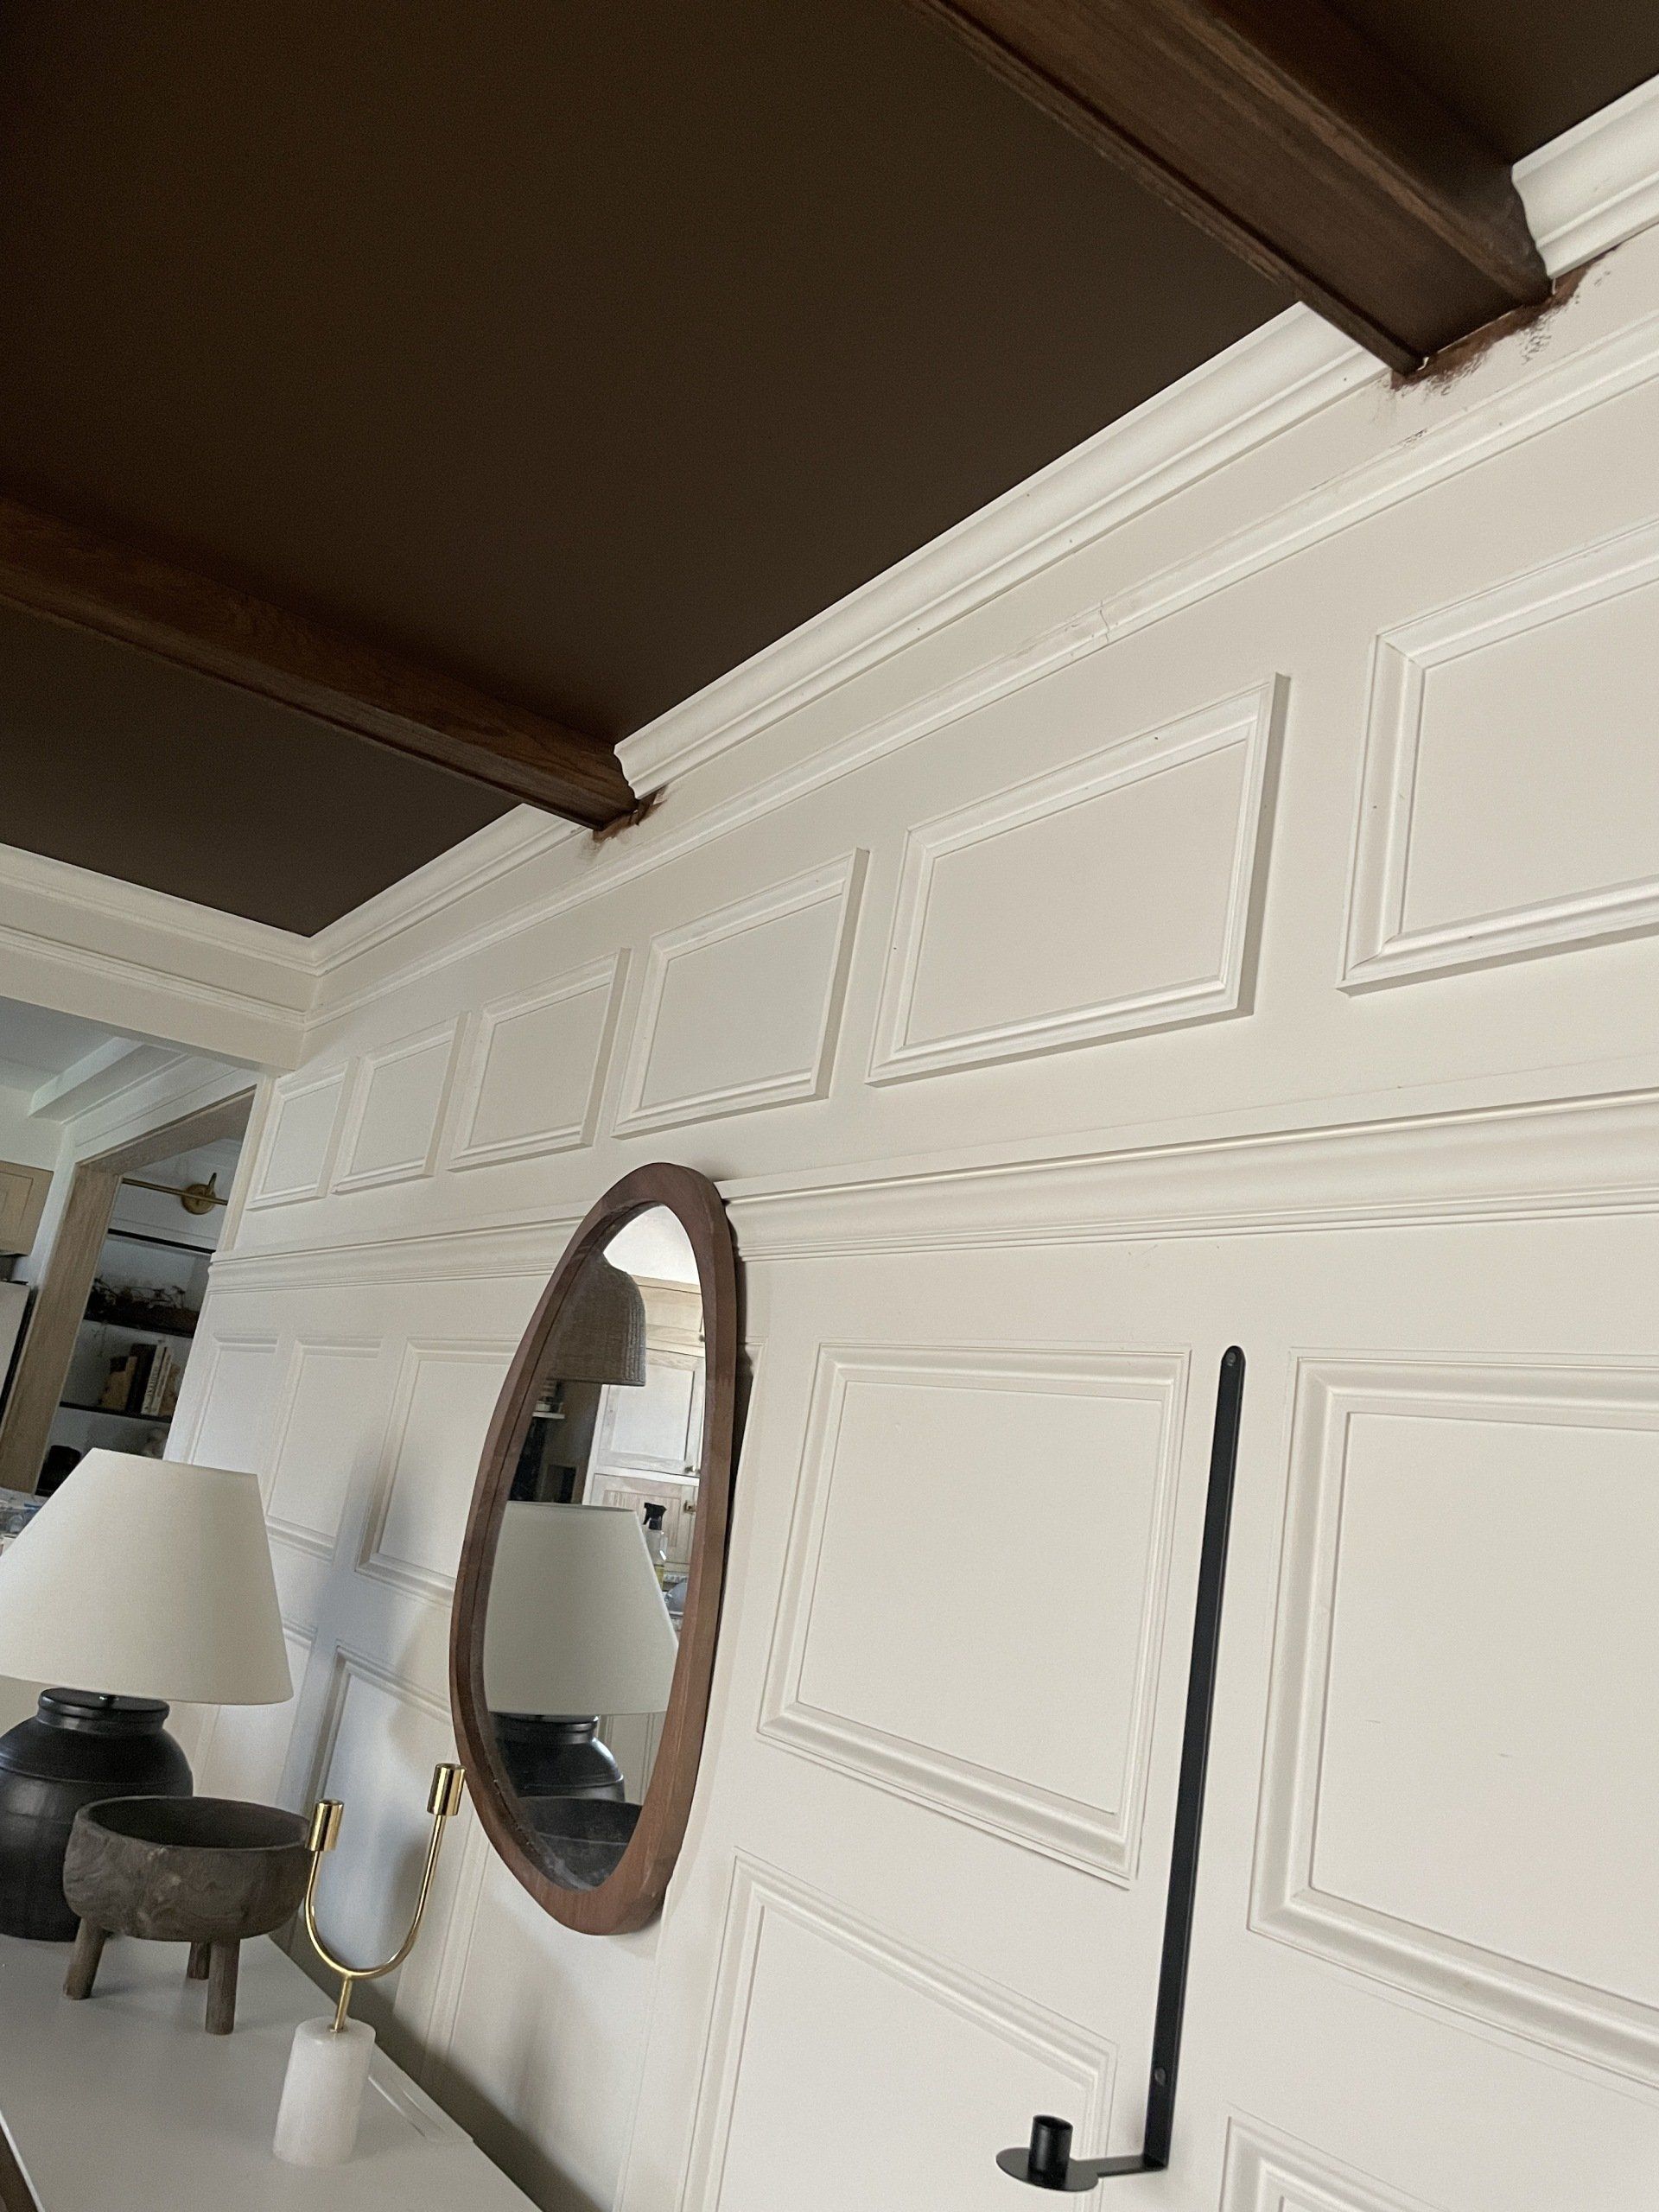
After painting and staining, we installed crown molding to finish everything off. Doing everything in this order made the process way easier since we didn't have to worry about taping things off. The crown and walls needed to be painted anyway, so we didn't bother taping off around the beams.
The finished, styled room.
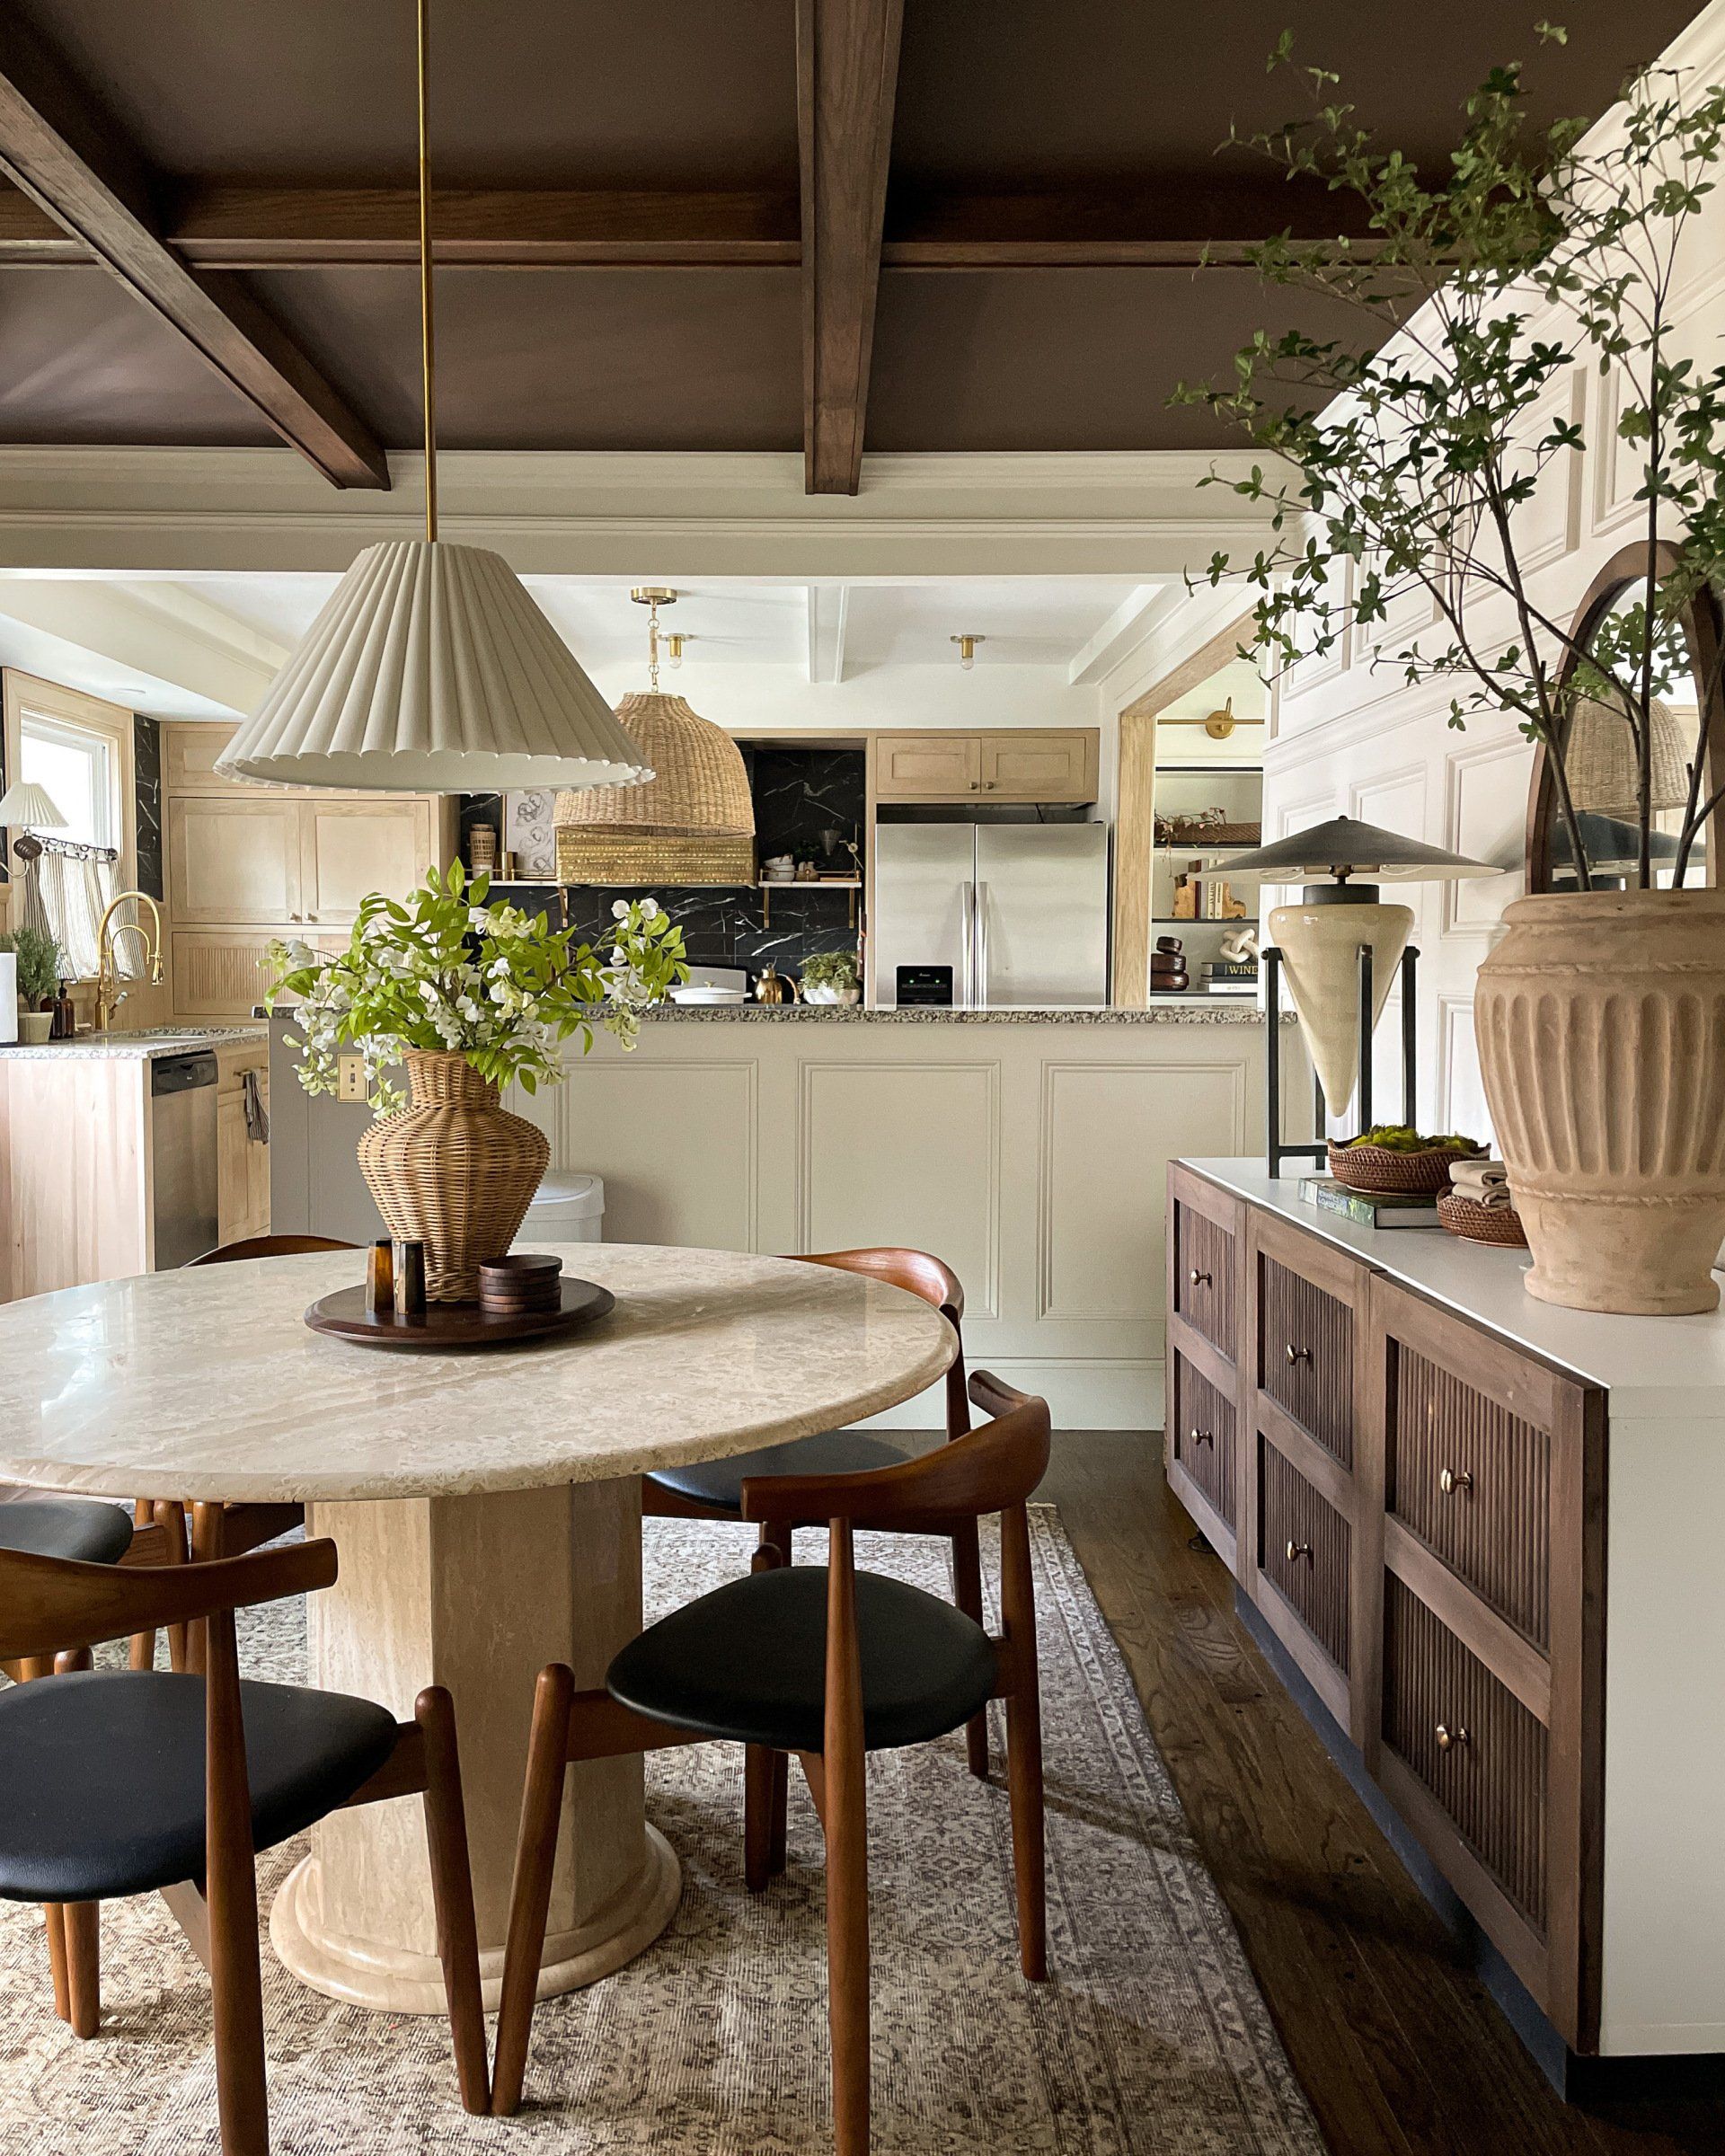
I've never been more satisfied with how this room looks. It's exactly what I envisioned and more! From the ceiling treatment, to the wainscoting, to the light fixtures to the dining chairs.. everything works together so perfectly. This might actually be the last time we change anything major in this room since it's all so timeless.
